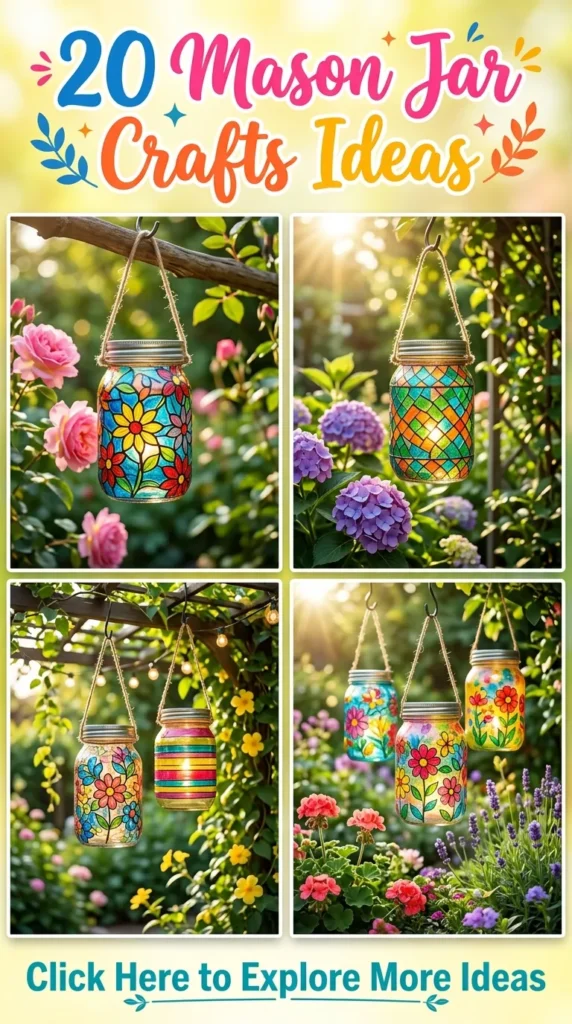
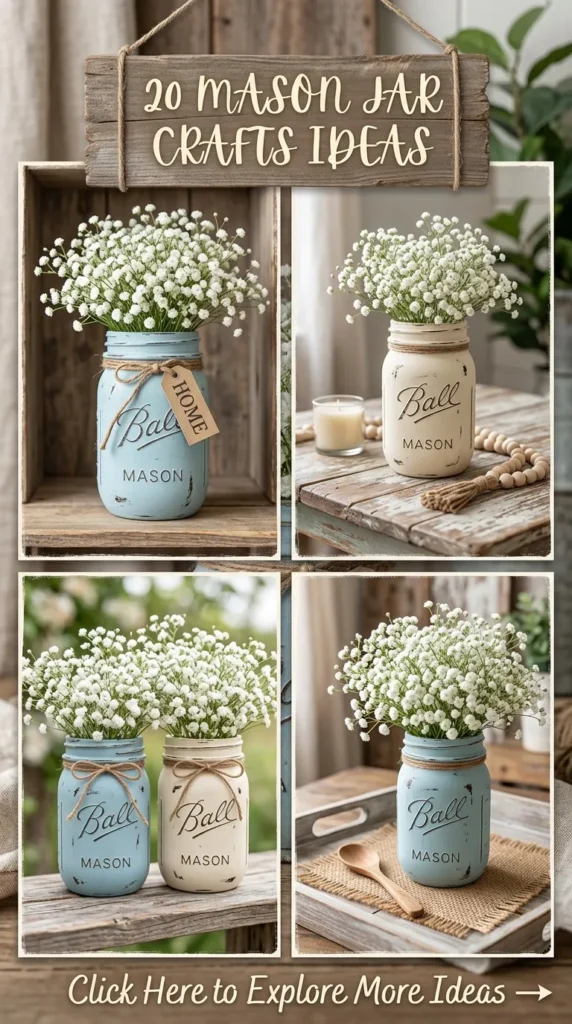
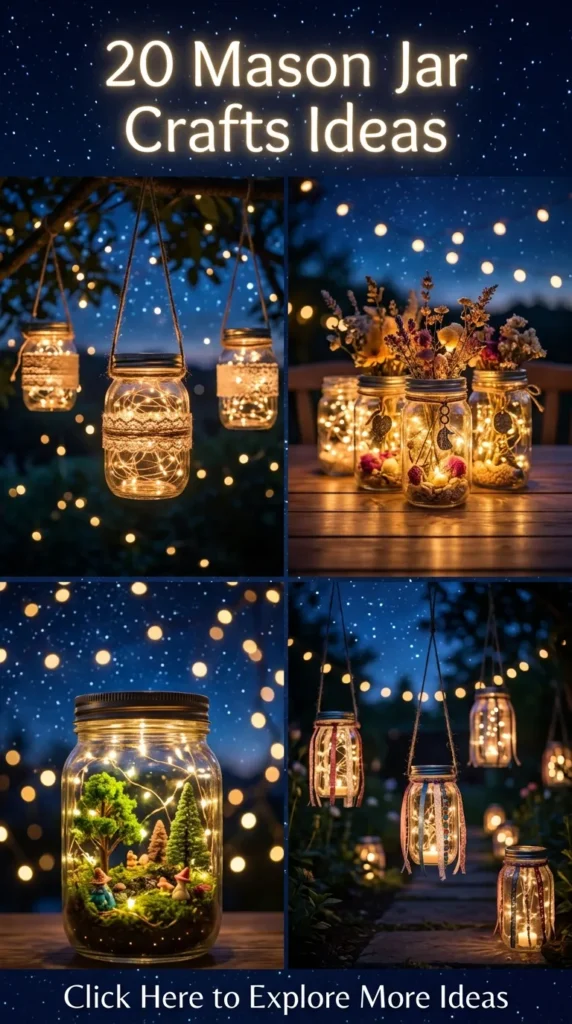
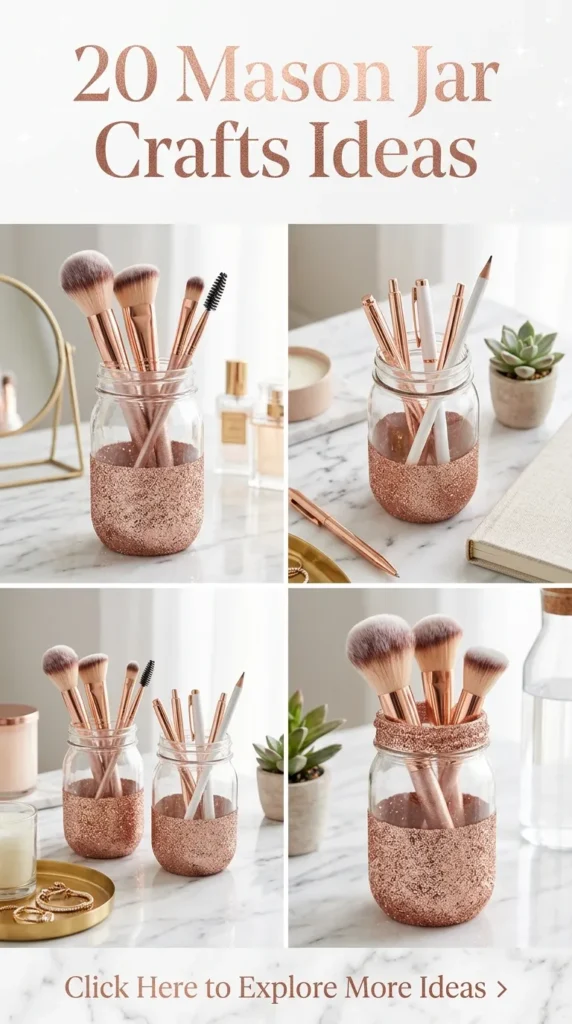
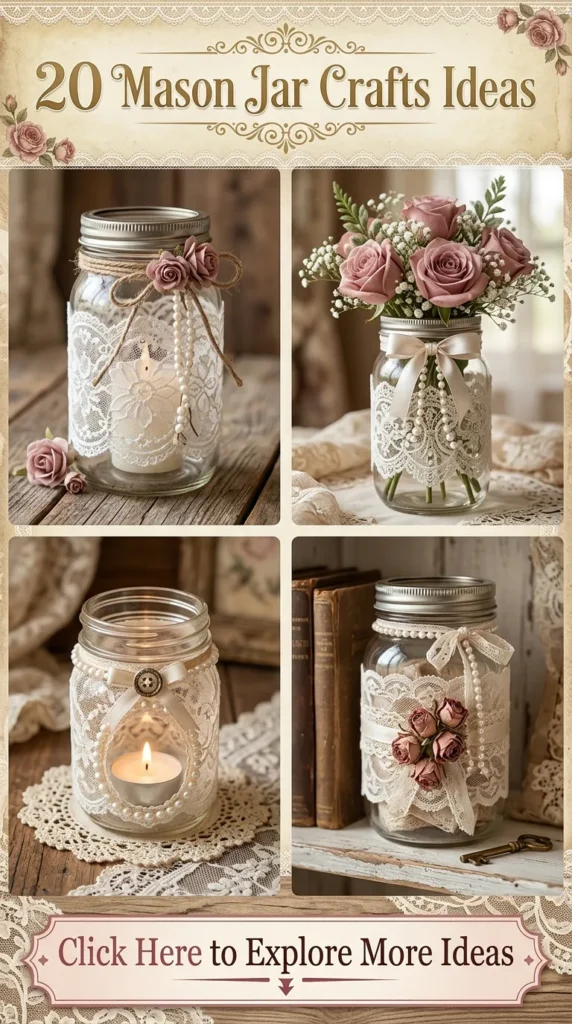
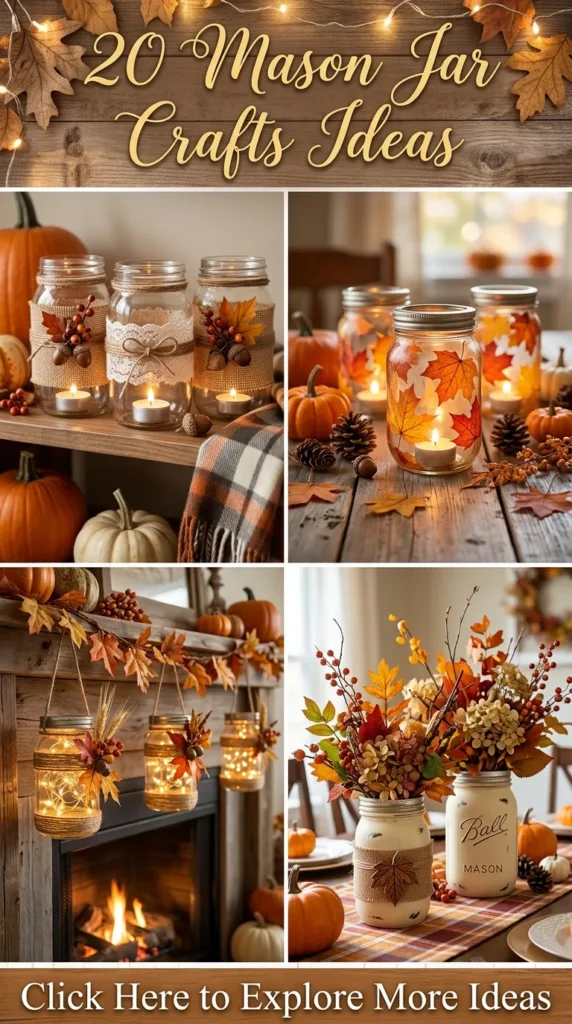
Mason jars have transcended their humble pantry beginnings to become timeless staples of modern DIY decor, slow living, and mindful crafting. Whether your aesthetic leans toward French country rustic, clean Scandinavian minimalism, moody dark academia, or whimsical cottagecore, the classic glass jar offers an adaptable canvas for functional and artistic home styling.
1. Matte Frosted Sea-Glass Lanterns
Introduction & Concept
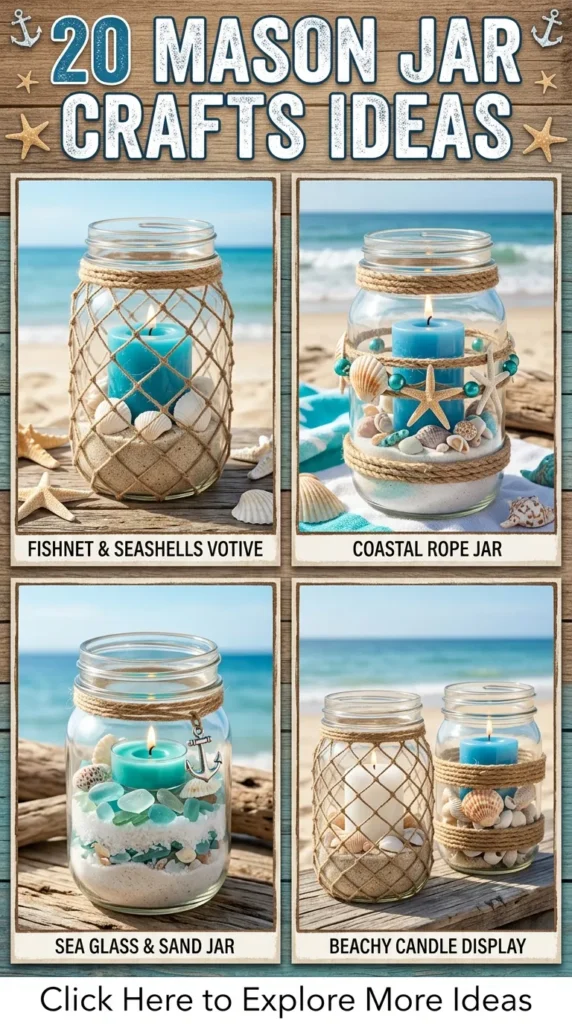
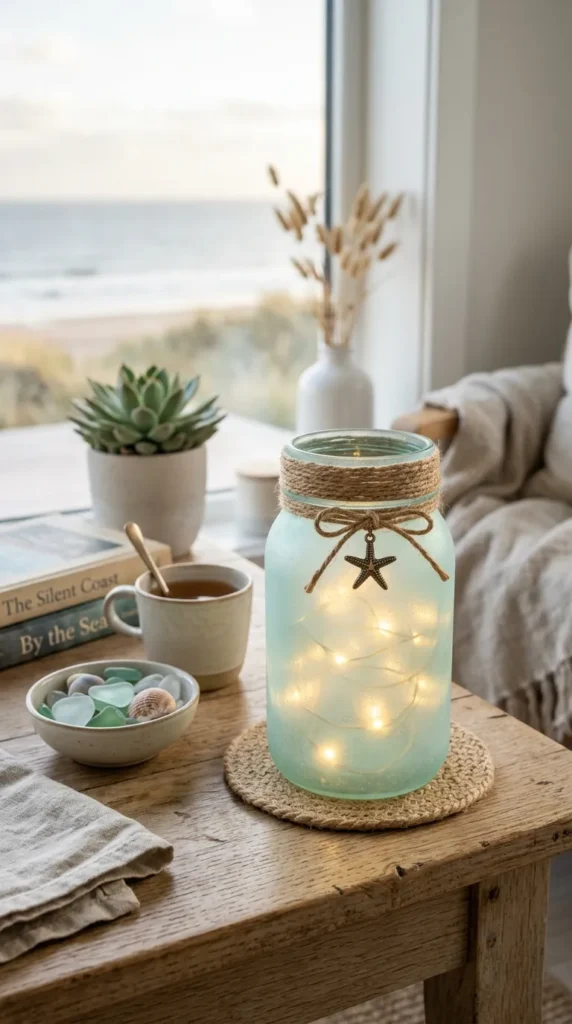
Matte frosted sea-glass lanterns replicate the velvety, ocean-tumbled look of vintage beach glass. When illuminated from within by a soft candle or micro LED string, the translucent finish diffuses harsh glare into a dreamy, coastal glow. This project transforms plain transparent glass into soothing pastel decor suitable for bedside tables, patio dinners, or bathroom accents.
Materials Needed
- Smooth-sided glass mason jars (16 oz or 32 oz)
- Sea-glass spray paint (matte aquamarine, pale sage, or dusty rose)
- Rubbing alcohol and lint-free microfiber cloth
- Natural jute twine or raw leather cord
- Battery-operated micro-LED warm fairy lights or unscented soy tea lights
Step-by-Step Instructions
- Clean the exterior of the mason jar thoroughly with rubbing alcohol to remove grease, fingerprints, and dust. Let dry completely.
- In a well-ventilated outdoor workspace, invert the jar on an elevated cardboard stand.
- Hold the sea-glass spray paint can roughly 8 to 10 inches away and apply a very light, even mist across the entire glass surface.
- Allow the first coat to dry for 15 minutes before applying a second light layer to achieve an authentic semi-translucent frosted texture.
- Once fully cured (after 2 to 3 hours), tightly wrap natural jute twine around the threaded neck 6 to 8 times, tying it off in a neat square knot.
- Drop a strand of warm fairy lights inside and tuck the battery pack discretely beneath the lid band or behind the jar base.
Tips & Creative Variations
- Ombré Effect: Spray the bottom third with a slightly deeper ocean blue and feather the spray upward into soft turquoise.
- Etched Patterns: Place subtle botanical adhesive stencils over the glass before spraying, peeling them away once dry to leave crystal-clear leaf silhouettes.
2. Pressed Wildflower Botanical Sconces
Introduction & Concept
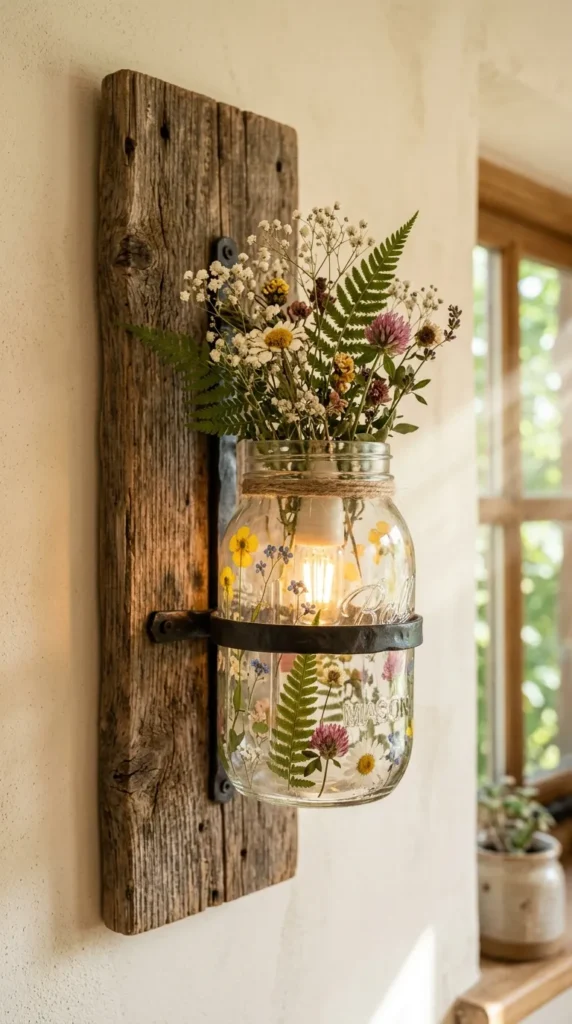
Capturing fleeting spring blooms within a glass vessel creates a permanent botanical specimen display. Pressed wildflower sconces use decoupage techniques to adhere dried garden petals, ferns, and delicate stems directly onto the interior or exterior of glass, turning ordinary jars into luminous suncatchers and wall fixtures.
Materials Needed
- Mason jars with flat glass facets
- Assorted pressed flat-dried flowers (pansies, baby’s breath, chamomile, ferns)
- Matte Mod Podge or water-based decoupage medium
- Soft-bristle flat paintbrush
- Reclaimed weathered wooden planks (for mounting)
- Antique brass hose clamps and wood screws
Step-by-Step Instructions
- Lay out your dried botanicals on a flat sheet of paper to design your layout prior to gluing.
- Dip your brush lightly into matte Mod Podge and paint a thin, even layer across the front face of the mason jar.
- Carefully place your pressed florals onto the wet glue using tweezers to avoid tearing delicate petals.
- Smooth out any trapped air bubbles by gently dabbing outward with the tip of your brush.
- Seal the entire exterior surface with a second protective coat of matte decoupage medium and allow it to dry clear for 4 hours.
- Secure the neck of the jar to your reclaimed wooden backboard using an antique brass pipe clamp, screwing it firmly into the center of the plank.
Tips & Creative Variations
- Minimalist Herbarium: Use only monochromatic green fern leaves and press a piece of parchment paper with botanical Latin names onto the reverse side.
- Floating Gold Flakes: Mix tiny flecks of gold leaf into the top sealant coat for an antique heirloom finish.
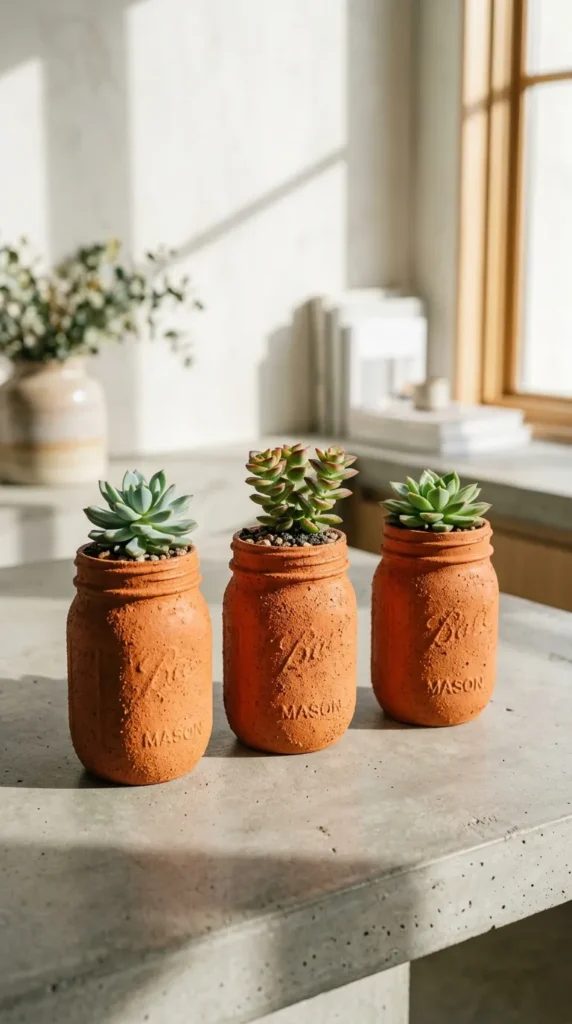
3. Terracotta-Textured Chalk Paint Planters
Introduction & Concept
This craft blends modern ceramic textures with utilitarian glass jars. By blending baking soda into mineral chalk paint, you achieve a thick, porous, earthenware-like texture that mimics artisan terracotta and Mediterranean clay pottery.
Materials Needed
- Mason jars (any size, wide-mouth works best)
- Warm terracotta or dusty neutral acrylic chalk paint
- Baking soda (fine powder)
- Medium-bristle flat craft brush
- Small drainage pebbles, activated charcoal, potting soil, and small succulents or cacti
Step-by-Step Instructions
- Mix 3 parts chalk paint with 1 part baking soda in a disposable bowl until it forms a creamy, slightly gritty paste.
- Apply the mixture directly to the outer glass using short, horizontal brush strokes to create earthy ridges and texture.
- Let the initial coat dry for 45 minutes, then apply a second thick coat to eliminate any lingering glass transparency.
- Optional: Dust a tiny pinch of dry baking soda onto wet paint spots and buff gently with your fingers for an aged, weathered patina.
- Layer 1 inch of drainage gravel at the bottom of the dry jar, add a half-inch layer of activated charcoal to keep the soil fresh, fill with potting soil, and plant your succulent.
Tips & Creative Variations
- Color Blocking: Paint the bottom half in rich clay terracotta and the top collar in a contrasting matte off-white linen tone.
- Distressed Edge: Lightly sand the raised lettering of the jar with fine 220-grit sandpaper before the paint completely cures to expose soft glass highlights.
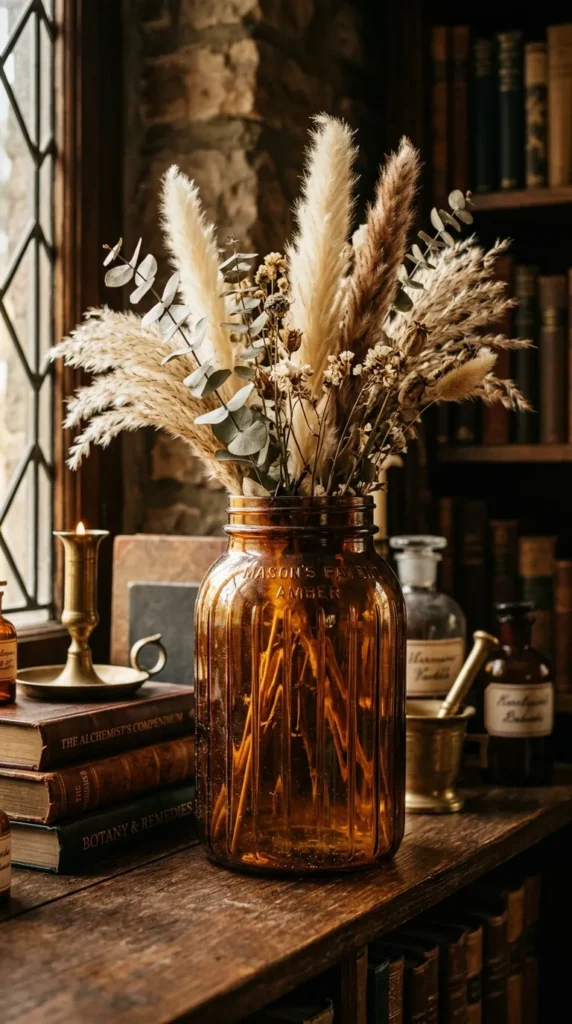
4. Vintage Fluted Ribbed Amber Vases
Introduction & Concept
Ribbed glass and rich amber tones exude mid-century elegance and dark academia warmth. Using dimensional relief lines and translucent glass stains, this craft turns flat glass jars into heavy, fluted apothecary statement vases suitable for pampas grass, dried eucalyptus, or fresh ranunculus.
Materials Needed
- Smooth mason jars
- Dimensional liquid glass leading or thick dimensional craft paint (black or clear)
- Transparent solvent-based glass paint (rich amber/honey brown)
- Soft angled glaze brush
- Painter’s tape for vertical guidelines
Step-by-Step Instructions
- Place strips of painter’s tape vertically around the jar spaced exactly 0.5 inches apart to serve as straight alignment guides.
- Trace smooth, uniform vertical lines from the top shoulder of the jar down to the base using dimensional glass paint. Let the raised lines cure for 12 hours until firm.
- Once the structural ribs are solid, brush two generous coats of transparent amber glass paint evenly over the entire exterior surface.
- Allow the paint to self-level in a dust-free area for 24 hours until it cures to a glossy, glass-like amber finish.
Tips & Creative Variations
- Emerald Apothecary: Swap amber paint for deep olive or forest green to create a moody apothecary aesthetic.
- Wavy Grooves: Freehand organic wave patterns instead of straight vertical stripes for an Art Deco silhouette.
5. Floating Dried Orange & Cinnamon Centerpieces
Introduction & Concept
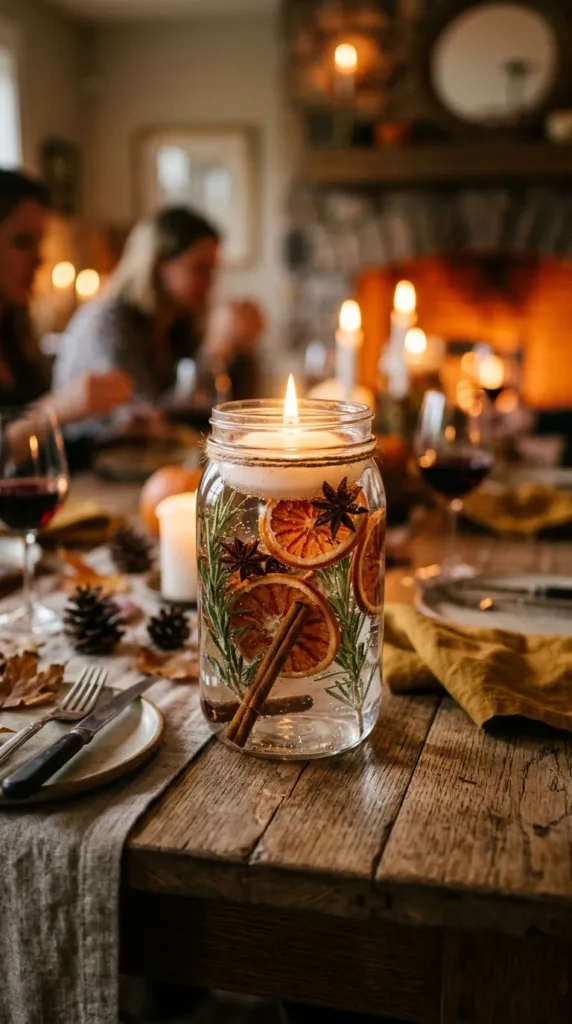
Organic, warm, and subtly fragrant, floating citrus and spice centerpieces bring natural texture to dining tables and kitchen islands. Water magnifies the intricate internal patterns of dehydrated fruit slices, cinnamon barks, and fresh botanicals while keeping tea lights safely elevated.
Materials Needed
- Wide-mouth 32 oz mason jars
- Dehydrated blood orange, naval orange, and lime slices
- Whole Ceylon cinnamon sticks and star anise pods
- Fresh rosemary sprigs or cedar clippings
- Distilled water
- Unscented white floating disc candles
Step-by-Step Instructions
- Arrange 2 to 3 sprigs of fresh rosemary vertically inside the empty jar, allowing the leaves to press against the glass walls.
- Carefully wedge dehydrated citrus slices and star anise along the perimeter so they remain suspended at various depths.
- Tuck two whole cinnamon sticks into the center to anchor the floating botanical layers.
- Pour distilled water into the jar, leaving exactly 1.5 inches of headspace at the rim.
- Gently place a floating disc candle on the surface of the water, ensuring the wick stays completely dry before lighting.
Tips & Creative Variations
- Autumn Cranberry Harvest: Add a handful of fresh raw cranberries beneath the candle; they naturally float and add rich crimson contrast.
- Essential Oil Infusion: Add 4 drops of sweet orange and clove essential oils to the water to emit a gentle room fragrance when warm.
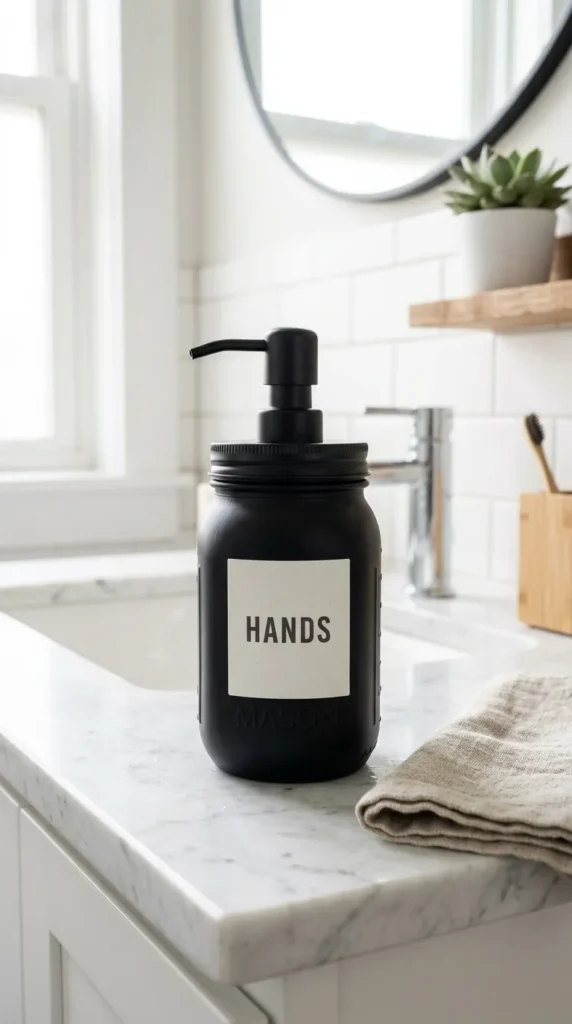
6. Minimalist Matte Black Soap Dispenser
Introduction & Concept
Elevate everyday bathroom and kitchen basins by converting vintage-style jars into sleek, utilitarian soap pumps. Matte black finishes paired with industrial pump heads offer a modern farmhouse and urban loft aesthetic that eliminates disposable plastic packaging.
Materials Needed
- 16 oz regular mouth mason jars
- Metal soap dispenser pump conversion kit (matte black stainless steel)
- Matte black metal primer and spray paint (waterproof/rust-resistant)
- Waterproof vinyl labeling tape or minimalist labels
- Liquid Castile soap or amber hand lotion
Step-by-Step Instructions
- If the pump kit comes unfinished, prime and spray the lid band and pump mechanism with rust-resistant matte black paint. Let cure for 24 hours.
- Clean the glass jar with isopropyl alcohol and apply a clean, minimalist waterproof label reading “HANDS,” “DISHES,” or “LOTION” horizontally across the middle.
- Trim the plastic siphon tube of the pump kit so it rests roughly 1/4 inch above the bottom of the jar at an angle.
- Fill the jar with your preferred liquid soap.
- Screw the threaded metal pump lid assembly down tightly over the jar rim.
Tips & Creative Variations
- Frosted Charcoal: Spray the exterior glass with a translucent matte frosted glass spray before applying the label for a smoked-glass look.
- Dual Kitchen Station: Make a matching pair on a small reclaimed walnut tray for dish soap and hand wash.
7. Macramé-Hanging Bohemian Lanterns
Introduction & Concept
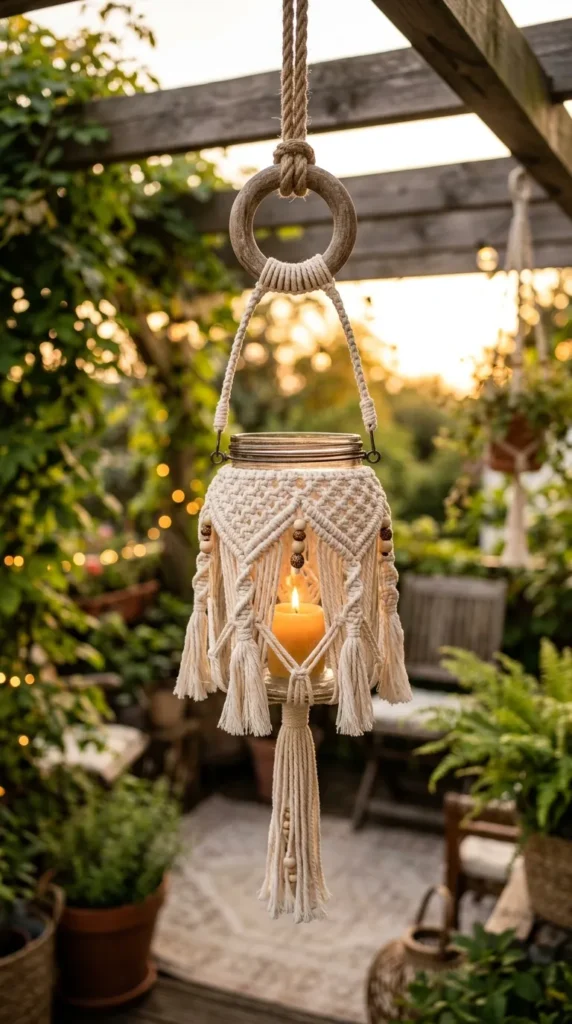
Macramé hanging jars combine intricate fiber art with functional mood lighting. Suspended from patio pergolas, curtain rods, or ceiling hooks, these woven net vessels cradle jars filled with candles or trailing houseplant cuttings, adding textural depth to vertical spaces.
Materials Needed
- 32 oz quart mason jars
- 3mm natural unbleached cotton macramé cord
- Wooden hanging ring (2-inch diameter)
- Measuring tape and sharp fabric scissors
- Battery-operated pillar candles or small trailing pothos plant
Step-by-Step Instructions
- Cut 8 strands of cotton cord, each measuring 8 feet in length.
- Thread all 8 cords through the wooden ring, folding them in half so you have 16 working strands of 4 feet each. Secure directly under the ring with a 2-inch gathering knot.
- Separate the strands into 4 groups of 4. Tie 3 consecutive square knots on each group, starting 4 inches below the gathering knot.
- Alternate the cords by taking 2 strands from adjacent groups and tying another square knot 2.5 inches lower to create an open diamond mesh net.
- Repeat this alternating pattern until the woven sleeve matches the height of your mason jar.
- Insert the jar into the net, center the base, and tie a tight final gathering knot beneath the jar base, trimming excess fringe cleanly.
Tips & Creative Variations
- Beaded Fringe: Thread raw natural wooden beads onto the trailing bottom fringe before knotting the ends.
- Dip-Dye Accents: Dip the lower 3 inches of the finished macramé fringe into indigo or sage textile dye for a modern boho splash.
8. Layered Artisan Bath Salt Apothecary Jars
Introduction & Concept
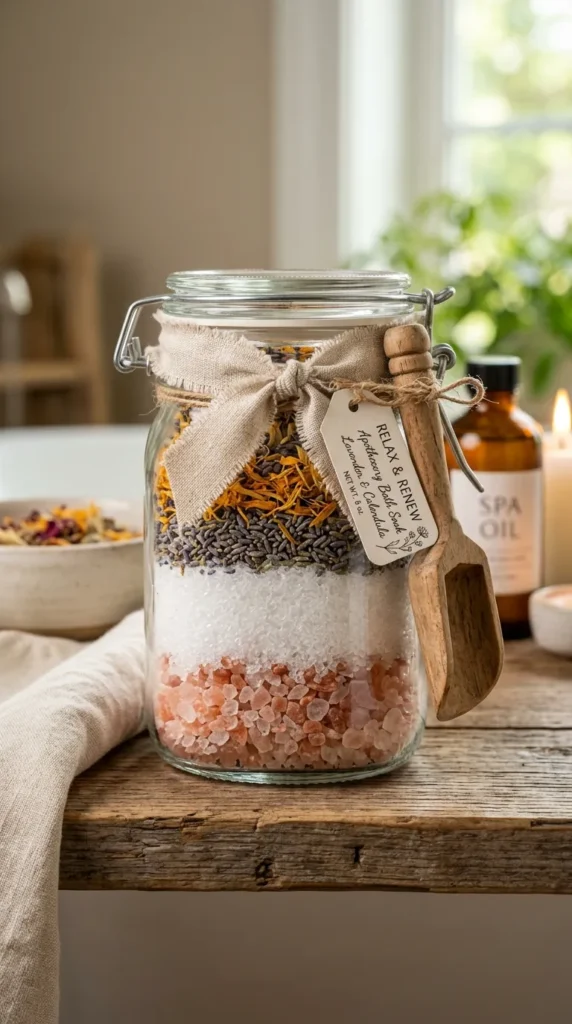
Layered bath salt jars serve as luxurious, spa-inspired displays that double as relaxing self-care essentials. By layering natural mineral salts of varying granulations and natural botanical hues, you create a sophisticated geological sand-art effect.
Materials Needed
- 16 oz or 24 oz vintage mason jars with glass or cork lids
- Coarse Pink Himalayan salt crystals
- Fine Epsom salts
- French green clay or dried botanical powders (for tinting)
- Dried lavender buds, rose petals, and calendula petals
- Small wooden measuring scoop tied with linen ribbon
Step-by-Step Instructions
- Divide your fine Epsom salts into two bowls. Leave one pure white and blend the other with a pinch of French green clay or crushed hibiscus powder for soft natural tinting.
- Add a 1-inch baseline layer of coarse, deep-pink Himalayan rock salt to the bottom of the jar.
- Carefully funnel a 1-inch layer of pure white fine Epsom salt over the pink base, avoiding shaking the jar to keep lines crisp.
- Add a thin 0.5-inch band of whole dried lavender flowers and chamomile.
- Continue alternating layers of tinted salts and botanicals until the jar is filled to the very brim to prevent layers from shifting.
- Seal tightly with the lid and tie a miniature wooden scoop to the neck using raw-edge linen ribbon.
Tips & Creative Variations
- Monochrome Minimalism: Alternate only fine bright white Dead Sea salts and ultra-coarse crystal rock salts for a clean, Scandinavian look.
- Custom Scenting: Scent individual salt batches with essential oils (e.g., lavender, eucalyptus) 24 hours in advance, allowing them to dry fully before layering.
9. Modern Concrete-Dipped Desk Organizers
Introduction & Concept
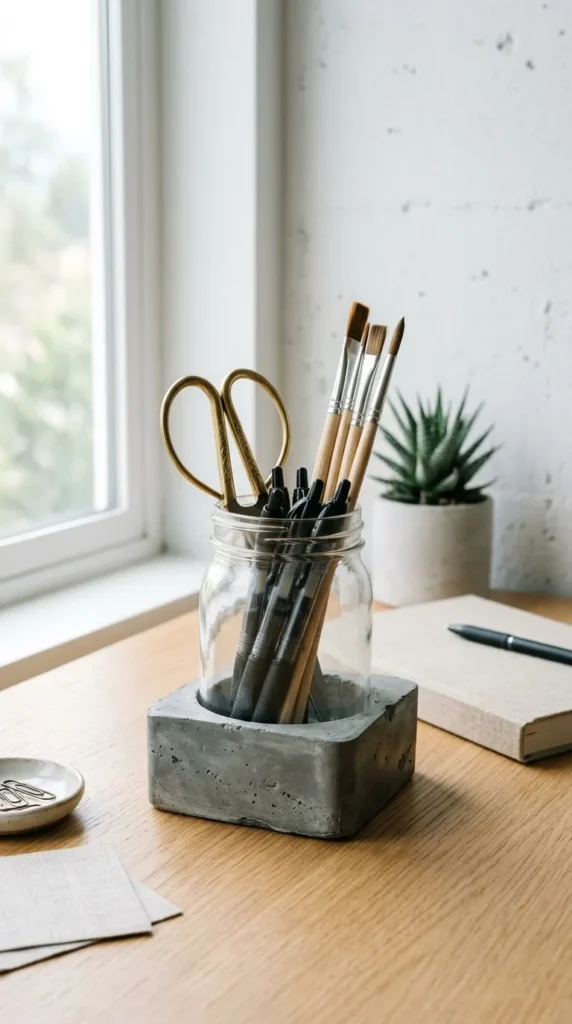
Blending industrial brutalism with transparent glass, concrete-dipped jars ground your workspace with structural elegance. The tactile contrast between rough gray cement and smooth, reflective glass creates an eye-catching organizer for pens, scissors, paintbrushes, or makeup tools.
Materials Needed
- 16 oz smooth mason jars (no raised logos)
- Rapid-setting fine casting concrete or cement mix
- Painter’s masking tape
- Disposable mixing container and stirring stick
- Adhesive cork pads for the base
Step-by-Step Instructions
- Wrap painter’s tape horizontally around the midpoint of the jar, pressing the edges down firmly with your thumbnail to ensure a watertight, crisp seal.
- Mix fine casting concrete with water according to instructions until it achieves the consistency of thick pancake batter.
- Pour the concrete into a wide disposable container.
- Dip the bottom half of the mason jar straight into the concrete mix up to the tape line, tilting slightly to coat evenly.
- Lift the jar, let excess concrete drip off for 30 seconds, and place it upright on parchment paper to cure for 24 hours.
- Once the concrete is cool and hard to the touch, peel away the masking tape to reveal the clean geometric divide, and adhere a cork pad to the base to protect furniture.
Tips & Creative Variations
- Angular Dipping: Dip the jar at a 45-degree angle rather than horizontally for an asymmetric, contemporary visual line.
- White Concrete: Use white Portland cement tinted with charcoal powder to create a subtle marbleized swirl on the base.
10. Self-Contained Forest Moss Terrarium
Introduction & Concept
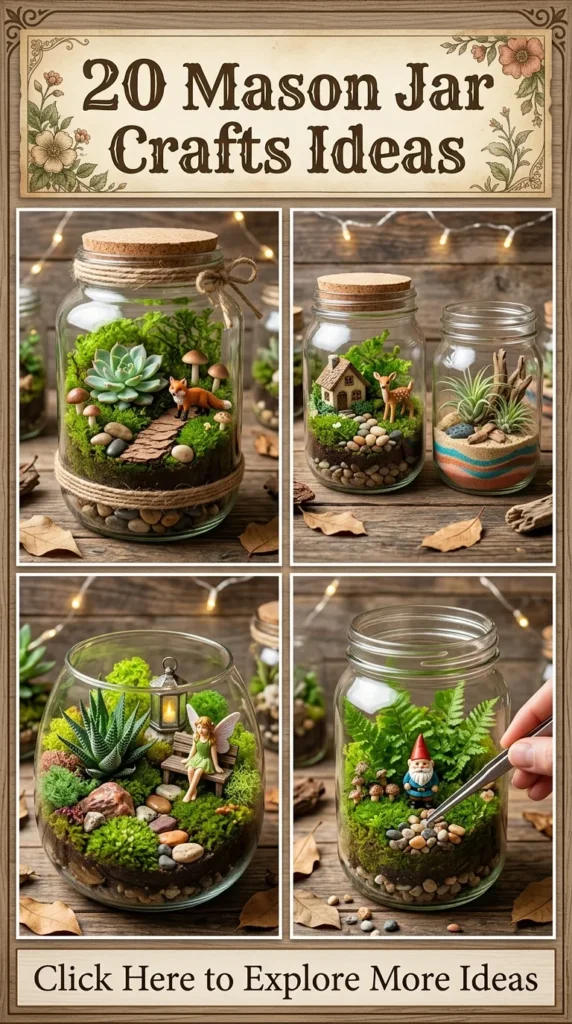
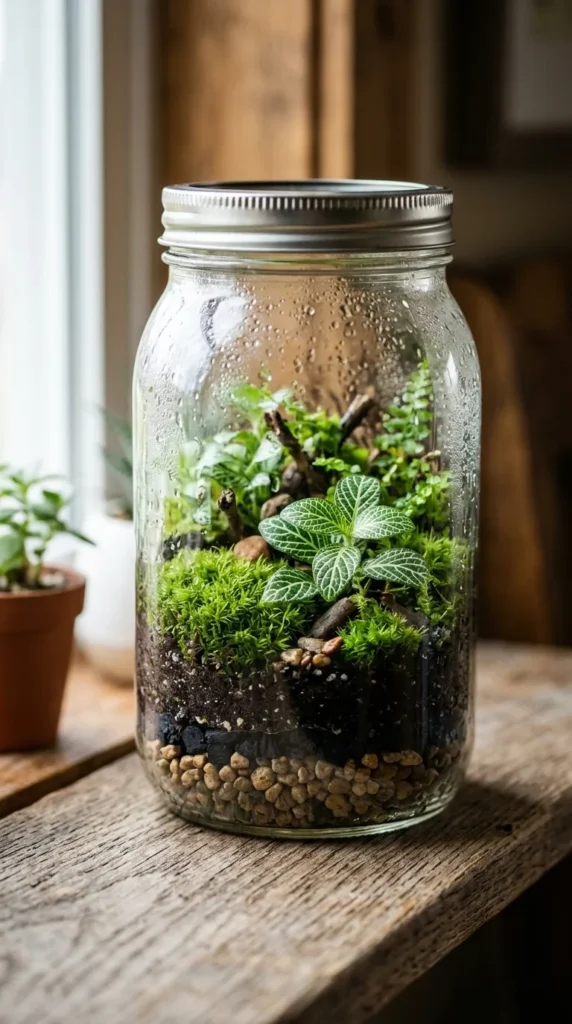
Closed mason jar terrariums are self-sustaining miniature biospheres that bring lush, living forest landscapes into indoor living spaces. The sealed glass container recycles moisture through natural evaporation and condensation, requiring minimal active maintenance while showcasing delicate miniature plants.
Materials Needed
- 32 oz wide-mouth mason jar with airtight lid and rubber seal
- Pea gravel or aquarium pebbles
- Horticultural activated charcoal
- Sphagnum sheet moss and premium terrarium soil
- Live forest moss (cushion moss, sheet moss) and micro fittonia (nerve plant)
- Decorative miniature slate stones or twigs
Step-by-Step Instructions
- Add a 1-inch layer of pea gravel to the bottom of the clean jar for drainage.
- Spread a 0.5-inch layer of crushed activated charcoal over the gravel to filter toxins and prevent stagnant odors.
- Place a thin barrier of damp sphagnum moss over the charcoal to stop soil from sifting into the drainage rocks.
- Add 1.5 inches of premium terrarium soil, sloping it slightly higher in the back to create visual depth.
- Use long tweezers to plant small rooted clippings of micro fittonia, and arrange patches of living cushion moss across the remaining soil surface.
- Mist lightly with distilled water using a spray bottle, wipe interior glass clean, and seal the lid tightly.
Tips & Creative Variations
- Zen Garden Landscape: Place a single miniature weathered slate stone upright in the center surrounded by low-growing velvet moss for a meditative Japanese garden look.
- Lighting: Place your terrarium in bright, indirect sunlight; avoid direct southern exposure, which can overheat the miniature ecosystem.
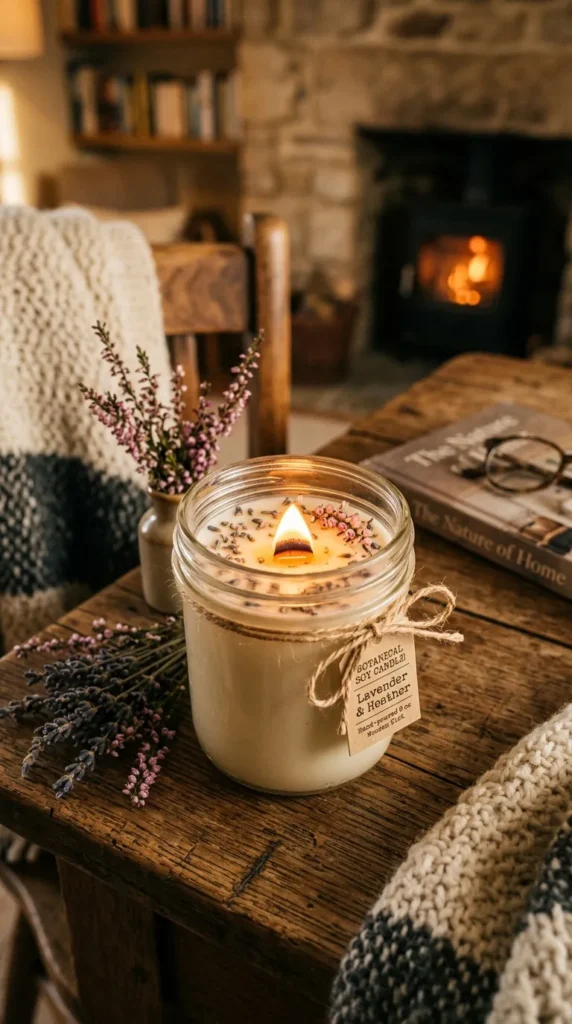
11. Hand-Poured Soy Wax Botanical Candles
Introduction & Concept
Making your own custom-scented candles in sturdy mason jars provides an artisanal, clean-burning light source for your living space. Adorning the jar with dried botanicals and personalized labels turns functional candles into high-end giftware.
Materials Needed
- 8 oz or 16 oz mason jars
- 100% natural soy wax flakes
- Cotton or crackling wooden wicks with metal base clips
- Wick centering tools or wooden clothespins
- Candle fragrance or pure essential oils (such as cedarwood, vanilla, or amber)
- Wax melting pitcher and candy thermometer
Step-by-Step Instructions
- Secure the metal clip of the wick to the inside bottom center of the clean, dry jar using a dab of hot glue or a wick sticker.
- Use a wick centering tool across the jar opening to keep the wick standing perfectly straight.
- Melt the soy wax flakes in a metal pouring pitcher set inside a simmering water bath (double boiler) until the wax reaches 185°F (85°C).
- Remove from heat, let cool to 135°F (57°C), then stir in your fragrance oils thoroughly for 2 continuous minutes.
- Slowly pour the liquid wax into the prepared jar, leaving 0.5 inches of headspace at the rim.
- Allow the candle to solidify undisturbed at room temperature for 24 hours, then trim the wick to 1/4 inch before initial lighting.
Tips & Creative Variations
- Wooden Wicks: Use a crackling natural booster wood wick for a cozy, fireplace-style auditory ambience.
- Surface Dressing: When the wax has cooled to a soft, semi-solid state on top, carefully press small dried heather blossoms or lavender sprigs around the outer perimeter away from the wick.
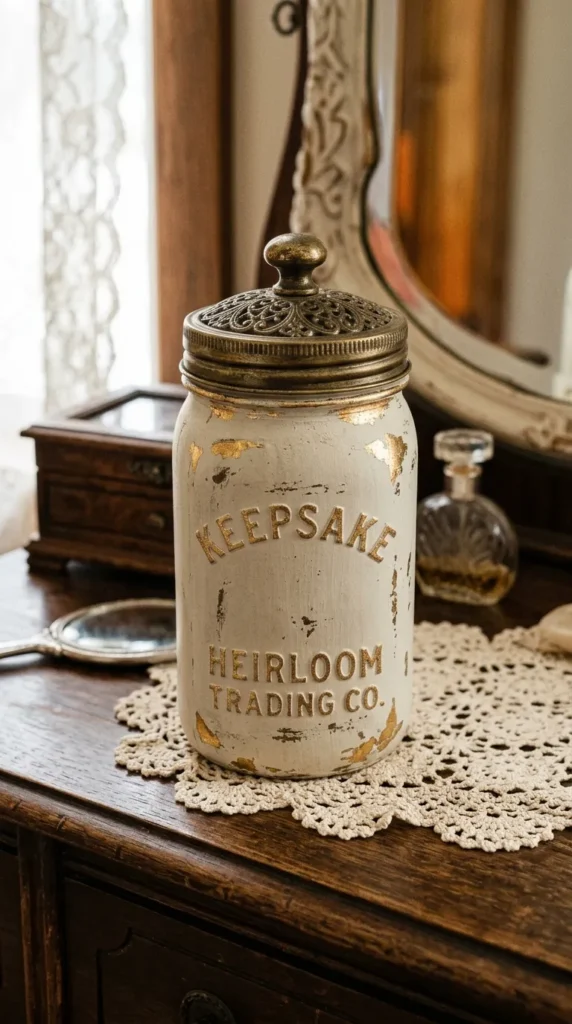
12. Vintage Gold Leaf Distressed Keepsake Jars
Introduction & Concept
Combining antique metallic gilding with chalky mineral tones creates the look of an authentic flea-market discovery. Gold leaf flecks catch the light beneath a worn, distressed paint finish, perfect for storing jewelry, cotton rounds, or makeup brushes.
Materials Needed
- 16 oz embossed vintage mason jars (raised lettering adds texture)
- Metallic gold leaf sheets and gilding adhesive (size)
- Soft gilding mop brush
- Distressed French linen or slate gray chalk paint
- Coarse sanding sponge (120-grit)
Step-by-Step Instructions
- Dab gilding adhesive randomly across the raised lettering, rim, and corners of the jar. Allow it to become tacky for 15 minutes.
- Gently lay sheets of gold leaf over the tacky areas, smoothing down with a dry, soft mop brush. Buff away excess flakes.
- Paint the entire jar with a coat of French linen chalk paint, covering the gold leaf completely. Let dry for 2 hours.
- Using a coarse sanding sponge, gently distress the raised areas, edges, and base to rub away the chalk paint and reveal the shimmering gold leaf beneath.
- Seal the finished exterior with clear matte paste wax using a soft lint-free cloth to protect the finish.
Tips & Creative Variations
- Silver/Copper Leaf: Swap traditional gold for oxidized copper or silver leaf paired with charcoal or black chalk paint for a modern gothic mood.
- Lid Hardware: Glue an ornate vintage brass drawer knob to the center of the jar lid for an elevated apothecary container.
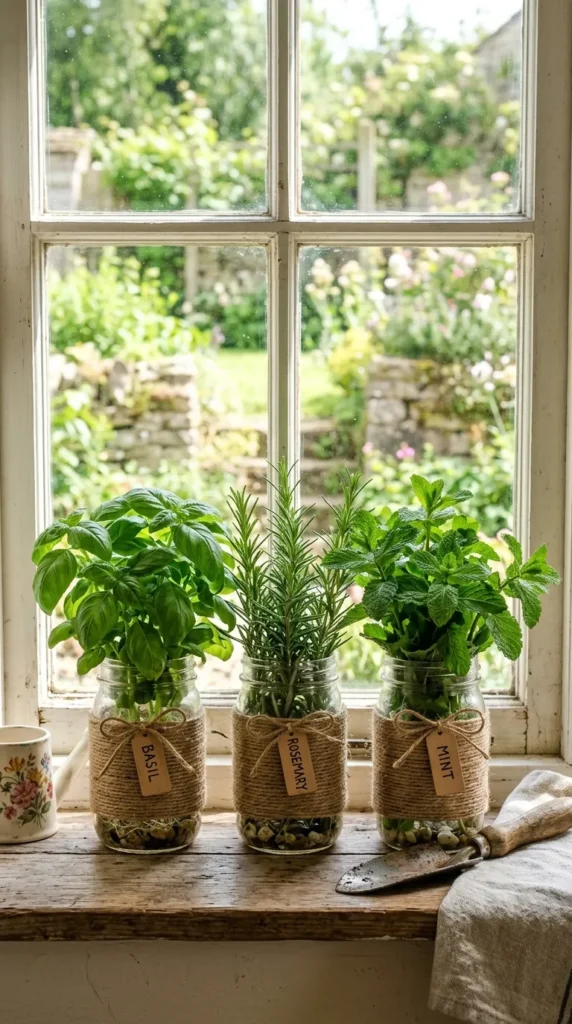
13. Rustic Twine-Wrapped Herb Garden
Introduction & Concept
Window sills lined with fresh culinary herbs bring vitality and fragrance to any kitchen. Wrapping jars in textured jute twine adds rustic warmth while protecting plant roots from direct light exposure.
Materials Needed
- 32 oz wide-mouth mason jars
- Natural 2-ply jute or hemp twine
- Hot glue gun and glue sticks
- Fresh culinary herb starters (basil, thyme, mint, rosemary)
- Potting soil and hydro-clay pebbles
Step-by-Step Instructions
- Apply a small bead of hot glue at the bottom base rim of the jar and anchor the tip of your jute twine.
- Wrap the twine tightly around the circumference of the jar in neat, touching coils, applying a dab of glue every 4 to 5 rotations to keep it taut.
- Continue wrapping until you reach the lower ridge of the threaded neck. Trim the twine and secure with a clean drop of hot glue.
- Line the interior bottom with 1.5 inches of hydro-clay pebbles to create an internal reservoir for drainage.
- Fill with potting soil and plant your herb starter, tamping down lightly around the roots.
Tips & Creative Variations
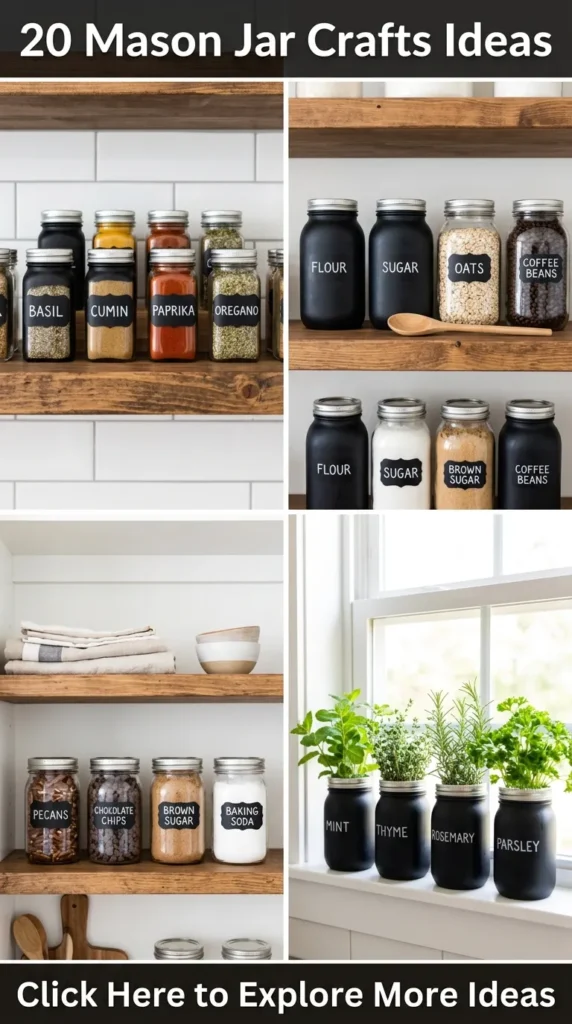
- Chalkboard Tags: Hang a small wooden tag painted with black chalkboard paint around the neck of each jar to identify the herbs.
- Striped Texture: Alternate between unbleached natural twine and dark brown hemp cord to create organic horizontal stripes.
14. Celestial Constellation Fairy Light Lanterns
Introduction & Concept
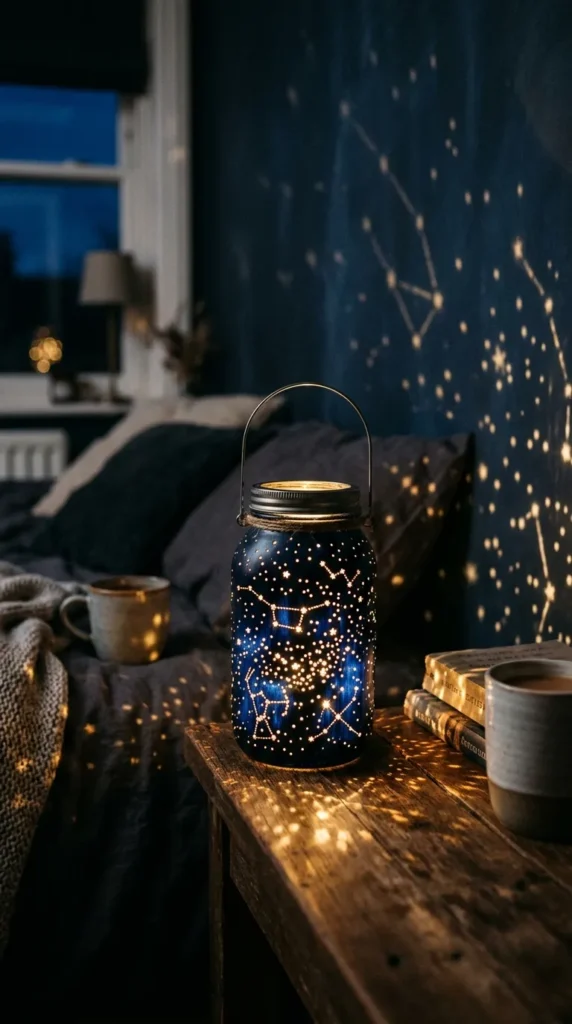
Bring the beauty of starry night skies indoors. By coating the inside of a jar with deep midnight blue and piercing tiny pinhole stars, internal fairy lights shine through like brilliant celestial constellations across your walls.
Materials Needed
- Clean, clear mason jars
- Midnight navy and deep indigo glass paint or opaque acrylic
- Toothpicks or fine pointed awl
- Black cardstock cut to fit jar interior (optional method)
- Battery-operated warm starry fairy lights
Step-by-Step Instructions
- Paint the entire interior or exterior of the jar with two thick coats of deep midnight blue paint. Allow it to dry until semi-firm but not fully hardened.
- Use a toothpick or fine awl to gently scratch away small dots and star shapes through the paint layer, mapping out actual constellations (like Ursa Major, Cassiopeia, or Orion).
- Add tiny random pinpricks surrounding the main constellations to simulate distant stardust.
- Allow the paint to fully cure for 24 hours.
- Insert a tightly wound strand of copper-wire fairy lights inside the jar; when turned on in a dark room, the pinpricks will project starry patterns onto adjacent surfaces.
Tips & Creative Variations
- Aurora Borealis: Sponge a soft streak of metallic teal and violet across the blue base before puncturing the stars to emulate northern lights.
- Constellation Maps: Use real astronomy star charts printed on translucent vellum and slipped inside the jar for astronomical precision.
15. Minimalist Glass Match Striker & Cloche
Introduction & Concept
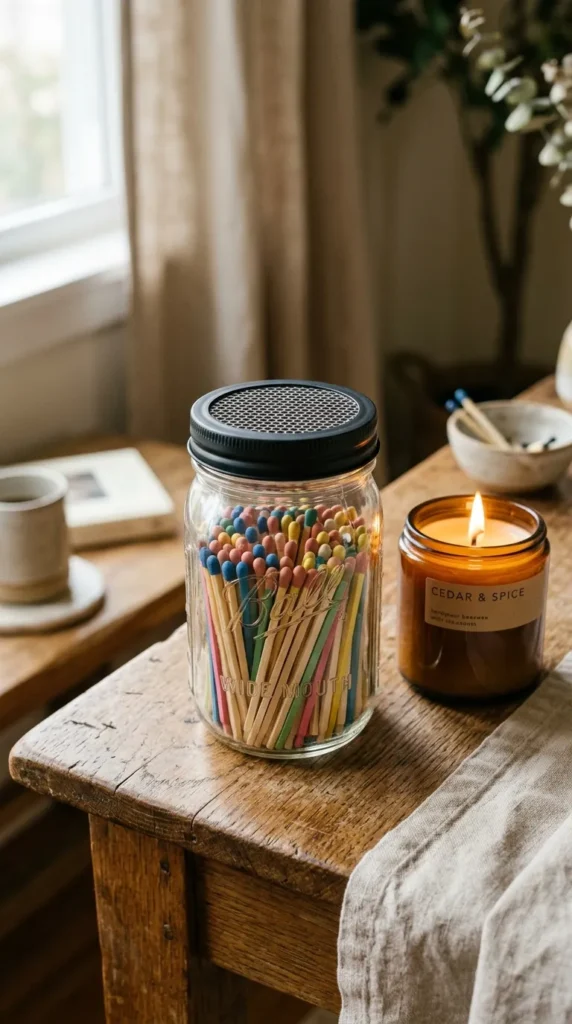
Combining functionality with modern design, a mason jar match striker keeps fireplace and candle matches dry, accessible, and display-worthy. An integrated strike-on-box sheet on the lid or base makes lighting effortless.
Materials Needed
- 8 oz short wide-mouth mason jar or jelly jar
- Long wooden safety or strike-anywhere matches (3 to 4 inches, colored tips)
- Adhesive match striker paper (honeycomb texture)
- Matte black paint for the metal lid
- Craft punch or precision craft knife
Step-by-Step Instructions
- Paint the metal jar lid with two smooth coats of matte black or antique bronze spray paint.
- Use a circular craft punch to cut a piece of adhesive match striker paper to match the diameter of the jar lid insert.
- Peel the backing and adhere the striker disc cleanly to the top flat surface of the jar lid.
- Fill the interior of the jar with colorful decorative matches, standing them vertically so the colored tips point upward.
- Screw the ring band in place, leaving the strike pad accessible for immediate use.
Tips & Creative Variations
- Inverted Cloche: Glue a wooden pedestal base to the lid, stand matches inside a tiny drilled block on the lid, and invert the glass jar over the top like a collector’s cloche.
- Color Coordination: Match matchstick heads (terracotta, forest green, or pastel pink) to your room’s accent palette.
16. Mediterranean Sea Glass Candle Holders
Introduction & Concept
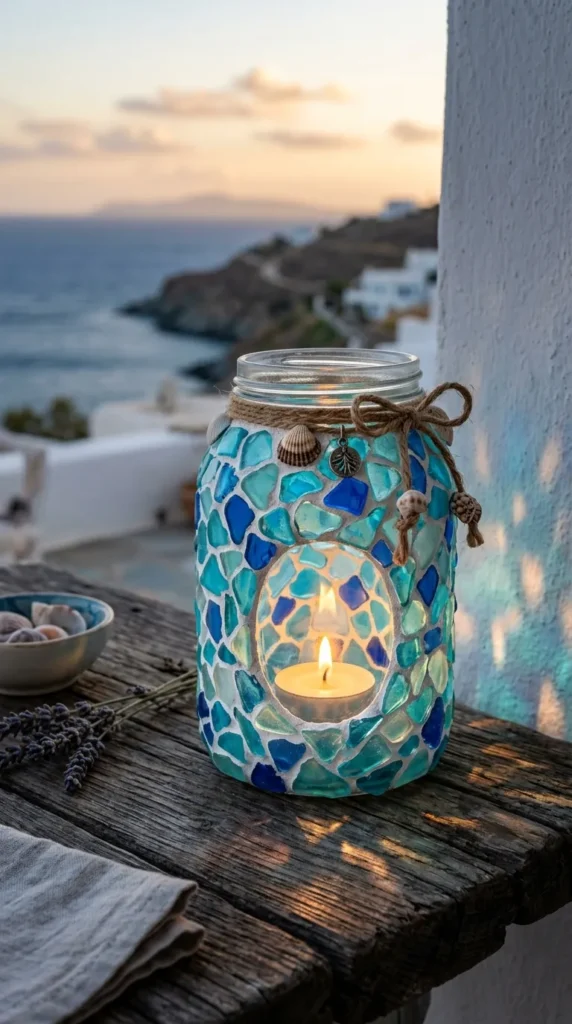
Inspired by coastal Mediterranean villas, this craft uses translucent glass mosaic tiles or tumbled sea-glass shards bonded with white grout. The textured, mosaic exterior casts relaxing aquamarine refractions when a candle is lit inside.
Materials Needed
- Smooth 16 oz mason jars
- Tumbled authentic sea glass shards (aqua, cobalt, clear, and seafoam)
- Clear silicone adhesive or strong craft glue
- White sanded mosaic tile grout and mixing bowl
- Grouting sponge and microfiber cloth
Step-by-Step Instructions
- Lay the jar horizontally on a towel and glue individual sea glass pieces onto the glass surface, leaving roughly 1/8 inch gap between pieces like a mosaic puzzle.
- Allow the adhesive to cure completely for 6 to 8 hours until the sea glass is solidly anchored.
- Mix white tile grout to a creamy paste and gently spread it across the entire mosaic using your fingers or a spatula, packing the paste firmly into every crevice.
- Let the grout set for 20 minutes until a dry haze forms over the glass shards.
- Use a damp sponge to gently wipe away excess grout from the glass faces, rinsing frequently until the sea glass shines cleanly above the grout lines. Let cure for 24 hours.
Tips & Creative Variations
- Ombré Tides: Arrange dark cobalt glass at the bottom, transitioning into aqua, seafoam, and finally clear white glass at the rim.
- Beachy Finish: Mix fine beach sand into the grout for a textured, coastal finish.
17. Ribbed Raffia & Cane Webbing Vases
Introduction & Concept
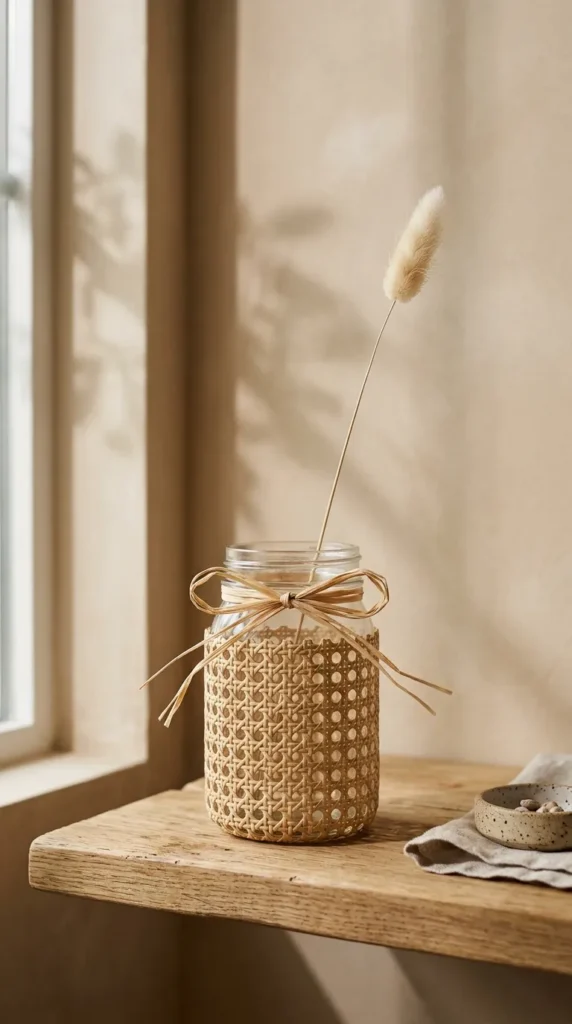
Cane webbing and natural woven raffia bring warmth, texture, and organic structure to simple glass vessels. This craft wraps mason jars in open-weave rattan mesh, creating an elevated Japandi and Scandinavian aesthetic suited for dried florals and wild grasses.
Materials Needed
- Smooth 32 oz straight-sided mason jars
- Fine open-mesh cane webbing (radio weave or hexagonal)
- Warm water basin (for soaking cane)
- Natural raffia ribbon or fine cotton string
- Hot glue gun and heavy-duty craft scissors
Step-by-Step Instructions
- Cut a rectangular piece of cane webbing to match the height and circumference of the jar.
- Soak the cane webbing in warm water for 20 to 30 minutes to make the fibers pliable and easy to bend.
- Pat the webbing dry with a towel, wrap it tightly around the jar, and secure the overlapping seam with a line of hot glue.
- Wrap natural raffia ribbon tightly around the upper collar and base 4 to 5 times to frame the cane webbing, tying off in a minimalist knot.
- Allow the cane to air-dry completely; as it dries, it naturally shrinks slightly to form a snug fit around the jar.
Tips & Creative Variations
- Dyed Webbing: Soak the cane webbing in diluted black tea or walnut stain before wrapping to give the material a rich honey-toned vintage patina.
- Partial Wrap: Cover only the middle third of the glass, leaving the clear upper and lower glass visible for a modern color-block look.
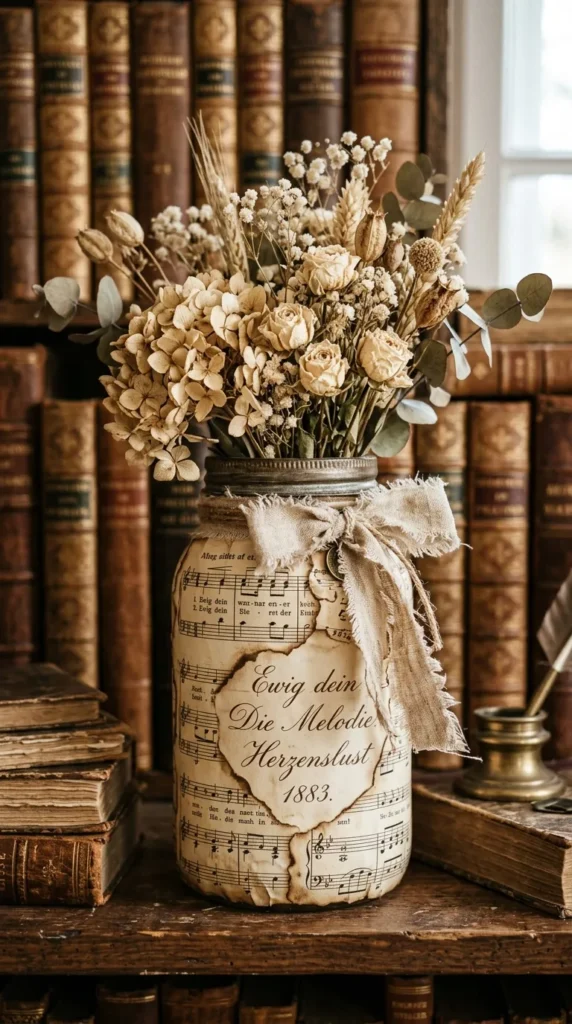
18. Vintage Sheet Music & Script Decoupage Vases
Introduction & Concept
Evoking classic libraries and timeless study spaces, vintage script and sheet music decoupage jars bring nostalgic charm to home decor. Distressed antiquing fluid and torn deckled edges give plain glass vessels the feel of treasured historical artifacts.
Materials Needed
- Mason jars
- Authentic vintage sheet music, old book pages, or calligraphic letters
- Matte Mod Podge
- Distress ink pad (walnut or antique linen) with foam blending sponge
- Soft flat brush
Step-by-Step Instructions
- Tear vintage paper into small, organic rectangular pieces with rough deckled edges rather than straight scissor cuts.
- Dab distress ink along the torn edges using a foam sponge to emphasize the aged, antique appearance.
- Brush a generous coat of Mod Podge onto a section of the jar and smooth the paper pieces down, slightly overlapping the torn edges.
- Continue until the entire glass surface is covered in antique script.
- Apply a final sealing layer of matte Mod Podge across the entire exterior to protect the paper from moisture.
- Once dry, tie a narrow strip of aged cotton ribbon or vintage lace around the jar rim.
Tips & Creative Variations
- Botanical Overlay: Press a small dried botanical stem over the center of the sheet music before applying the final protective coat.
- Translucent Glow: Use single-ply tissue paper printed with music scores to allow candlelight to shine through the text softly.
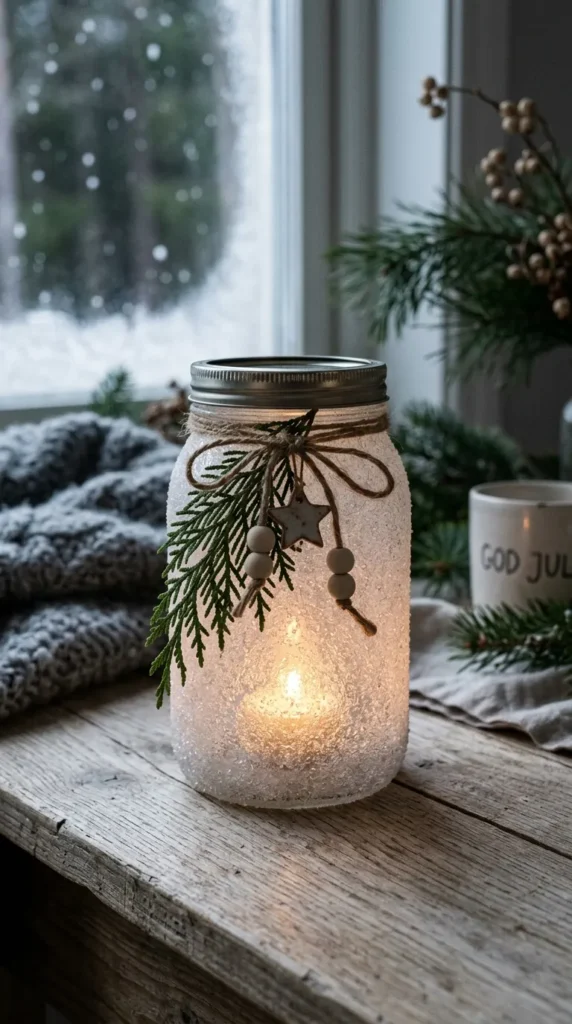
19. Scandinavian Frosted Evergreen Luminary
Introduction & Concept
Scandinavian winter decor emphasizes natural wood, frosted glass, and fresh evergreen textures. These minimalist luminaries use botanical silhouettes against fine white crystal textures to capture the serenity of a snow-dusted Nordic forest.
Materials Needed
- 16 oz or 32 oz mason jars
- Epsom salts (fine granulation)
- Mod Podge or clear craft glue
- Fresh small sprigs of cedar, juniper, or pine
- Jute twine and small raw wooden beads
- White votive candle or battery-powered flickering tea light
Step-by-Step Instructions
- Brush an even coat of Mod Podge over the lower two-thirds of the mason jar exterior.
- Generously roll the wet jar in a tray of fine Epsom salts until evenly coated in crystalline “frost.” Let dry for 1 hour.
- Tie two natural evergreen sprigs to the neck of the jar using jute twine.
- Thread two unpainted wooden beads onto the twine ends, knotting the cord to hold them in place.
- Place a votive or tea light inside; the candle flame will illuminate the sparkling salt crystals, casting a warm winter glow.
Tips & Creative Variations
- Glitter Infusion: Mix a dash of ultra-fine iridescent white craft glitter with the Epsom salts to add subtle sparkle to the frosted layer.
- Negative Silhouette: Adhere a temporary adhesive pine tree cutout to the glass before applying glue and salt; peel away when dry to reveal a clear window into the candle flame.
20. Artisan Pour-Over Drip Coffee Maker
Introduction & Concept
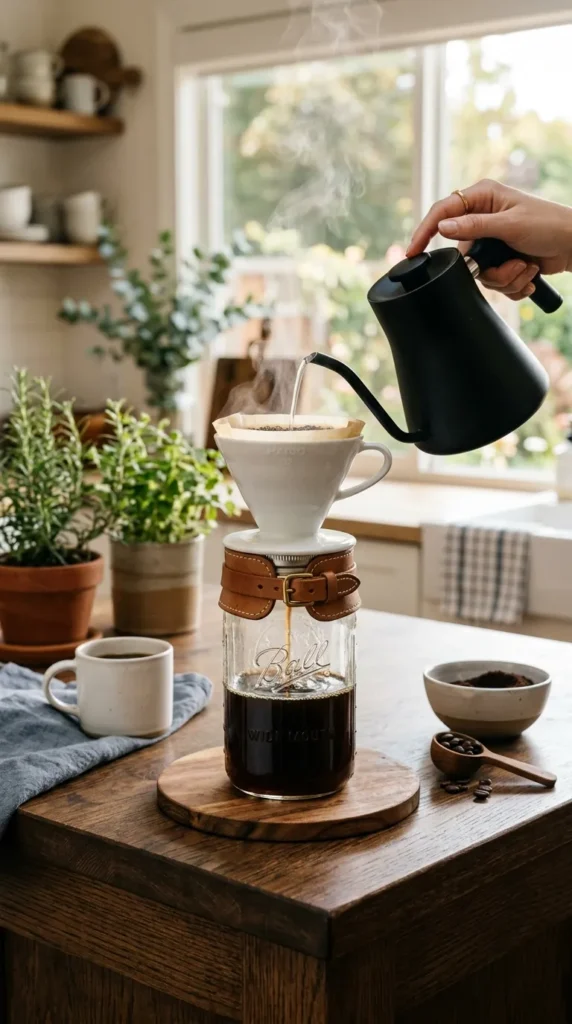
Blend functional everyday utility with industrial coffeehouse style by turning a wide-mouth mason jar into a manual pour-over brewing station. Paired with a ceramic or glass dripper funnel, it serves as a minimalist coffee brewer and serving carafe for your morning routine.
Materials Needed
- 32 oz wide-mouth mason jar (heat-resistant tempered glass)
- Ceramic or copper cone pour-over coffee filter dripper (standard size 02)
- Natural thick leather scrap or heavy cork sheet
- Copper wire or leather cord for collar wrapping
- Paper coffee filters and medium-coarse ground coffee
Step-by-Step Instructions
- Cut a 2-inch wide strip of natural tooling leather to wrap snugly around the neck and upper shoulder of the mason jar to act as a heat-resistant handling grip.
- Punch small holes along the matching edges of the leather collar and stitch them closed tightly using waxed thread or copper wire.
- Rest your ceramic pour-over cone dripper directly inside the wide mouth opening of the mason jar.
- Place a paper filter in the cone, rinse with hot water, discard the rinse water, and add your ground coffee.
- Slowly pour hot water (200°F/93°C) over the grounds in circular motions, allowing freshly brewed pour-over coffee to drip directly into the glass carafe below.
Tips & Creative Variations
- Measurement Marks: Use glass etching cream to apply clean, minimalist horizontal volume lines on the side of the jar indicating 8 oz and 16 oz pour levels.
- Wooden Sleeve: Replace the leather collar with a steam-bent thin walnut veneer wrap for a warm, modern aesthetic.