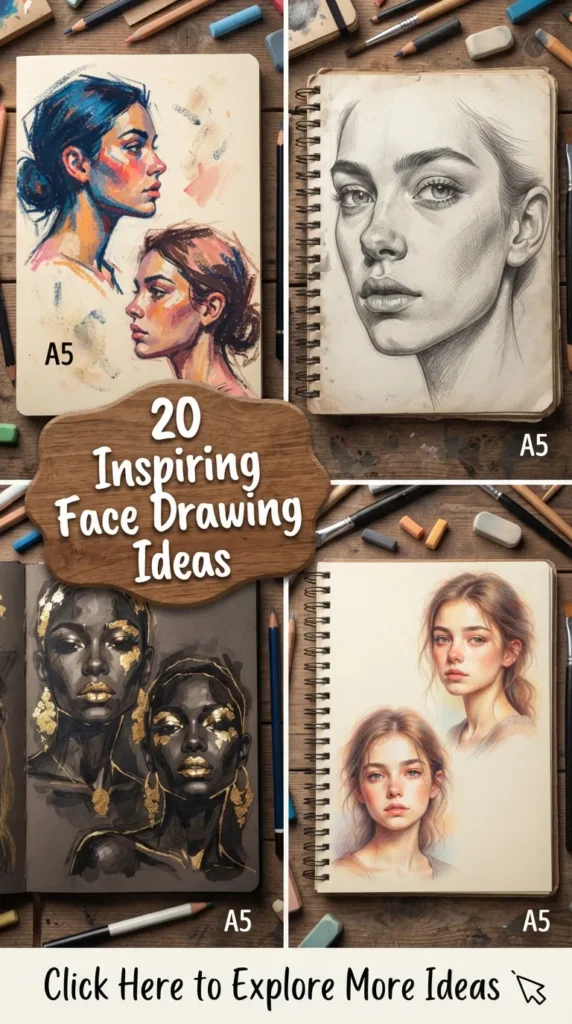
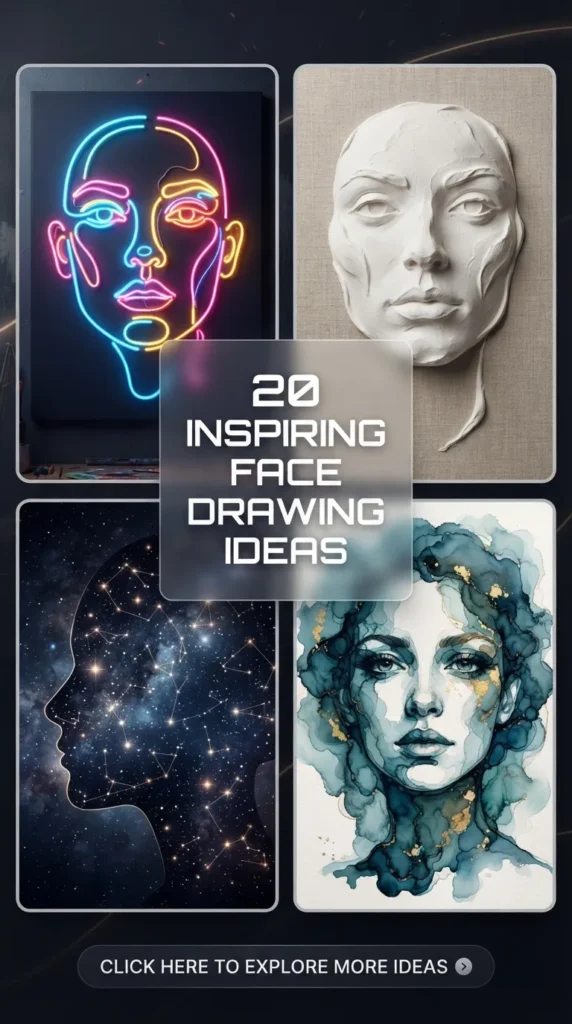
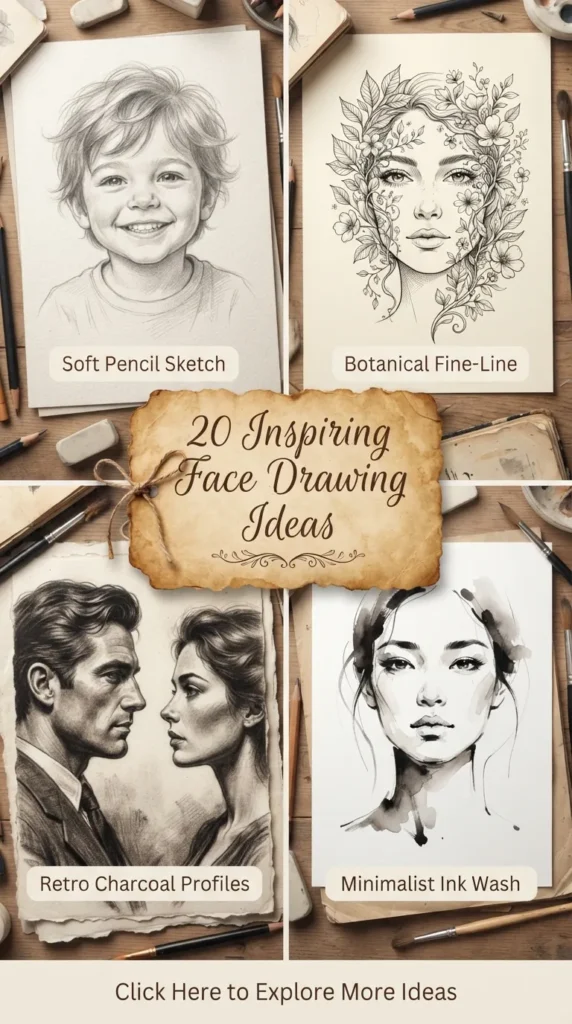
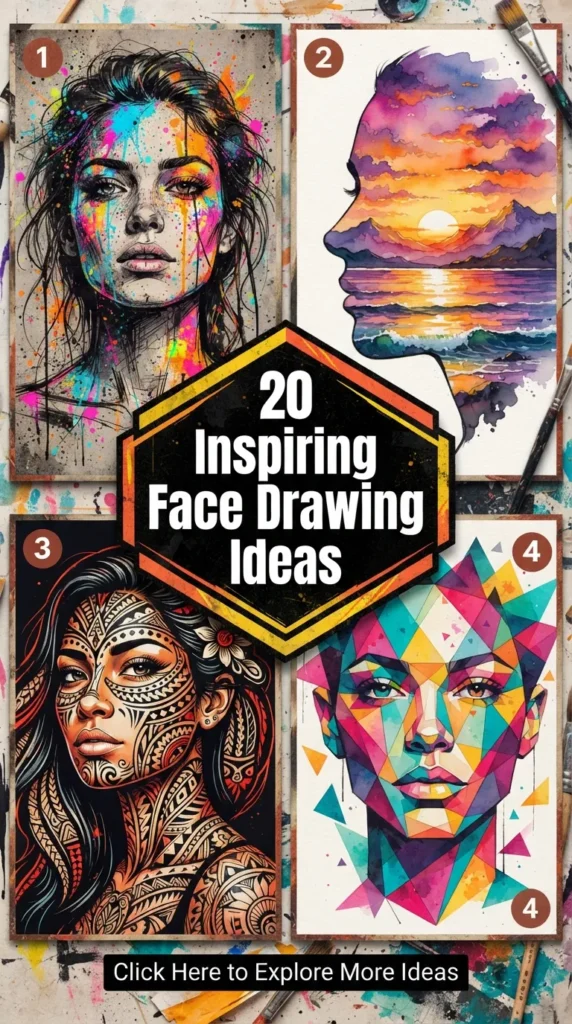
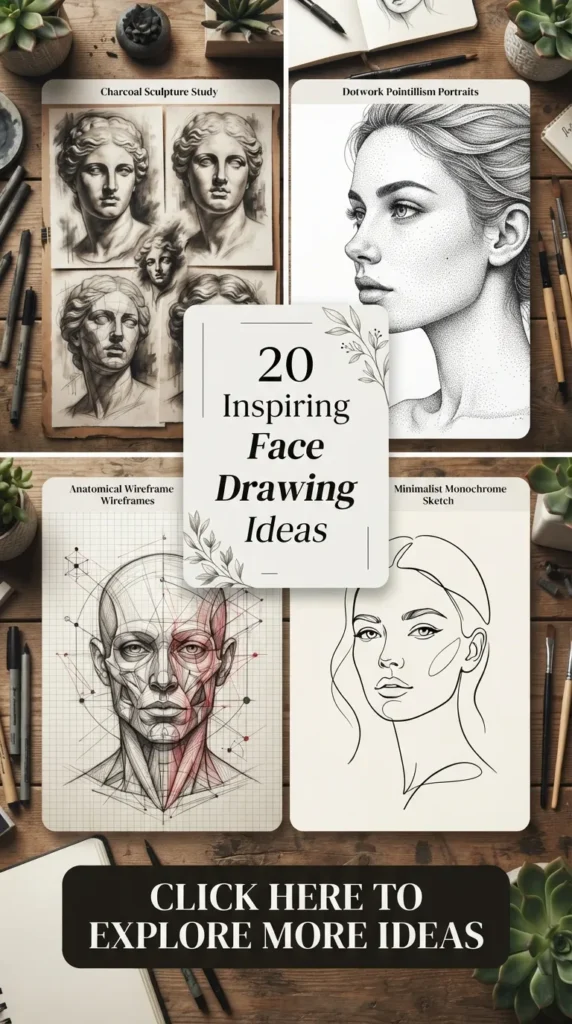
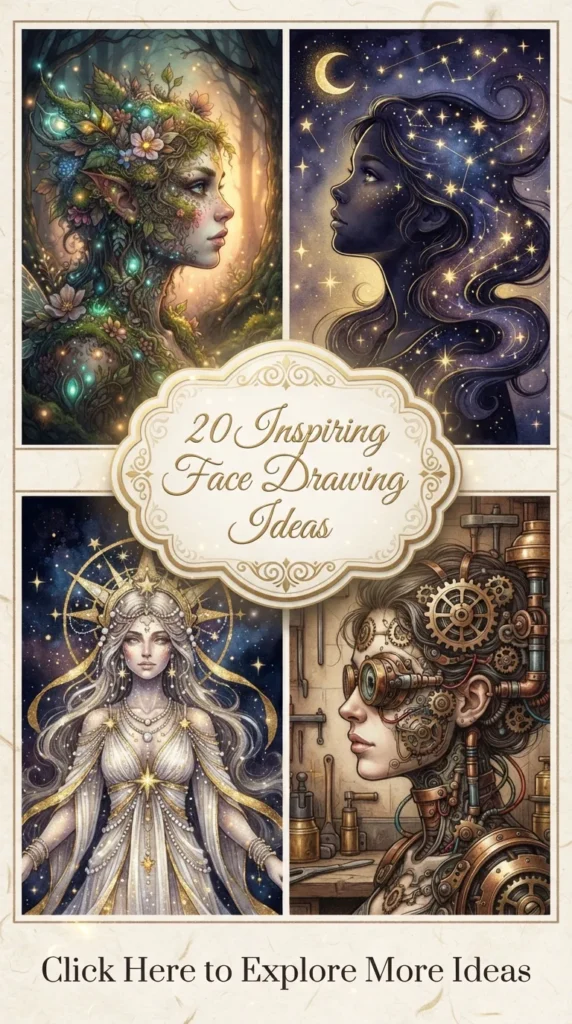
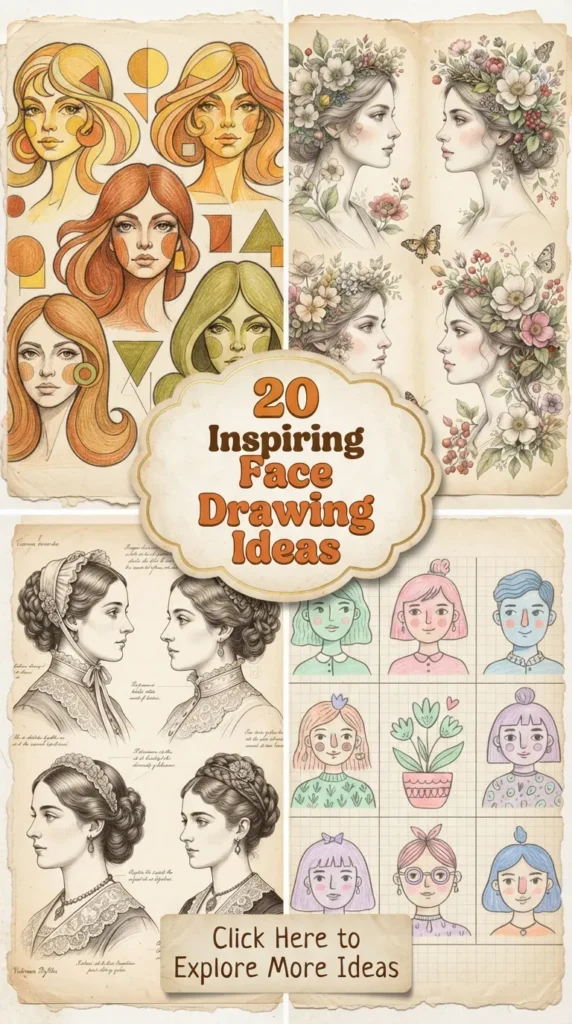
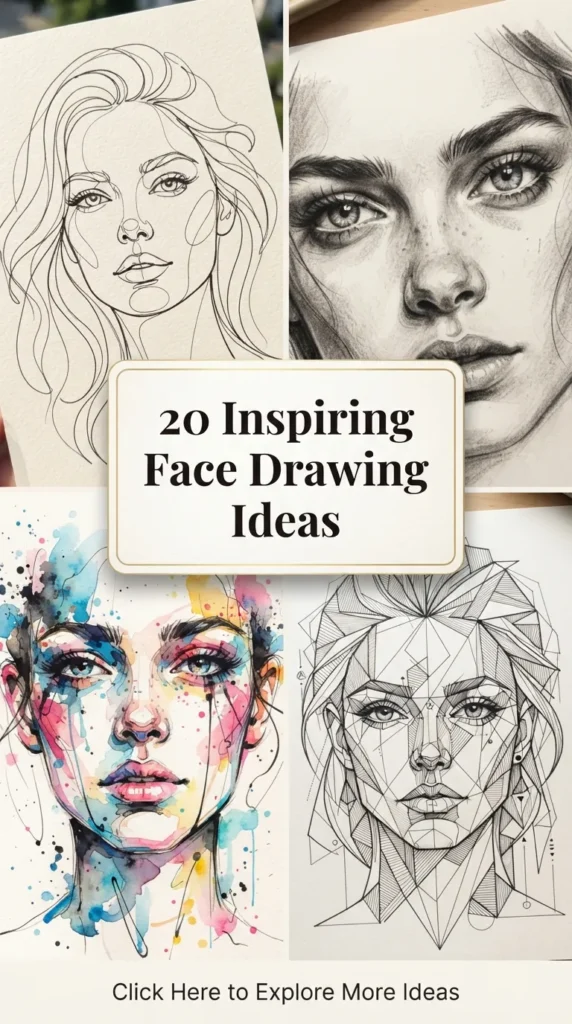
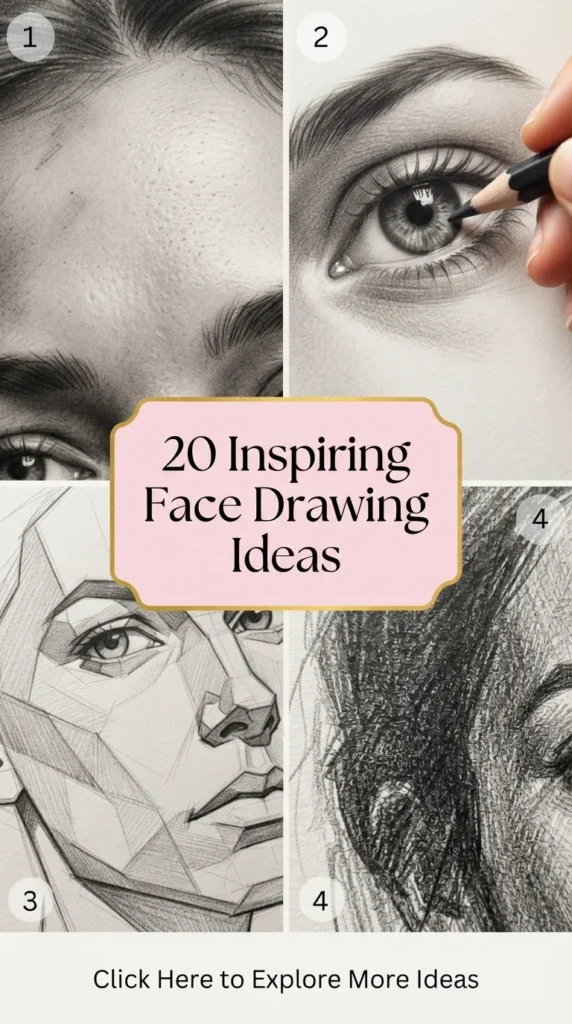
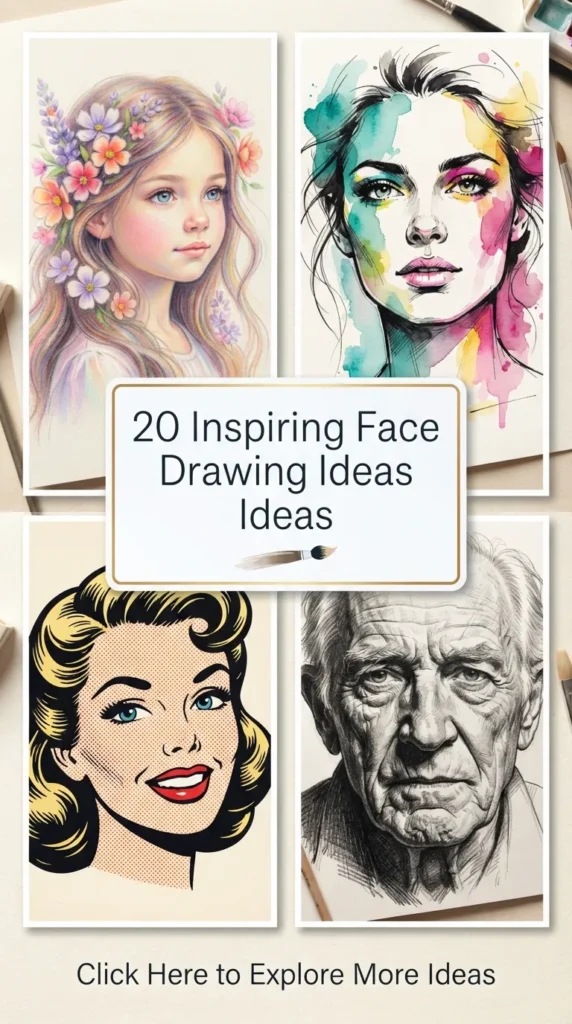
Drawing the human face is one of the most expressive, captivating, and timeless forms of art. Whether you are filling a quiet evening sketchbook page, experimenting with graphite pencil shading, or creating digital illustrations to pin on Pinterest, face drawing offers endless opportunities for artistic exploration. From minimalist single-line profiles to dreamy surrealist portraits, mastering different face drawing styles helps artists build confidence while capturing raw human emotion.
If you are looking for fresh, Pinterest-worthy inspiration, this comprehensive guide explores 20 aesthetic face drawing ideas. Each idea covers what makes the concept special, a step-by-step guide to sketching it, key tips and variations to try, and the exact supplies needed to bring your artwork to life.
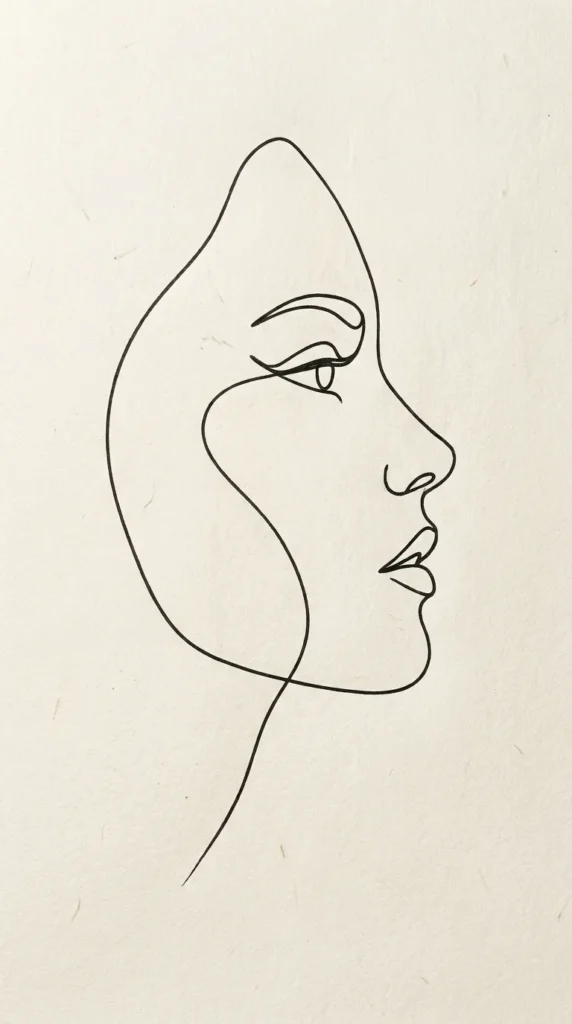
1. Minimalist Continuous Line Profile
What This Idea Means
Continuous line art focuses on capturing the silhouette and essential facial features using a single unbroken line. Inspired by modern line art trends, this style emphasizes fluidity, simplicity, and elegance. The beauty lies in how much emotion can be conveyed without lifting the pen from the paper.
How to Make It
- Study the Silhouette: Observe a side-profile reference photo to map out the contour of the forehead, nose, lips, chin, and neck in your mind.
- Set Your Anchor Point: Start your pen or pencil near the top of the forehead.
- Draw the Contour: Move downward in one smooth, uninterrupted motion, tracing the bridge of the nose, dipping in at the cupid’s bow, defining the lips, and sweeping down the jawline.
- Loop Back for Details: Without lifting your tool, loop inward to trace an abstract eye contour or eyebrow arch before sweeping out toward the neck.
- Finish the Stroke: Let the line taper off softly at the collarbone.
Tips & Variations
- Blind Contour Challenge: Try drawing the profile without looking down at your paper for a quirky, expressive result.
- Metallic Ink Accent: Use a gold metallic gel pen on dark charcoal paper to make the single line pop with luxury.
Needs & Materials
- Smooth Bristol paper or sketchbook
- Fine-tip ink pen (0.3mm or 0.5mm) or graphite 2B pencil
- Eraser (for minor planning marks if needed)
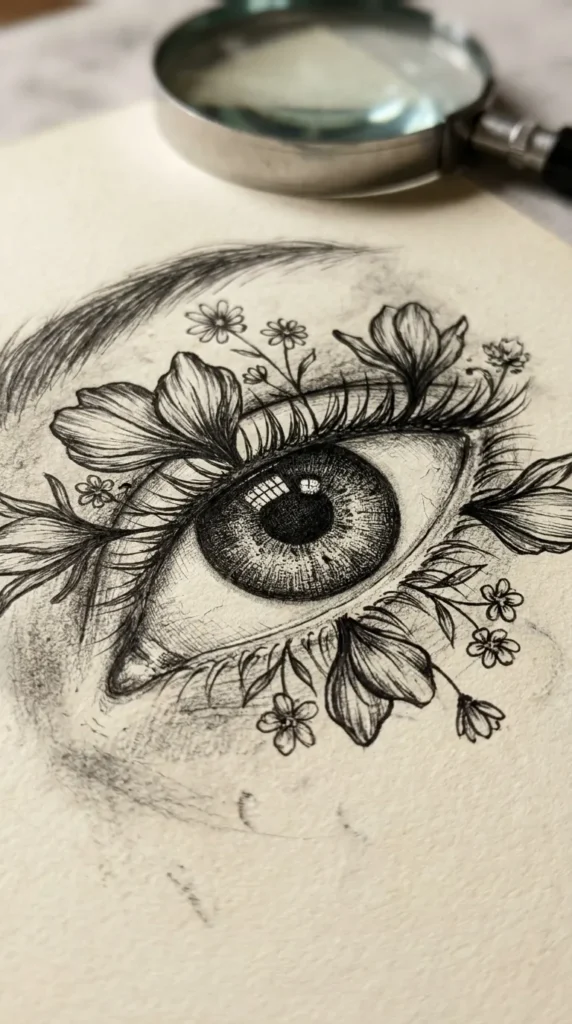
2. Botanical Floral Eye Portrait
What This Idea Means
This poetic concept merges human facial features with natural elements. Instead of drawing a standard eye, delicate flowers, blooming petals, leaves, and vine tendrils branch out from the eyelid and cheekbone area, symbolizing growth, beauty, and connection to nature.
How to Make It
- Sketch the Eye Outline: Lightly draw a detailed almond-shaped eye, including the iris, pupil, and subtle eyelid crease using a light pencil (2H).
- Plan the Botanical Placement: Pencil in small circles along the lower lash line and temples where flower heads will bloom.
- Draft Flowers: Sketch daisies, small roses, or cherry blossoms emerging from the corners of the eye and spreading outward onto the cheek.
- Detail the Iris: Render realistic reflections and radial texture lines inside the iris.
- Ink & Shade: Use a fine liner to ink the flower petals and eye contours. Add soft shading around the petals using a graphite blending stump.
Tips & Variations
- Monochrome vs. Color: Keep the face in realistic grayscale shading, but color the botanical blossoms in soft pastel watercolors.
- Vine Eyelashes: Replace traditional lower eyelashes with tiny trailing leaves and thin tendrils.
Needs & Materials
- Medium-weight drawing paper
- Graphite pencils (2H, HB, 4B)
- Fine-line technical pen (0.1mm)
- Blending stump (tortillon)
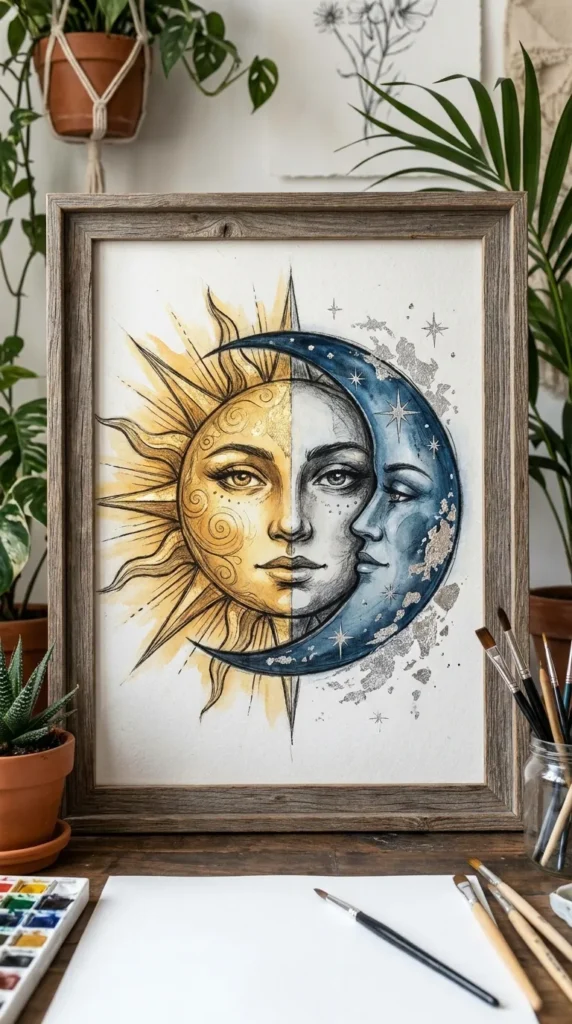
3. Celestial Moon & Sun Split Face
What This Idea Means
Rooted in mythic imagery and celestial aesthetics, this idea splits a portrait down the center. One side represents the sun with warm, glowing features and radiant rays, while the opposite side features cool night hues, crescent moon shapes, and glowing constellations.
How to Make It
- Divide the Face: Draw a soft vertical centerline down the face to split the features symmetrically.
- Sketch the Solar Side: On the left, draw an open, bright eye surrounded by stylized sunburst rays, warm blush shading, and golden highlights.
- Sketch the Lunar Side: On the right, draw a serene, closed eye with a crescent moon sweeping around the cheek and forehead.
- Add Celestial Accents: Scatter small four-point stars and dotted constellations across the forehead and cheekbones.
- Shade and Contrast: Use deep charcoal shading on the moon side and bright, clean highlights on the sun side to create dramatic contrast.
Tips & Variations
- Mixed Media Touch: Use metallic gold paint pens for the sun rays and silver ink for the stars.
- Half-Face Profile: Draw a side-profile portrait where a glowing crescent moon cradles the front of the face.
Needs & Materials
- Heavyweight sketching paper
- Graphite pencils (HB, 2B, 6B)
- Gold and silver gel pens or metallic markers
- Kneaded eraser
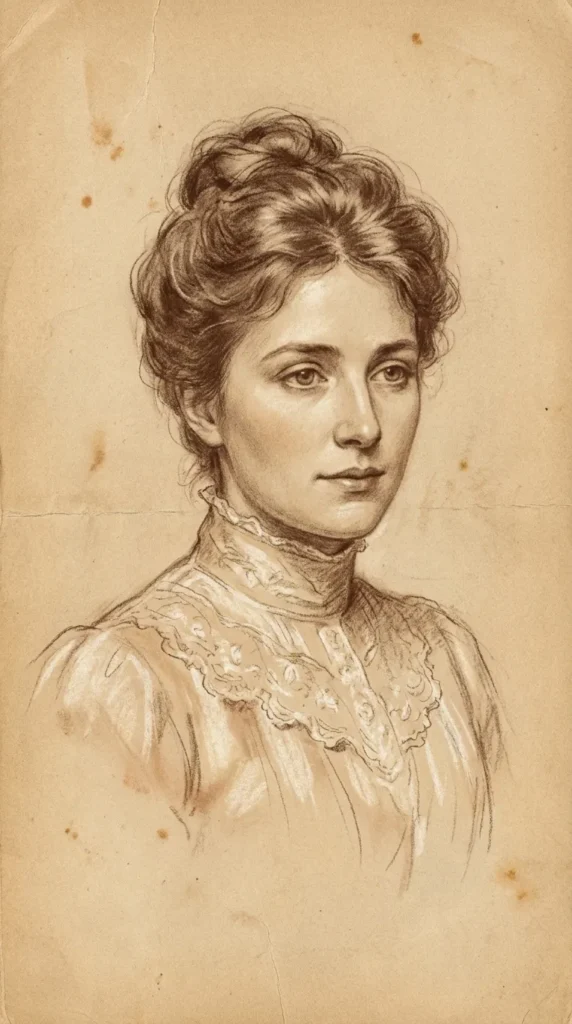
4. Vintage Sepia Soft Portrait
What This Idea Means
A Vintage Sepia Portrait invokes nostalgia, reminiscent of classic nineteenth-century photography and old master figure studies. Using warm brown tones, soft blending, and muted lighting, this style yields a romantic, timeless aesthetic.
How to Make It
- Choose Your Base: Use warm cream, tan, or toned tan paper to naturally set a vintage mood.
- Block In Proportions: Map basic facial proportions (eye line, nose base, lip line) using a light brown pastel or sepia pencil.
- Build Shadow Values: Gently shade core shadows under the brow bone, beneath the nose, and along the jaw using soft sepia strokes.
- Blend Gently: Use a tortillon or soft cotton pad to smooth shadow transitions into warm mid-tones.
- Apply White Highlights: Use a white charcoal pencil to bring out high points like the tip of the nose, cheekbones, and lip shine.
Tips & Variations
- Vignette Edge: Lightly smudge dark brown charcoal around the outer paper edges to create an aged vignette effect.
- Adding Freckles: Stipple delicate sepia dots across the bridge of the nose for a soft, youthful touch.
Needs & Materials
- Toned tan or warm cream sketching paper
- Sepia pencil or brown pastel pencil
- White charcoal pencil
- Blending stump or cotton swab
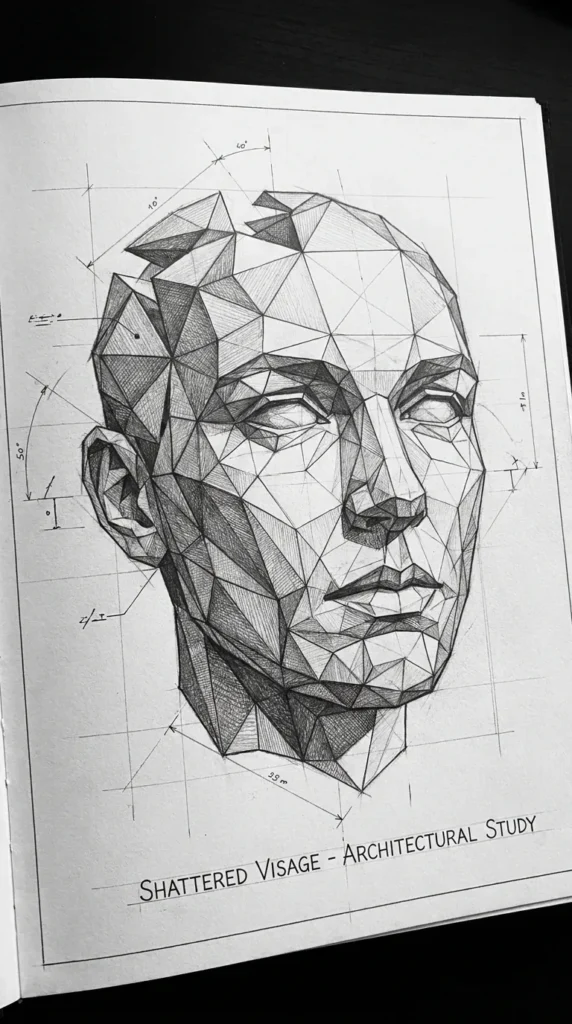
5. Geometric Origami Fragment Face
What This Idea Means
This low-poly, modern art concept breaks down realistic facial curves into sharp geometric facets, triangles, and polygon planes, resembling a 3D folded paper model or low-poly digital sculpture.
How to Make It
- Construct Basic Face Shape: Lightly sketch an oval face with standard realistic feature placement.
- Draw Polygon Mesh: Overlay a grid of straight, intersecting lines across the facial contours, turning rounded cheeks and nose bridges into triangular facets.
- Assign Values to Facets: Decide on a single directional light source (e.g., top-left).
- Shade Each Plane: Fill each triangular facet with a solid tone, ranging from crisp white highlights to deep dark shadows depending on how it faces the light source.
- Refine Edge Lines: Clean up outer facet lines with a straight ruler and sharp fine liner for precision.
Tips & Variations
- Gradient Facets: Instead of solid tones, shade each triangle with a subtle gradient transition.
- Partial Polygon Split: Keep one half of the portrait hyper-realistic while the other half shatters into geometric fragments.
Needs & Materials
- Smooth bristol board
- Fine technical pen (0.2mm and 0.5mm)
- Hard and soft graphite pencils (2H, 4B)
- Small ruler
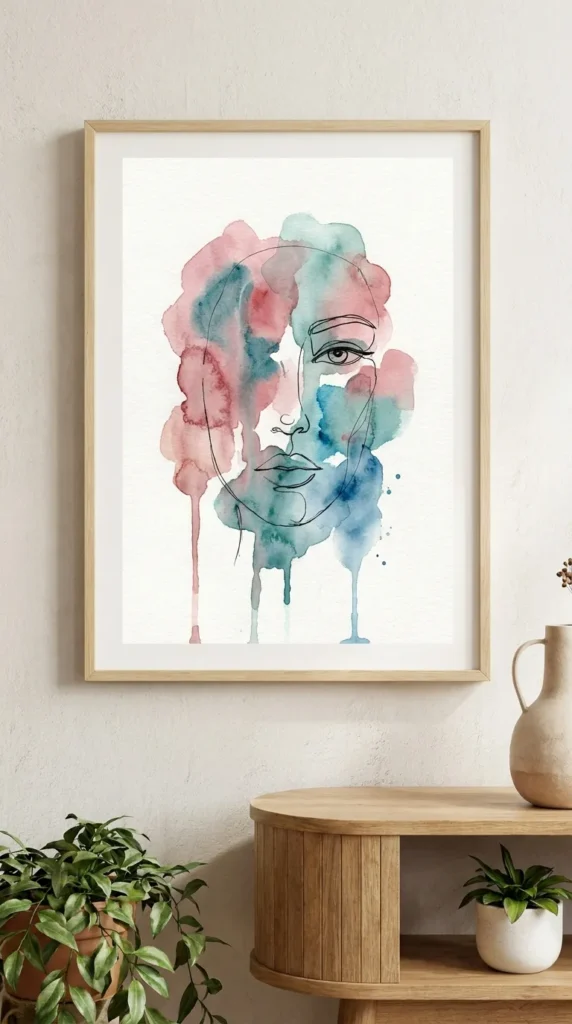
6. Abstract Watercolor Blob & Line Portrait
What This Idea Means
This trendy Pinterest aesthetic combines loose, unpredictable watercolor washes with crisp, detailed ink line art over top. Fluid color blobs act as abstract blush and shadow tones that bleed outside traditional line borders.
How to Make It
- Paint Watercolor Base: Wet your watercolor paper and drop soft washes of peach, mauve, teal, or yellow in loose, organic shapes. Let colors bleed naturally.
- Allow to Dry: Let the watercolor background dry completely so ink will not bleed when applied.
- Lightly Map Features: Pencil in facial features across the painted blobs, ignoring where color boundaries land.
- Ink the Face Detail: Use a waterproof fine liner to draw delicate eyes, nose, lips, and hair strands directly over the dried paint blobs.
- Add Splatters: Tap your wet watercolor brush against your finger to splatter tiny color dots across the paper.
Tips & Variations
- Negative Space Lips: Leave the lips completely white while surrounding areas are vibrant with color washes.
- Single Color Wash: Use a single bold color (like cobalt blue) for the watercolor base to create a high-contrast pop.
Needs & Materials
- Cold-press watercolor paper (300 gsm)
- Watercolor paints and round mop brush
- Waterproof fine liner pen (0.3mm)
- Clean water jar and paper towels
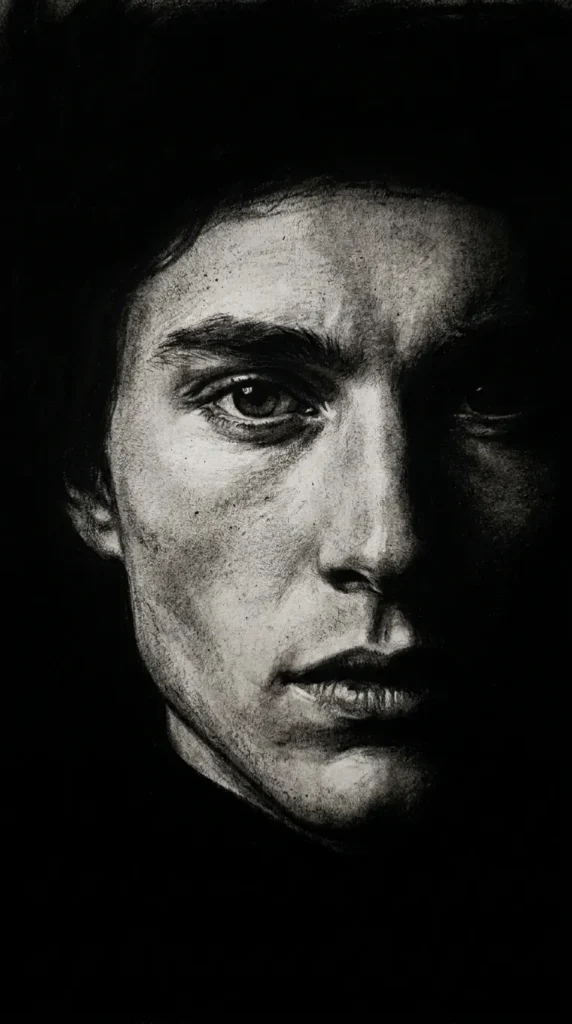
7. Dramatic Chiaroscuro Shadow Portrait
What This Idea Means
Chiaroscuro is an Italian art term referring to the dramatic contrast between light and dark. This aesthetic covers half or more of the face in deep shadow, leaving only strong key highlights visible to evoke mystery, intensity, and cinematic depth.
How to Make It
- Establish Light Source: Imagine a single harsh light coming from one side (side-lighting or Rembrandt lighting).
- Block Deep Shadows: Use a soft 6B pencil or charcoal stick to heavily shade out the dark side of the face completely.
- Refine Shadow Edges: Carefully trace the hard shadow edge cutting across the nose bridge, lip curve, and cheekbone.
- Render Highlights: Leave high-light areas as raw white paper. Smooth transitions between pure light and dark using mid-tone hatch marks.
- Deepen Background: Fill the background surrounding the illuminated side with solid dark charcoal to maximize pop.
Tips & Variations
- White on Black Paper: Draw using only white colored pencil or chalk on solid black paper to reverse the process.
- Glow effect: Use a kneaded eraser to lift subtle reflected light along the shadow side of the jaw.
Needs & Materials
- Heavy cartridge paper or smooth sketchbook
- Soft graphite pencils (4B, 6B, 8B) or compressed charcoal
- Kneaded eraser
- Tortillon blending tool
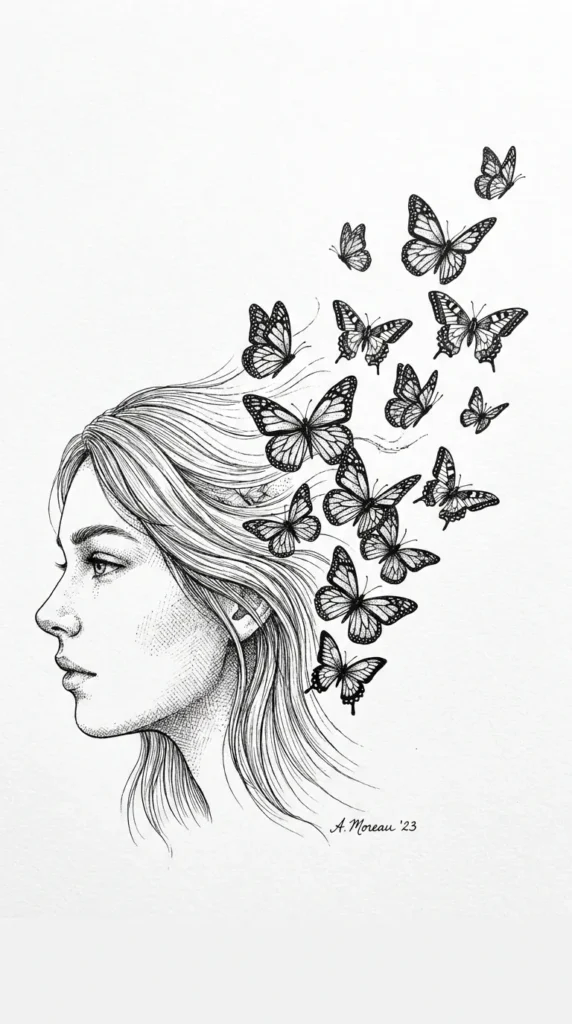
8. Butterfly Swarm Profile
What This Idea Means
Symbolizing transformation, freedom, and delicate grace, this concept shows a graceful face profile where fluttering butterflies break away from the hair, eyes, or cheekbones, merging human beauty with wildlife movement.
How to Make It
- Sketch the Profile: Draw a serene side profile with eyes gently closed or looking upward.
- Plot the Flight Path: Lightly pencil a curved, sweeping path starting from the cheek or hair up toward the top edge of the page.
- Draw Butterfly Wings: Sketch butterflies of various sizes along the path. Position tiny butterflies near the face and larger ones further away to create depth.
- Detail Wing Patterns: Add realistic wing veins, monarch patterns, or simple silhouette wings.
- Blend and Flow: Connect the butterfly swarm to the face by drawing soft hair strands or wisps merging into butterfly antennae.
Tips & Variations
- Monarch Accent: Paint only the butterflies in rich orange and black while keeping the face in classic pencil shading.
- Dissolving Face: Show the edge of the cheekbone physically dissolving into tiny floating butterfly shapes.
Needs & Materials
- Drawing paper
- Fine liner pens (0.1mm, 0.3mm)
- HB and 3B graphite pencils
- Color markers or colored pencils (optional)
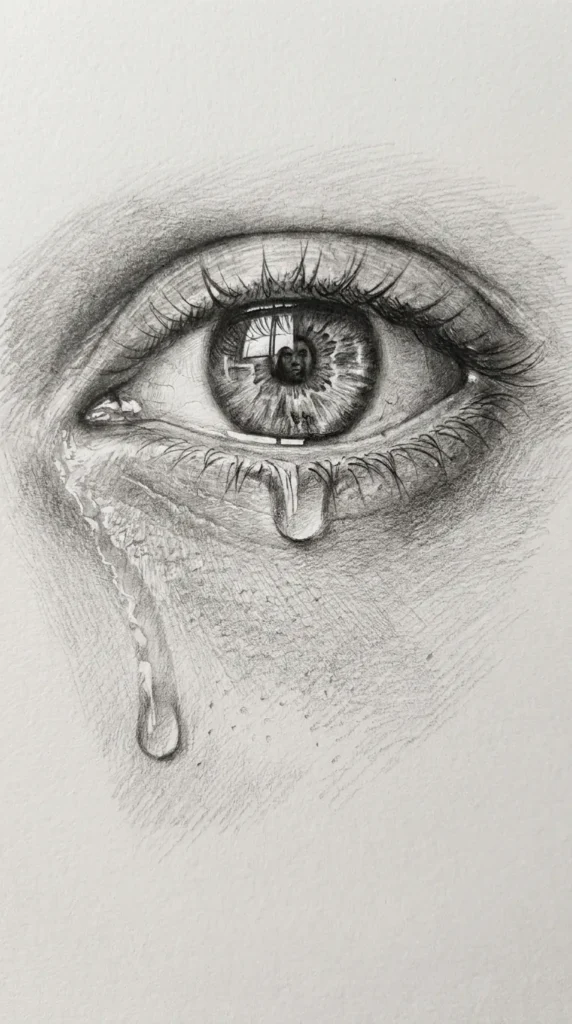
9. Hyper-Detailed Eye & Tear Focus
What This Idea Means
Focusing closely on a single facial feature—specifically a zoomed-in, hyper-detailed eye with a clear liquid tear—allows artists to master realism, moisture reflections, and intense emotional expression.
How to Make It
- Scale Up Proportions: Draw a large, zoomed-in outline of an eye, eyebrow, and surrounding skin area.
- Map Reflections: Lightly circle highlight zones inside the pupil and iris where light bounces off the eye’s wet surface.
- Render Iris Depth: Fill the iris with detailed radial lines, dark rim contours, and soft light reflections.
- Draw the Liquid Tear: Sketch a rounded droplet pooling at the lower eyelid and trailing down the cheek. Leave a crisp white highlight dot inside the tear.
- Add Skin & Lash Texture: Draw individual tapered eyelashes with quick, curved strokes and add subtle skin pores using light stippling.
Tips & Variations
- Prism Highlight: Draw a rainbow or window pane reflection inside the pupil instead of a standard white dot.
- Color Pupil: Keep skin and lashes in grayscale pencil, but fill the iris with vibrant green or crystal blue colored pencil.
Needs & Materials
- Smooth bristol paper
- Full set of graphite pencils (2H, HB, 2B, 4B, 8B)
- Precision eraser (mono zero eraser)
- Blending stump
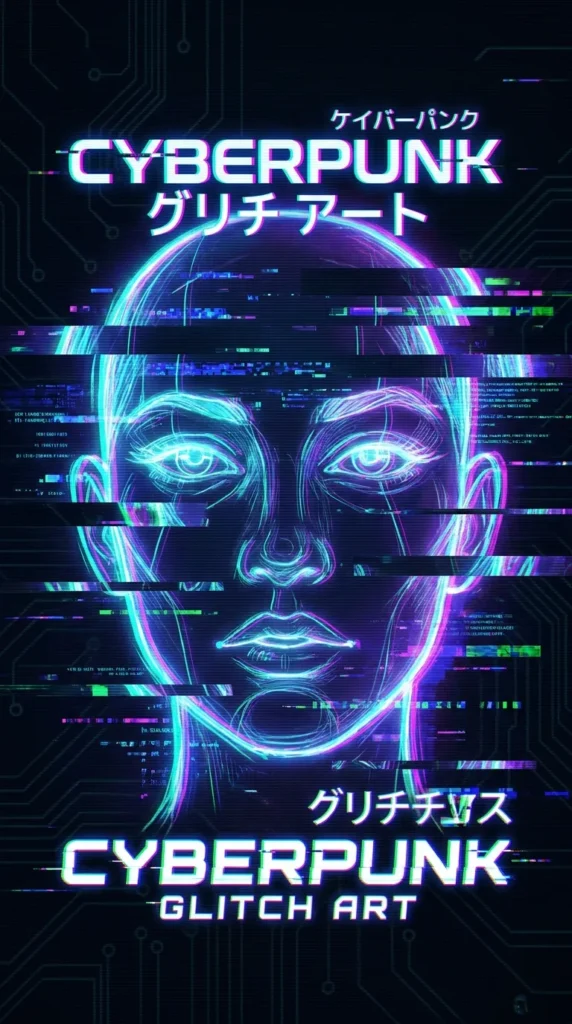
10. Cyberpunk Neon Glitch Face
What This Idea Means
Combining futuristic sci-fi aesthetics with portraiture, this style features distorted facial lines, digital color splits (chromatic aberration), glowing cybernetic lines, and neon light reflections across skin features.
How to Make It
- Sketch Base Portrait: Draw a modern portrait with strong, confident facial expression and futuristic hair or accessories.
- Plan Glitch Strips: Draw parallel horizontal rectangular offset blocks across parts of the eye, nose, or lips to slice the drawing.
- Shift Glitch Lines: Shift the drawn features inside those rectangular blocks slightly to the left or right to create a digital signal drop effect.
- Apply Chromatic Edges: Trace one side of your black lines with bright cyan ink and the opposite side with magenta ink.
- Add Neon Highlights: Add glowing neon-blue or pink stripes across the forehead and cheeks.
Tips & Variations
- Cybernetic Panels: Draw subtle mechanical seam lines along the jaw and neck to make the face appear semi-robotic.
- Dark Background: Set the drawing on dark paper to make bright neon gel pens pop with maximum intensity.
Needs & Materials
- Smooth paper
- Black fine liner pen
- Cyan, Magenta, and Neon-Yellow gel pens or markers
- Ruler for glitch offset lines
11. Dreamy Galaxy Hair Portrait
What This Idea Means
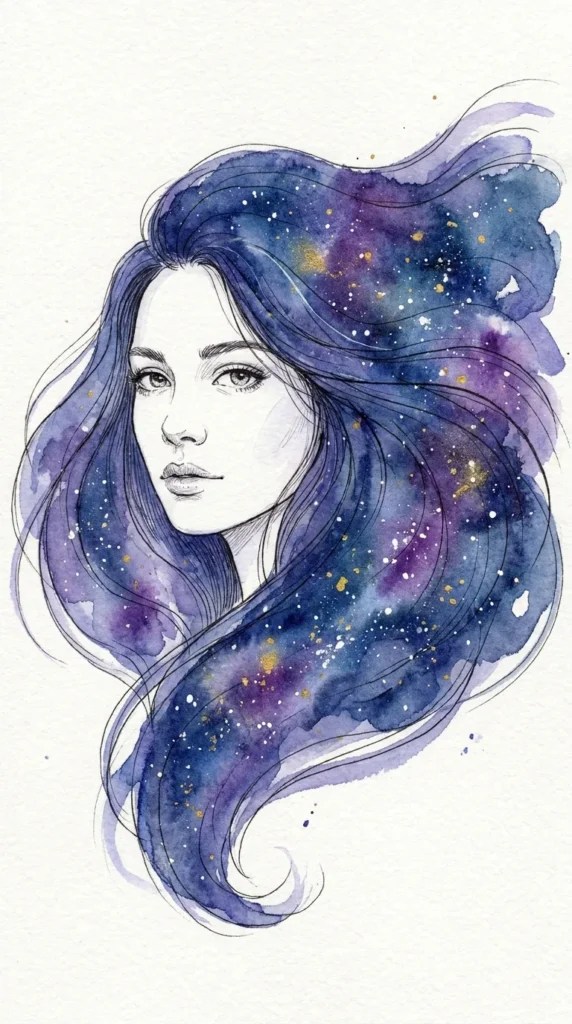
This whimsical aesthetic combines realistic face drawing with cosmic watercolor elements. The portrait’s hair expands into a vast night sky filled with nebulae, starry clusters, and deep space gradients.
How to Make It
- Draw Serene Face: Sketch a soft, tranquil facial expression with realistic shading on the skin features.
- Outline Hair Boundary: Draw a sweeping, voluminous hair outline that spreads out across the page.
- Paint Galaxy Base: Fill the hair outline with wet-on-wet watercolor washes of deep navy, indigo, purple, and magenta.
- Create Nebula Clouds: Dab small bits of bleach or clean water onto wet paint to lift color and form cloudy nebula clouds.
- Add Stars: Once dry, flick opaque white acrylic paint or white ink across the dark hair using a toothbrush.
Tips & Variations
- Constellation Hair Clips: Draw delicate gold star constellations pinned into the galaxy hair.
- Pastel Galaxy: Use pastel shades of pink, mint green, and sky blue for a softer “pastel goth” galaxy look.
Needs & Materials
- Mixed media or watercolor paper
- Watercolor or acrylic inks (Indigo, Magenta, Violet)
- White acrylic paint or white gel pen
- Toothbrush (for star flicking)
- Graphite pencil (2B)
12. Soft Pastel Blurred Portrait
What This Idea Means
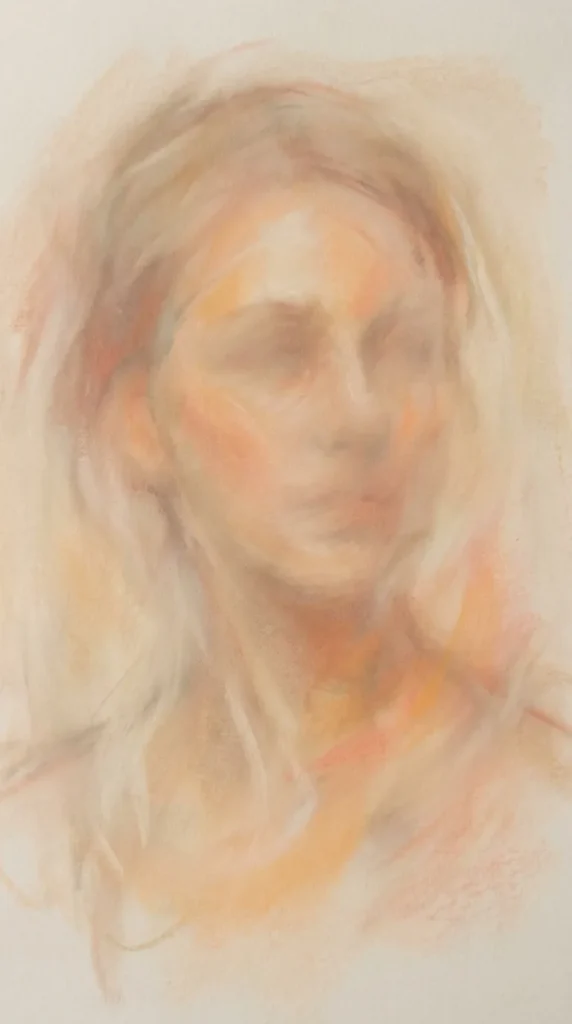
Inspired by dreamlike out-of-focus photography, this technique uses soft pastels or chalk to create velvety skin transitions and smudged feature edges, giving the portrait an ethereal, romantic atmosphere.
How to Make It
- Block Basic Shapes: Lightly map face contours on textured pastel paper using a neutral pastel pencil.
- Apply Soft Skin Tones: Lay down light coats of cream, peach, and soft pink pastel chalk across face planes.
- Smudge Softly: Use your fingertips, a chamois cloth, or soft blending sponges to rub and diffuse chalk dust into smooth gradients.
- Keep Features Soft: Avoid sharp, hard ink lines; define eyes, nose, and lips using mid-tone brown or terracotta pastel shades.
- Apply Fixative: Lightly spray your artwork with pastel fixative spray to prevent smudging.
Tips & Variations
- Vibrant Tinted Paper: Use charcoal-grey or navy blue pastel paper to give skin tones a luminous contrast.
- Blurred Background: Keep the face semi-detailed while completely smudging out hair and background into soft color clouds.
Needs & Materials
- Textured pastel paper (Canson Mi-Teintes)
- Soft pastel sticks & pastel pencils (Nude, Peach, Terracotta, White)
- Blending chamois or makeup sponges
- Spray fixative
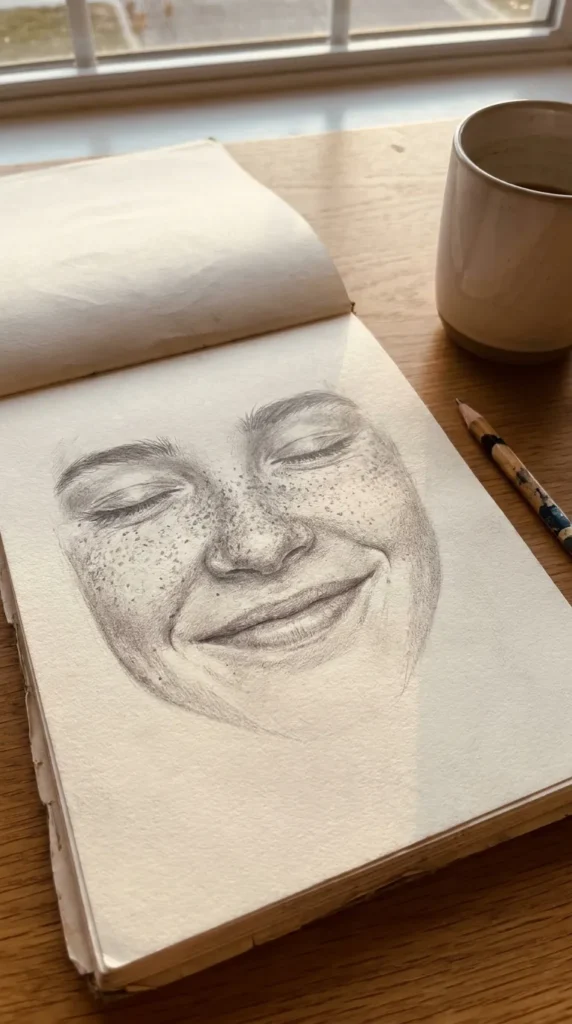
13. Freckled Sun-Kissed Beach Face
What This Idea Means
This sweet, youthful aesthetic focuses on bright, sun-lit skin, relaxed facial expressions, and dense clusters of warm freckles scattered across a rosy nose bridge and cheeks.
How to Make It
- Sketch Warm Features: Draw a friendly face with slightly parted lips, soft eyes, and natural wind-blown hair strands.
- Shade Warm Skin Tones: Add soft, warm shading around the cheeks, tip of the nose, and forehead using graphite or warm colored pencils.
- Stipple Base Freckles: Use a medium-brown sharp pencil to dot tiny freckles across the nose bridge and upper cheeks in varied sizes.
- Layer Darker Freckles: Add a second pass of darker brown stippling to make the freckles look natural and layered rather than uniform.
- Add Highlight Touches: Eraser-lift small sunlight highlights along the top curve of the nose and cheekbones.
Tips & Variations
- Gold Dust Freckles: Swap brown freckles for tiny dots of gold liquid leaf to add a fantasy sparkle.
- Sunburn Blush: Add a light wash of warm red or coral watercolor across the cheeks before adding freckles.
Needs & Materials
- Sketchbook paper
- Graphite pencils (HB, 2B)
- Warm brown colored pencils (Sienna, Burnt Umber)
- Precision eraser

14. Renaissance Red Chalk (Sanguine) Study
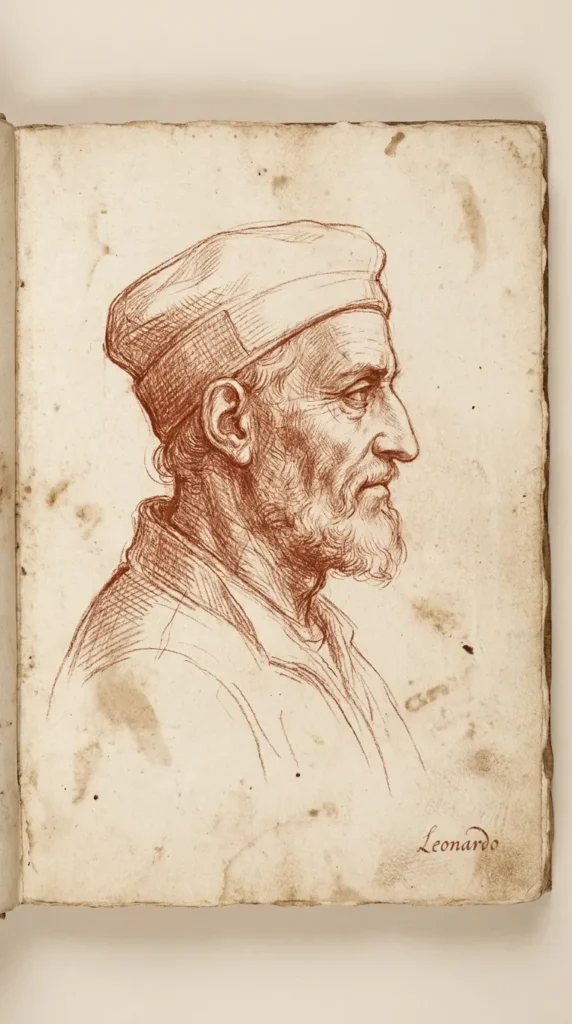
What This Idea Means
Inspired by Leonardo da Vinci and Michelangelo’s classic figure studies, this style uses rich red-brown terracotta chalk (sanguine) to draw anatomical facial features on warm paper.
How to Make It
- Prepare Paper: Choose warm cream, off-white, or tan paper to complement red chalk tones.
- Gesture Sketch: Block in head angles, tilt, and feature positions using light, loose strokes of a sanguine pencil.
- Carve Shadow Planes: Use the side of a sanguine crayon stick to shade dark eye sockets, cheek hollows, and jaw shadows.
- Hatch Transitions: Apply classic cross-hatching line work to blend shadows into light areas cleanly.
- Lift Highlights: Use a white pastel pencil or kneaded eraser to highlight high points like brow ridges and lip tops.
Tips & Variations
- Three-Color Study (Trois Crayon): Combine red sanguine, black charcoal, and white chalk on toned paper for full classic realism.
- Unfinished Vignette: Leave hair and torso as quick gesture strokes while fully rendering central eye and nose features.
Needs & Materials
- Cream or toned paper
- Sanguine (red-brown) chalk stick or pencil
- White chalk pencil
- Kneaded eraser
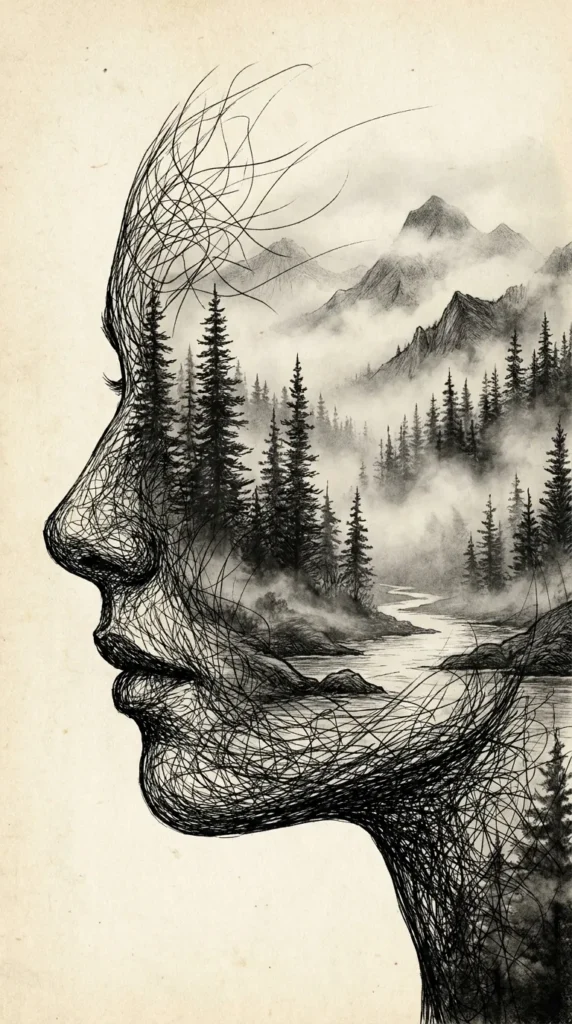
15. Surreal Double Exposure Portrait
What This Idea Means
Borrowing from photography, this surreal concept merges a human face profile with an internal landscape—such as pine forests, mountain peaks, or ocean waves—blending human emotion with outdoor scenery.
How to Make It
- Draw Crisp Silhouette: Draw a strong side-profile silhouette of a face with clear chin, nose, and forehead lines.
- Sketch Interior Scene: Inside the neck, jaw, and cheek area, pencil in a landscape (e.g., misty pine trees and mountain ridges).
- Blend Elements: Let tree tops double as hair strands or mountain slopes align with cheekbone contour lines.
- Incorporate Shading: Shade the outer face profile lightly while keeping internal landscape features dark and detailed.
- Unify Tone: Use fine liner ink work to tie the face line and landscape branches together seamlessly.
Tips & Variations
- Ocean Wave Inside: Replace mountain scenery with a crashing Hokusai-style wave filling the skull and cheek area.
- Night & Day Blend: Show a sunlit landscape inside the neck fading into a starry night sky near the top of the head.
Needs & Materials
- Smooth drawing paper
- Graphite pencils (HB, 3B, 6B)
- Fine technical ink pens (0.2mm, 0.4mm)
- Blending tortillon
16. Half-Mask Venetian Lace Face
What This Idea Means
Combining mystery, romance, and intricate detail, this portrait features a realistic face partially covered by a decorative lace or ornate filigree Venetian masquerade mask across the eyes.
How to Make It
- Draw Base Portrait: Lightly sketch a serene face focus, leaving the eye area mapped out clearly.
- Outline Mask Boundary: Draw the outer curve of a Venetian domino mask wrapping across the bridge of the nose and temples.
- Draft Lace Patterns: Fill the mask interior with delicate floral lace webbing, swirling filigree, and floral cutouts.
- Shade Under Mask: Add soft cast shadows underneath mask edges to give it a 3D lifted appearance off skin.
- Detail the Exposed Eye: Draw a piercing, realistic eye peeking through one of the lace mask openings.
Tips & Variations
- Feather Extensions: Add large, soft peacock or ostrich feathers extending off the mask corner into hair.
- Gilded Mask: Paint mask filigree with metallic gold ink while keeping face skin in monochromatic graphite.
Needs & Materials
- Smooth bristol or sketchbook paper
- Fine liner pens (0.05mm ultra-fine for lace, 0.3mm for outline)
- Graphite pencils (2B, 4B)
- Kneaded eraser
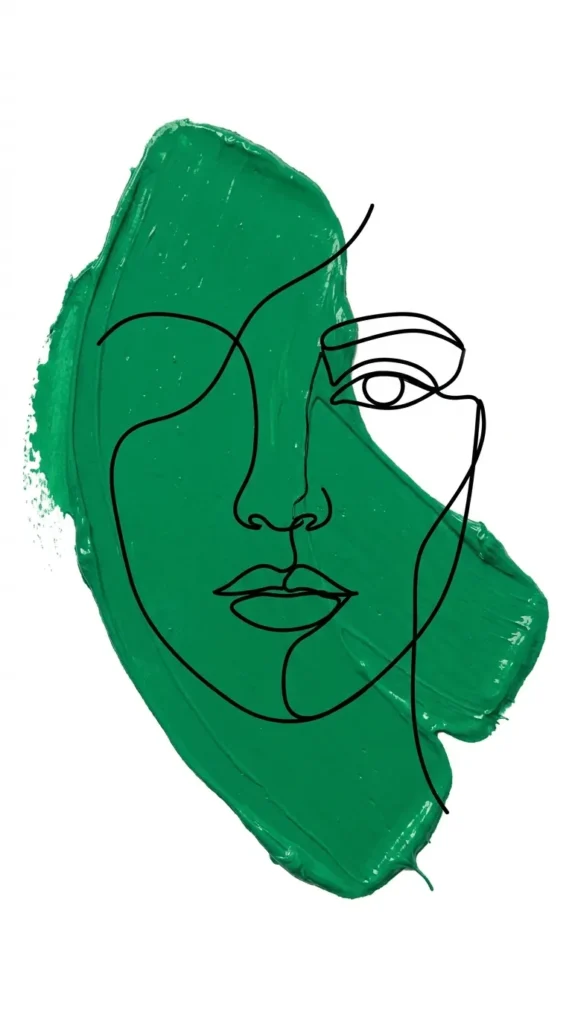
17. Minimalist Face Outline with Monochord Pop
What This Idea Means
This contemporary pop-art style pairs clean, ultra-simple black line art face outlines with a single bold block of primary or neon color placed asymmetrical behind or over the drawing.
How to Make It
- Paint Color Block: Paint a solid geometric shape (circle, rectangle, arch) in a bright color (cobalt blue, red, emerald green) on your paper.
- Let Paint Dry: Ensure color block is completely dry and flat.
- Sketch Face Outline: Pencil a clean, minimalist face line drawing overlapping the painted shape.
- Ink Outlines: Trace pencil lines with a thick black marker or brush pen for a confident graphic look.
- Balance Composition: Ensure part of the face overlaps the color block while part sits on raw paper for high contrast.
Tips & Variations
- Arch Window: Paint a tall pastel arch shape that acts as a framed background behind the head.
- Multi-Shape Overlay: Layer two overlapping translucent color shapes (like yellow and pink) behind face lines.
Needs & Materials
- Heavy cardstock or smooth watercolor paper
- Acrylic paint or gouache (for solid matte color block)
- Flat brush
- Black chisel-tip or brush pen
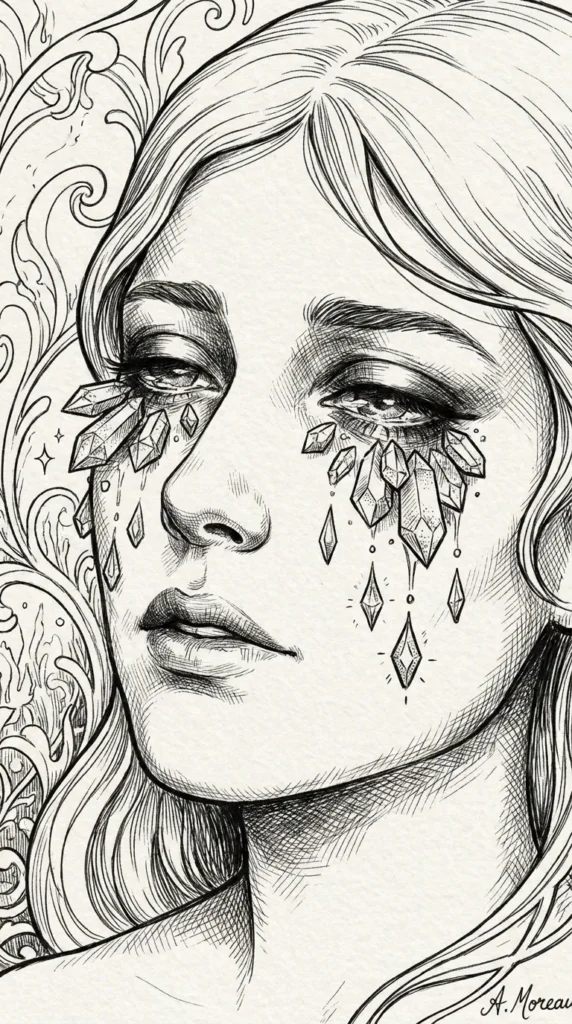
18. Crying Crystal & Gemstone Tears
What This Idea Means
Adding a surreal fantasy twist to emotional portraiture, this idea replaces standard liquid tears with glistening, faceted crystals, hanging diamonds, or dripping colorful gemstones falling from eyes.
How to Make It
- Sketch Emotional Portrait: Draw a soft face with downturned eyes or a reflective, thoughtful gaze.
- Map Gemstone Droplets: Draw angular, faceted diamond and crystal shapes trailing down the cheeks from lower eyelids.
- Draw Facet Lines: Add internal geometric facet lines inside each crystal shape to make them look cut like real gems.
- Shade Facets: Shade individual facets with high contrast—some dark, some mid-tone, leaving sharp white highlight slivers.
- Add Sparkle Flares: Draw tiny four-point light glints around crystal edges to emphasize brilliance.
Tips & Variations
- Amethyst Tears: Use purple colored pencils to render tears as glowing raw amethyst crystal clusters.
- Melting Gold Tears: Draw thick, smooth liquid gold drops instead of sharp faceted crystals.
Needs & Materials
- Smooth drawing paper
- Fine-line black ink pen (0.1mm)
- Graphite pencils (HB, 4B)
- Colored pencils or gel pens (for gem color)
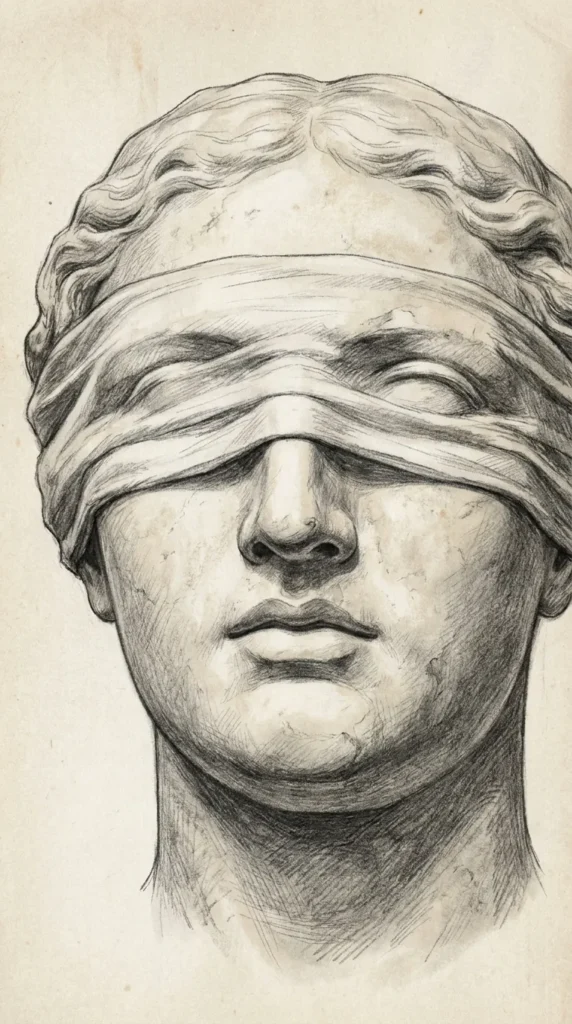
19. Blindfolded Statue Greek Mythology Face
What This Idea Means
Inspired by classical Greek and Roman marble sculptures, this aesthetic features a classic carved marble face wrapped across the eyes with a soft draped fabric blindfold, evoking themes of justice, blind beauty, and art history.
How to Make It
- Sketch Classical Features: Draw ideal sculpture proportions—strong straight nose bridge, full lips, and carved curly hair framing forehead.
- Draft Fabric Drapes: Draw a wide cloth blindfold wrapping tightly around eyes and knotting at back of head.
- Add Fabric Folds: Pencil in natural cloth tension lines, overlapping folds, and soft shadows across blindfold.
- Create Marble Texture: Use light graphite shading to simulate smooth, cold stone texture on cheeks and chin.
- Add Crack Details (Optional): Draw tiny jagged hairline cracks across stone cheekbones to emphasize an antique statue look.
Tips & Variations
- Gold Leaf Blindfold: Paint blindfold fabric solid gold while rendering statue face in cool grey pencil tones.
- Overgrown Ivy: Draw green ivy leaves creeping up neck and over statue jaw line.
Needs & Materials
- Drawing paper or gray toned paper
- Graphite pencils (H, HB, 3B, 6B)
- White gel pen (for fabric highlight edges)
- Blending tortillon
20. Gothic Dark Floral Crown Profile
What This Idea Means
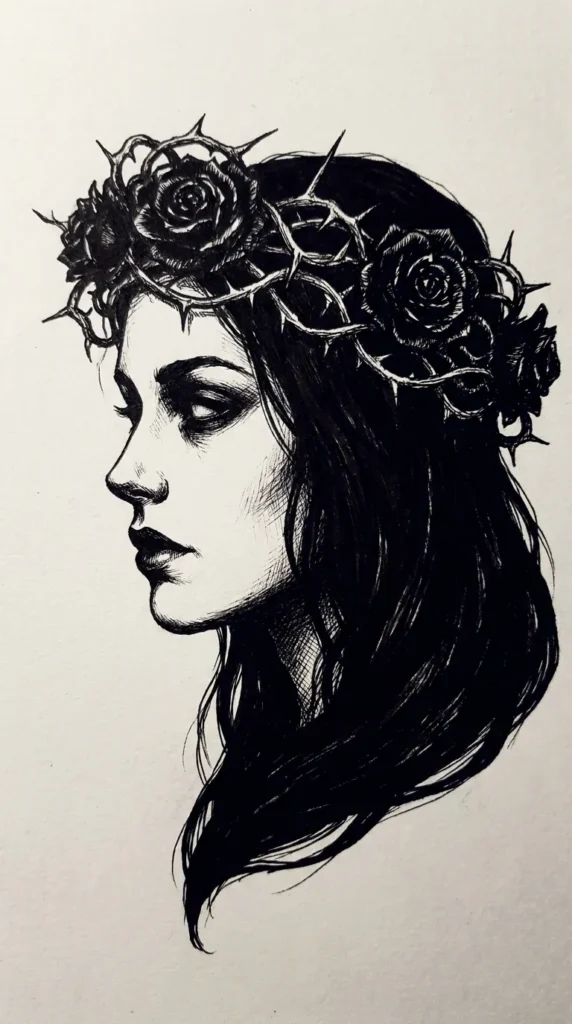
A dark, moody aesthetic featuring a graceful portrait profile crowned with rich dark flora—such as black roses, withered leaves, and thorny vines—exuding a dramatic gothic elegance.
How to Make It
- Draw Serene Profile: Sketch a graceful side profile with striking eyes, sharp jawline, and dark full lips.
- Sketch Crown Base: Pencil a thick woven vine band sitting along hairline and resting on head.
- Add Dark Roses: Sketch large, full black roses and thorny rosebuds clustered thickly along crown band.
- Detail Leaves & Thorns: Surround roses with jagged black leaves, sharp thorns, and trailing ivy branches dropping toward shoulders.
- Deepen Contrast: Fill rose petals and background hair with heavy dark graphite or black ink, leaving face skin pale and porcelain white.
Tips & Variations
- Veil Overlay: Add a sheer black lace mesh veil falling softly over dark floral crown and upper face.
- Blood Red Rose Accent: Color a single rose deep crimson red while keeping all other elements black and white.
Needs & Materials
- Heavy drawing paper
- Soft charcoal or 8B graphite pencil
- Fine liner pens (0.2mm, 0.5mm)
- Kneaded eraser
Summary Overview & Quick Comparison
| Idea # | Style / Theme | Primary Medium | Difficulty Level | Recommended Focus Area |
| 1 | Continuous Line Profile | Fine Ink Pen | Beginner | Smooth Outer Contour Line |
| 2 | Botanical Floral Eye | Pencil & Fine Liner | Intermediate | Eye Detail & Petal Layers |
| 3 | Celestial Sun & Moon Split | Mixed Media (Gold Gel Pen) | Intermediate | Facial Symmetry & Contrast |
| 4 | Vintage Sepia Soft Portrait | Sepia & White Charcoal | Intermediate | Smooth Shading & Tones |
| 5 | Geometric Origami Fragment | Fine Liner & Ruler | Intermediate | Sharp Angular Planes |
| 6 | Abstract Watercolor Line | Watercolor & Ink | Beginner | Fluid Color & Loose Ink |
| 7 | Dramatic Chiaroscuro | Soft Charcoal / 6B Pencil | Advanced | Harsh Shadow Contrast |
| 8 | Butterfly Swarm Profile | Graphite & Fine Liner | Intermediate | Flowing Motion & Depth |
| 9 | Detailed Eye & Tear | High-Grade Graphite | Advanced | Moisture & Iris Reflections |
| 10 | Cyberpunk Neon Glitch | Colored Gel Pens & Ink | Intermediate | Glitch Shift Lines & Glow |
| 11 | Dreamy Galaxy Hair | Watercolor & White Ink | Intermediate | Wet-on-Wet Color Blending |
| 12 | Soft Pastel Blurred Portrait | Soft Pastels & Chalk | Intermediate | Velvety Skin Smudging |
| 13 | Freckled Sun-Kissed Face | Warm Colored Pencils | Beginner | Stippled Skin Textures |
| 14 | Renaissance Red Chalk | Sanguine Chalk Stick | Intermediate | Classic Anatomical Hatching |
| 15 | Surreal Double Exposure | Ink & Graphite | Advanced | Landscape & Profile Blend |
| 16 | Venetian Lace Mask | Ultra-Fine Liner Pen | Advanced | Intricate Lace Webbing |
| 17 | Monochord Pop Outline | Acrylic Paint & Brush Pen | Beginner | Bold Graphic Contrast |
| 18 | Crying Crystal Tears | Colored Pencils & Pen | Intermediate | Faceted Gem Reflections |
| 19 | Classical Greek Statue | Graphite & White Gel Pen | Advanced | Stone Texture & Draped Cloth |
| 20 | Gothic Dark Floral Crown | Charcoal & Black Ink | Intermediate |