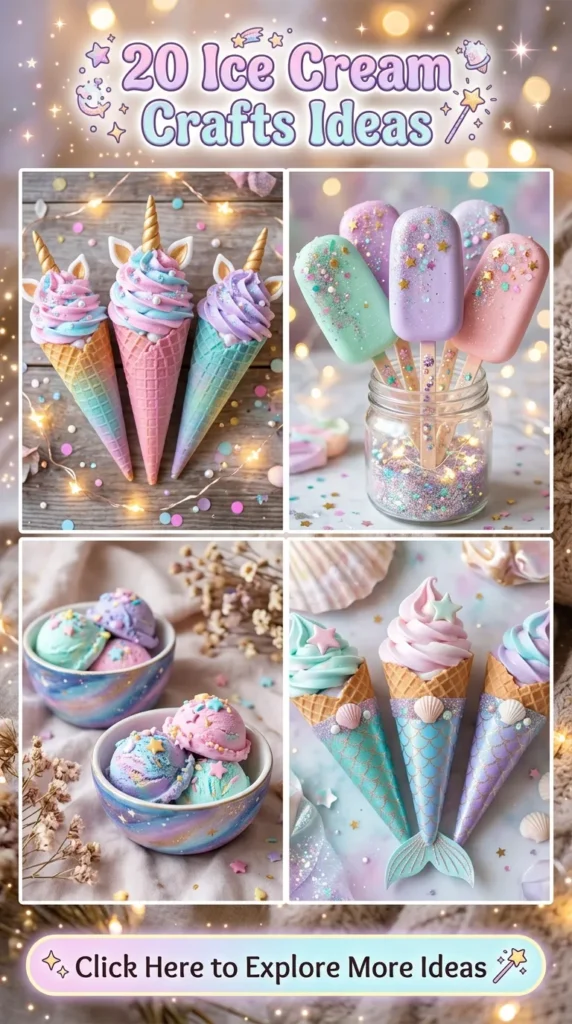
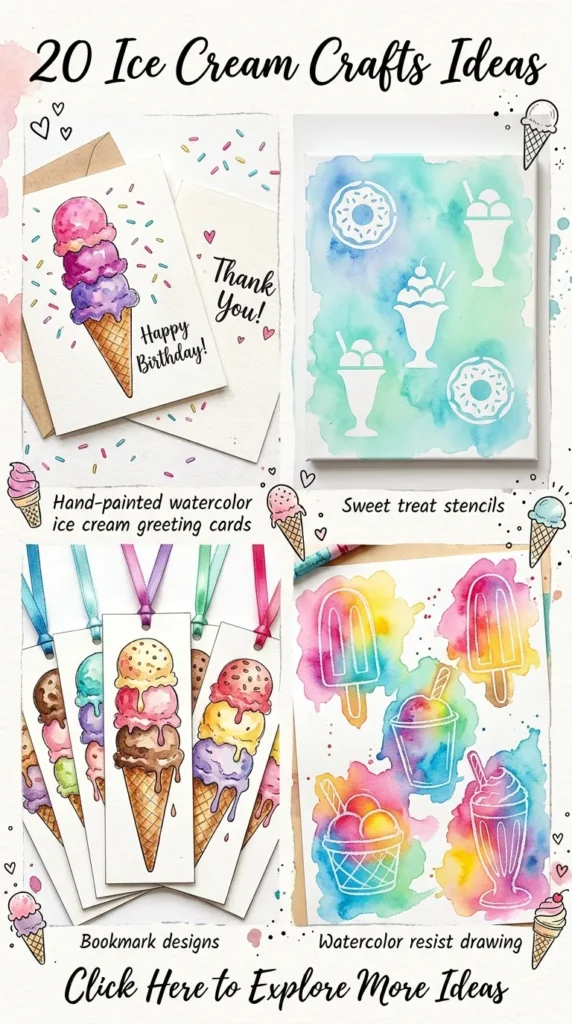
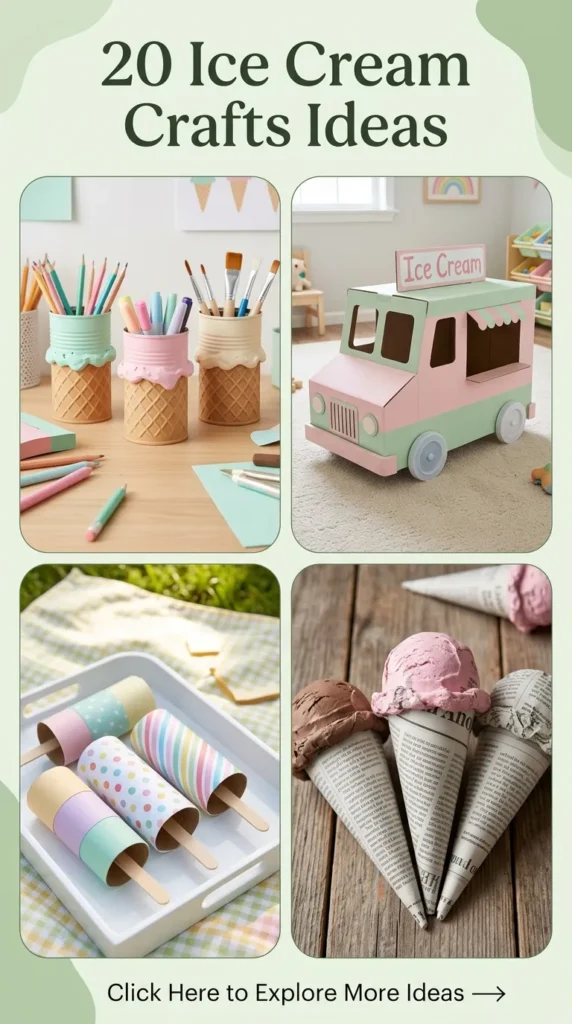
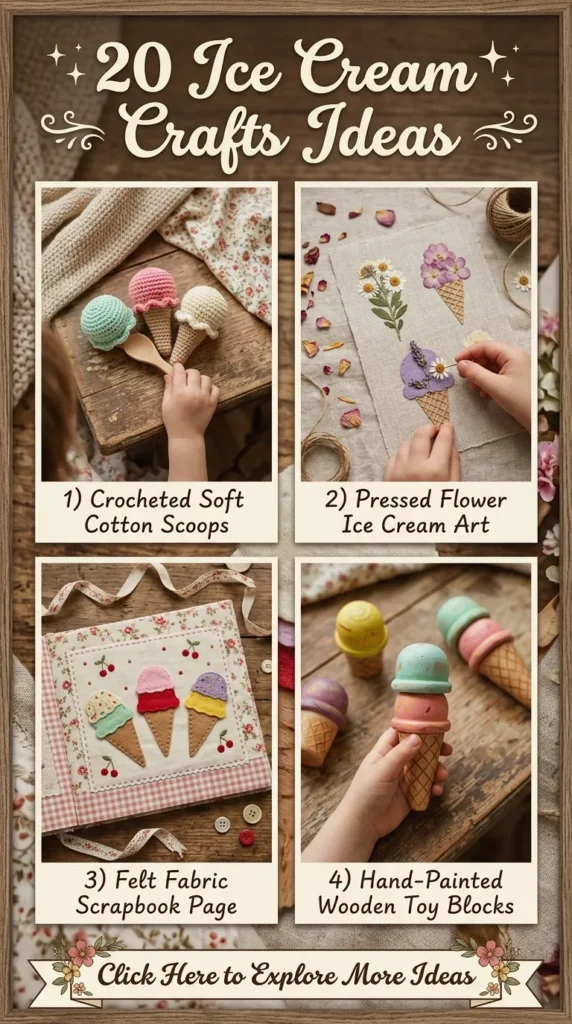
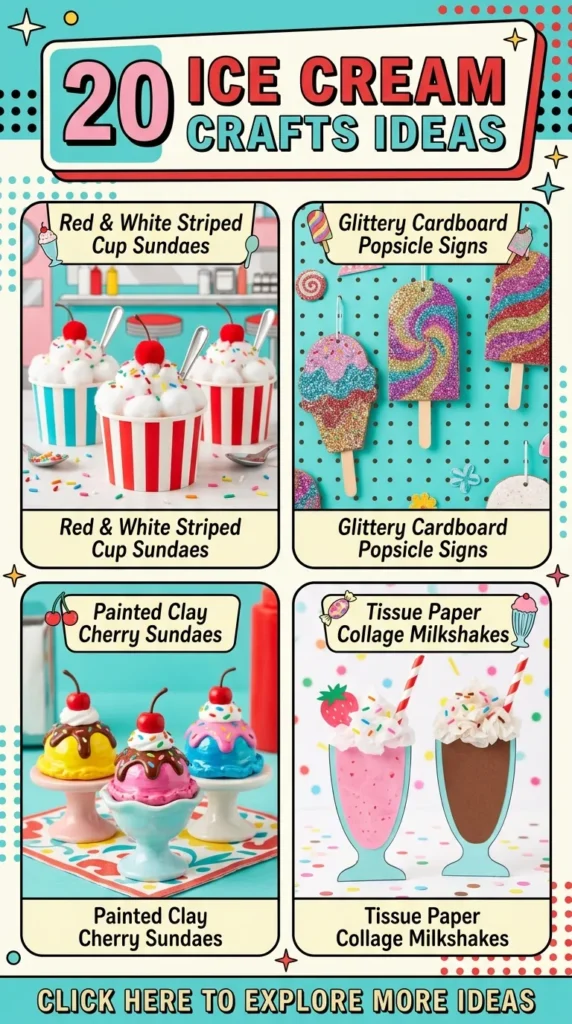
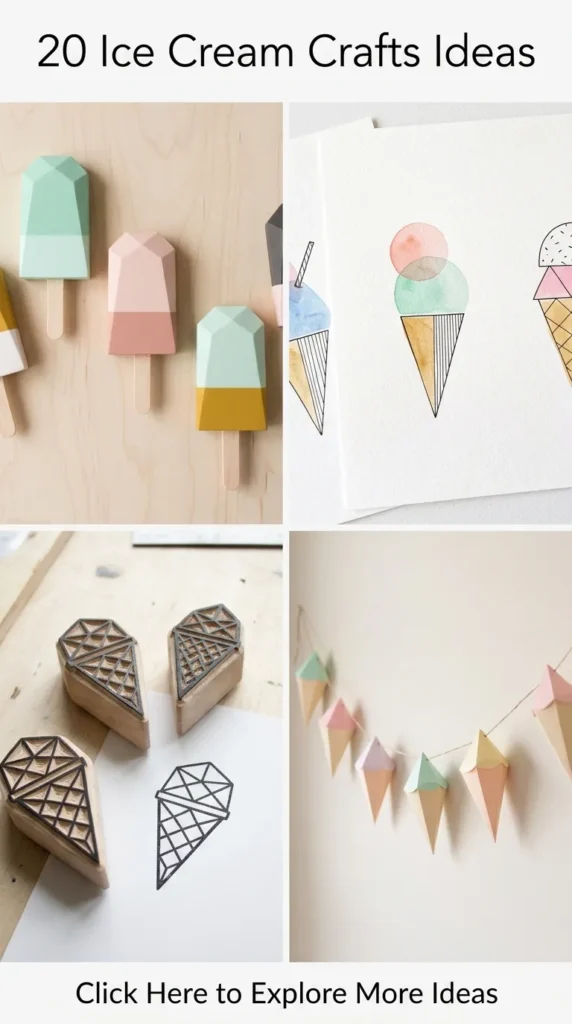
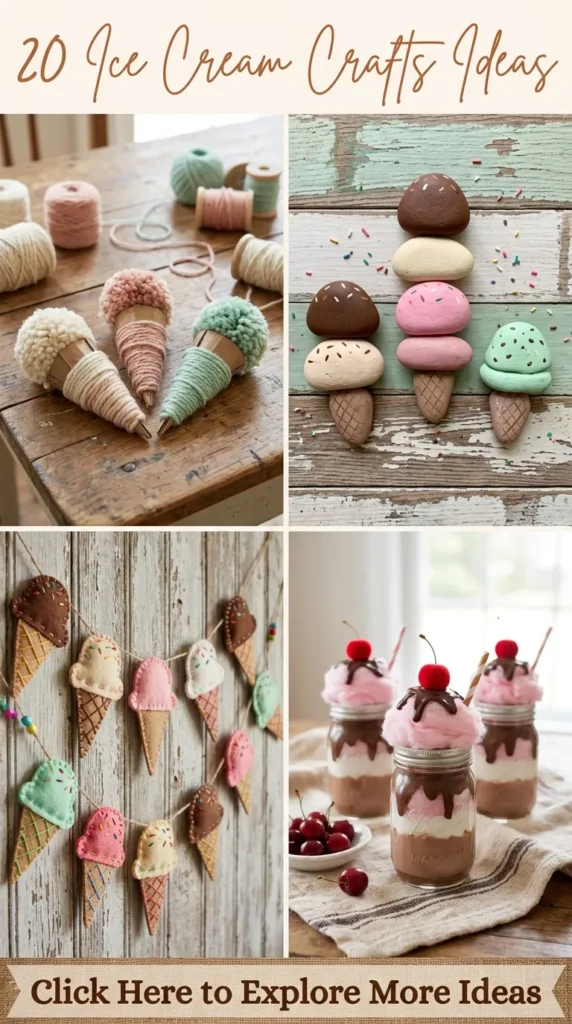
Ice cream crafts have evolved far beyond basic paper-plate school projects. Contemporary makers, interior stylists, and Pinterest curators are redefining the sweet frozen motif through the lens of sophisticated materiality: matte ceramics, terrazzo resin, soft boucle textiles, blown-glass aesthetics, and sculptural gypsum. By abstracting the organic swirls, waffle geometries, and playful silhouettes of artisanal gelatos and soft-serves, you can introduce whimsical luxury and tactile elegance into contemporary living spaces, summer celebrations, and boutique displays.
Every idea below balances high-end craft techniques with accessible studio methods, providing comprehensive build guides, styling tips, and creative variations.
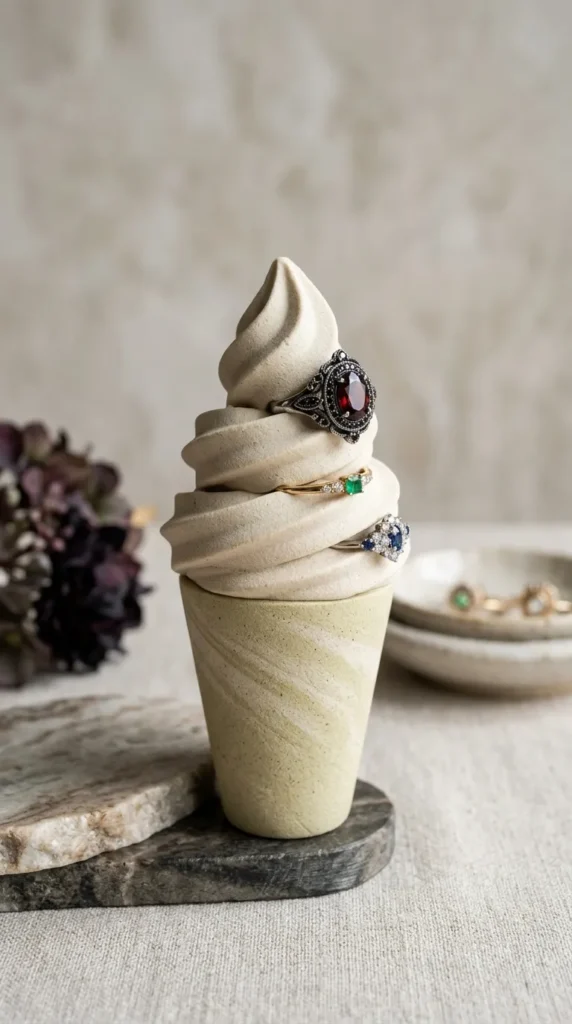
1. Sculptural Polymer Clay Soft-Serve Ring Cones
Introduction A minimalist, high-design interpretation of the classic swirl cone designed specifically for holding fine rings and small jewelry pieces.
What This Idea Means This concept uses clean geometric ridges and rich polymer clay palettes (matte bone white, warm sandstone, and subtle pistachio) to transform a familiar summer silhouette into an elegant vanity sculpture.
Needs & Materials
- Oven-bake polymer clay in neutral or pastel tones
- Acrylic clay roller and acrylic slicing blade
- Conical armature tool or smooth aluminum foil cone core
- Fine grit sanding sponge (600 to 1000 grit)
- Matte water-based varnish
How to Make It
- Condition the polymer clay thoroughly until pliable and free of air bubbles.
- Roll a uniform clay snake approximately 12 inches long, tapering smoothly toward one end.
- Wrap the clay strand tightly around a conical foil core, stacking the layers upward to mimic an authentic soft-serve swirl.
- Gently smooth interior joins with a silicone blending tool, leaving the exterior ridges pronounced.
- Bake according to clay manufacturer instructions (typically 275°F / 135°C for 30 minutes).
- Let cool completely, sand the base for a dead-flat stance, and apply a single coat of matte protective sealant.
Tips & Variations
- Blend 10% translucent clay into your color mix to give the swirl a subtle milky depth.
- Marble a terracotta vein through cream clay for a modern Italian travertine effect.
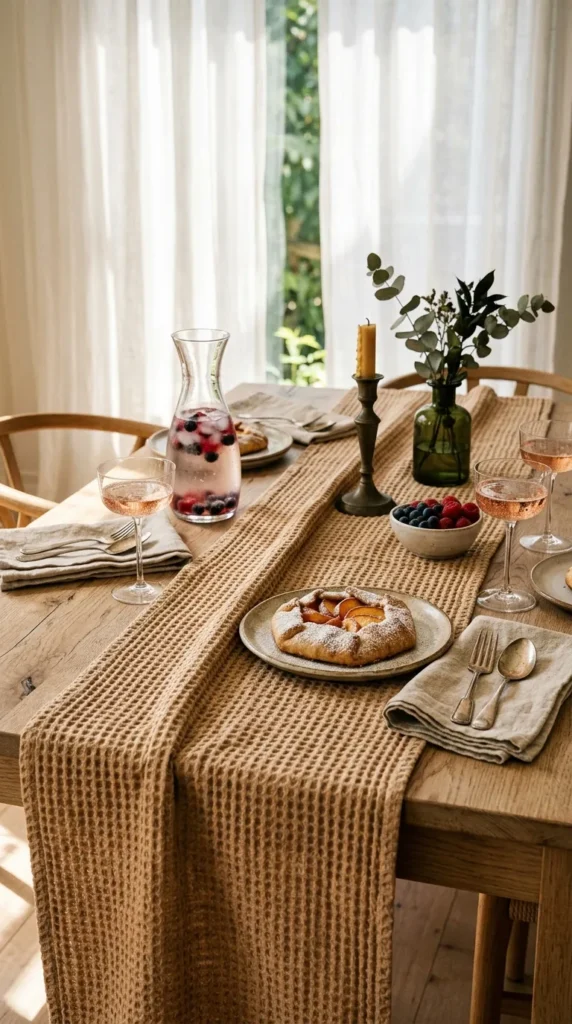
2. Textured Waffle-Weave Linen Table Runners
Introduction A sophisticated textile homage to the crisp grid pattern of fresh waffle cones.
What This Idea Means Instead of literal pictorial prints, this project employs textural abstraction. Heavyweight Belgian waffle linen, paired with warm caramel and oat hues, establishes a tactile foundation for summer dining and dessert buffets.
Needs & Materials
- 2 to 3 yards of pre-washed, unbleached waffle-weave linen fabric
- Non-toxic natural fiber reactive dye (warm amber or golden biscuit)
- Heavy linen sewing thread in matching tone
- Tailor’s shears, sewing machine, and iron
How to Make It
- Cut the waffle linen to your desired table dimensions, allowing 1 inch extra on all sides for mitered hems.
- Dye the fabric using a low-immersion method to achieve a natural, subtly variegated golden-oat tone.
- Rinse thoroughly until water runs clear, dry fully, and press with high steam.
- Fold edges inward at 0.5 inches twice, pressing crisp corners with mitered folds.
- Topstitch neatly 2 mm from the inside folded edge using a medium straight stitch.
Tips & Variations
- Add hand-embroidered French knots in pastel hues along the shorter ends to suggest modern minimalist sprinkles.
- Keep the linen un-ironed post-wash for a relaxed, tactile, organic aesthetic.
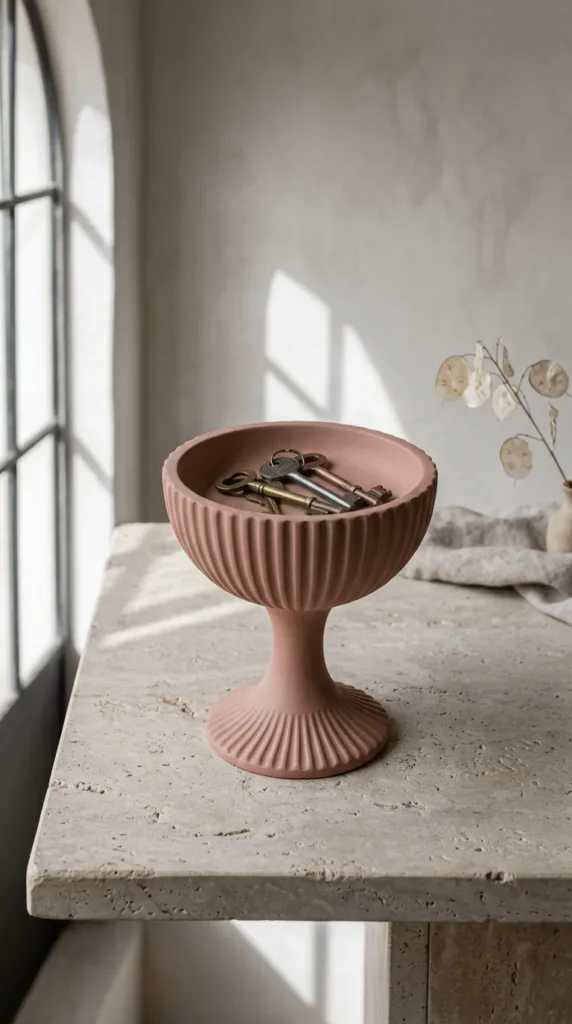
3. Fluted Ceramic-Style Plaster Sundae Catchall Dishes
Introduction A cast gypsum catchall dish inspired by retro fluted glass sundae coupes, finished with a contemporary matte stone feel.
What This Idea Means It merges vintage confectionery forms with modernist sculptural decor. Plaster casting offers weight, structural integrity, and an authentic ceramic look without requiring a kiln.
Needs & Materials
- High-density alpha gypsum (Jesmonite or hydrocal plaster)
- Silicone fluted dessert dish mold
- Liquid mineral pigments (ochre, dusty rose, or sage)
- Waterproof sealing wax or acrylic penetrating sealer
How to Make It
- Calculate the required volume of liquid and gypsum powder per mold specifications.
- Blend liquid pigment into the water base to establish an even tint.
- Slowly sift plaster powder into the liquid and mix thoroughly for two minutes, tapping the vessel to release bubbles.
- Pour the mixture steadily into the fluted silicone mold in a thin stream.
- Tap the sides firmly for 60 seconds to force micro-bubbles to the surface.
- Demold after 40 minutes, let cure for 24 hours, and seal with a breathable matte stone sealant.
Tips & Variations
- Add crushed terrazzo flecks (recycled dried plaster fragments) to the base pour for an artisanal granite look.
- Hand-paint the rim with liquid gold leaf for a refined metallic highlight.
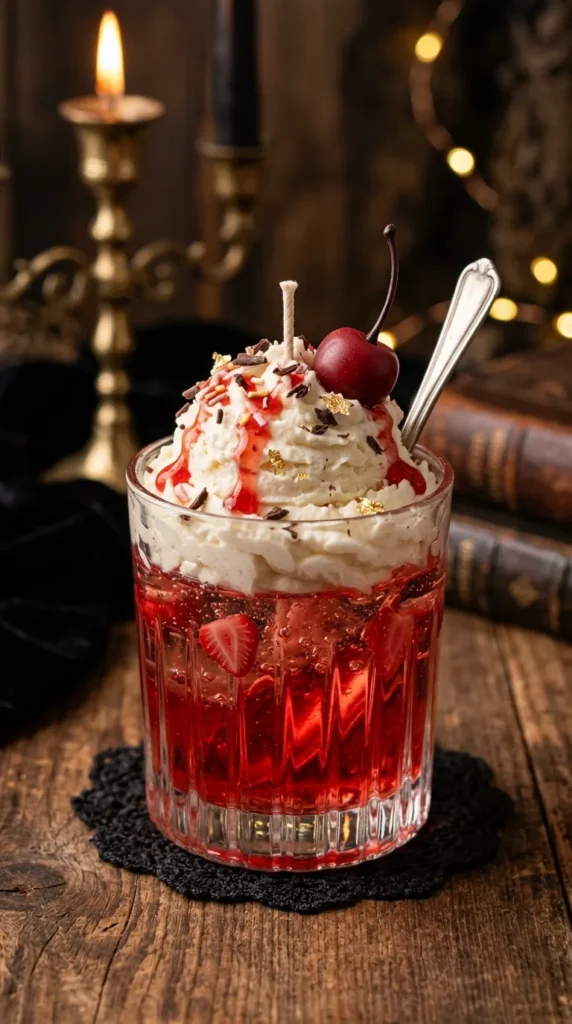
4. Hand-Poured Gel Wax Ice Cream Candle Parfaits
Introduction A hyper-realistic ambient decor piece recreating layered gourmet sorbets and creamy gelatos using modern wax chemistry.
What This Idea Means Gel wax provides unmatched optical clarity, mimicking melting fruit coulis and sorbet layers, while whipped soy wax delivers an authentic fluffy ice cream scoop top.
Needs & Materials
- High-clarity gel candle wax and natural soy wax flakes
- Heavy fluted borosilicate glass tumblers
- Cotton candle wicks with metal tabs
- Candle dye blocks (strawberry red, mango orange, and vanilla cream)
- Essential candle fragrance oils (vanilla bean, bergamot, coconut)
How to Make It
- Secure the cotton wick centered in the base of the glass tumbler with wick stickers.
- Melt gel wax to 200°F (93°C), add transparent fruit dye and fragrance, and pour a 1.5-inch base layer.
- Allow the gel layer to set until firm to the touch.
- Melt soy wax to 160°F (71°C), cool until it clouds and thickens, then whip vigorously with an electric whisk until frothy.
- Scoop the whipped soy wax directly onto the cured gel wax with an ice cream scoop to create a realistic dome top.
- Trim the wick to 0.25 inches above the scoop apex.
Tips & Variations
- Dust the top lightly with real dried raspberry powder or dried chamomile blossoms for organic garnish detail.
- Keep the glassware strictly modern: straight-sided, thick-bottomed cocktail tumblers elevate the visual presentation.
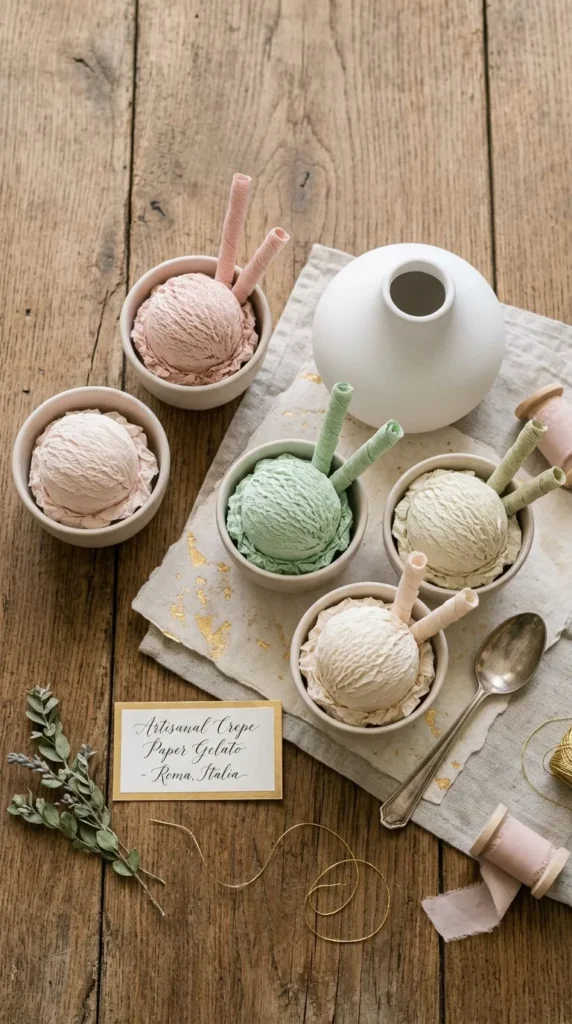
5. Modern Crepe Paper Gelato Flower Sculptures
Introduction Delicate architectural paper floristry arranged in the exact swirling shapes and soft gradient colors of artisan Italian gelato.
What This Idea Means Translating the organic layering of shaved and scooped gelato into floral forms creates an enduring centerpiece that will not wilt or fade.
Needs & Materials
- 180g Italian crepe paper (shades of buttercup, blush, mint, and cream)
- Floral wire stems (18-gauge) and tacky craft glue
- Petal shaping tools and watercolor brushes
- Soft pastel chalks for realistic botanical shading
How to Make It
- Cut crepe paper along the grain into rounded paddle petals with wavy upper margins.
- Stretch the center of each petal outward with your thumbs to form a deep, cupped pocket.
- Brush the base and edges with powdered pastel chalks to create a subtle watercolor ombre tone.
- Glue petals in concentric overlapping spirals around the wire stem, ensuring each layer billows outward organically.
- Group 3 to 5 blooms tightly into a minimal white ceramic vase to resemble scoops resting side by side.
Tips & Variations
- Dip the ruffled petal rims lightly into clear glue and fine glass micro-beads to capture a frosty crystallization effect.
- Pair deep cocoa and rich terracotta tones for an autumn-appropriate artisanal gelato palette.
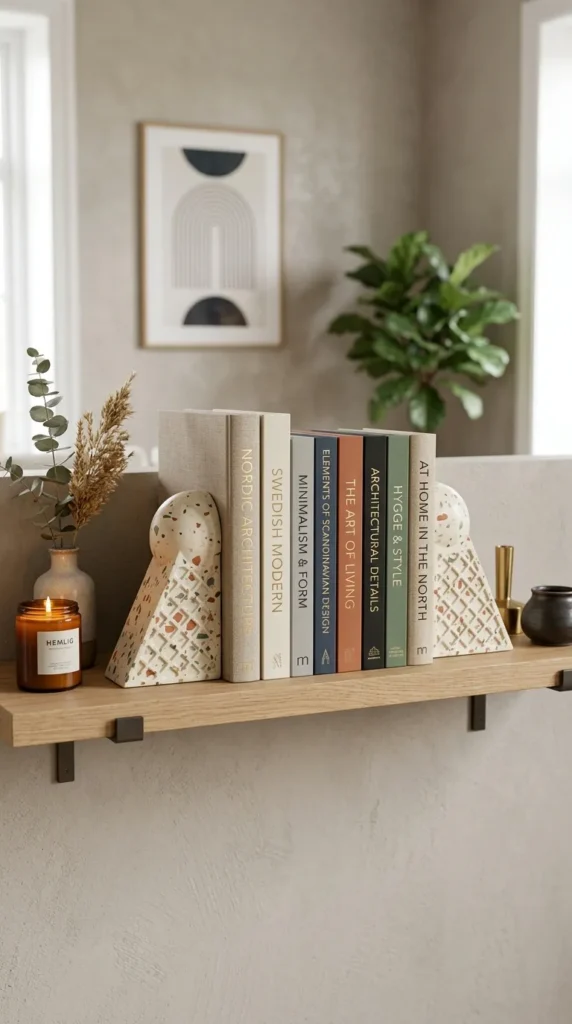
6. Minimalist Terrazzo Ice Cream Cone Bookends
Introduction Heavyweight geometric bookends featuring an angled cone silhouette cast in modern multi-colored terrazzo resin.
What This Idea Means This project transforms a traditional party motif into a heavy, architectural home accessory that anchors shelves and coffee table books with understated playfulness.
Needs & Materials
- Eco-resin casting compound (base powder and liquid activator)
- Silicone triangular/cone wedge bookend molds
- Pre-cast resin color chips in vibrant complementary hues
- Coarse to fine wet-and-dry sandpaper sheets (120 to 1200 grit)
How to Make It
- Mix resin liquid and powder at the recommended ratio, ensuring a creamy, pourable consistency.
- Stir in the multi-colored resin chips until evenly distributed throughout the mixture.
- Pour the compound into the wedge molds, pressing chips against the perimeter faces.
- Allow to cure undisturbed for 2 hours.
- Wet-sand the face with 120-grit paper under running water until the embedded chips are cleanly exposed.
- Progressively polish through higher grits to 1200, then seal with natural mineral oil.
Tips & Variations
- Use a single-color monochromatic chip palette (e.g., charcoal chips in ivory resin) for an elevated Scandinavian look.
- Add non-slip silicone adhesive pads to the bottom surface to protect wooden shelving.
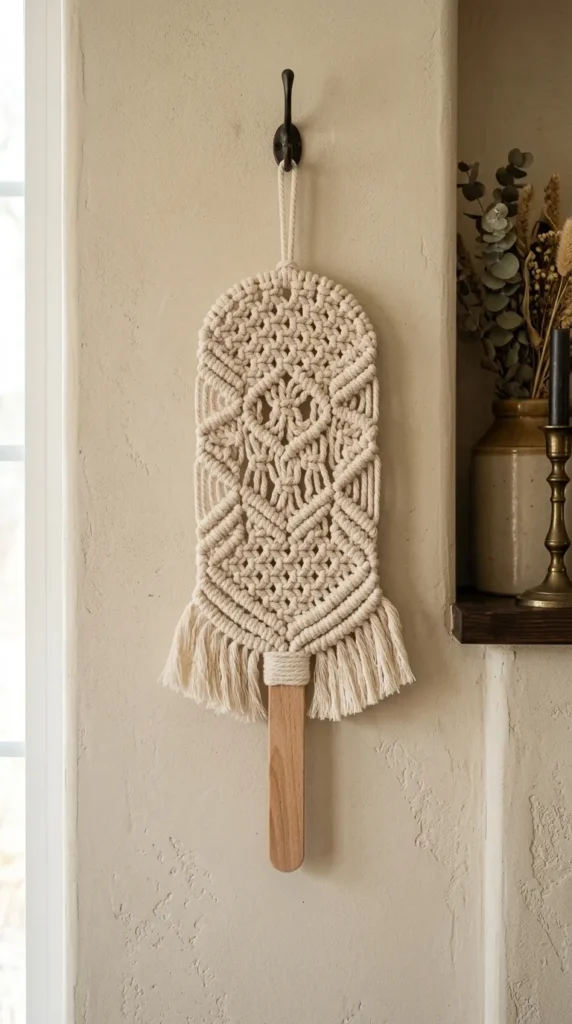
7. Wooden Bead & Macrame Popsicle Wall Tapestries
Introduction A bohemian yet structured fiber art wall hanging capturing the silhouette of twin popsicles on wooden craft sticks.
What This Idea Means This craft relies on texture, natural materials, and neutral fiber tones to deliver a warm, Scandinavian children’s room or studio accent.
Needs & Materials
- 4mm single-strand recycled cotton macrame cord (natural ecru, dusty peach, and sage)
- Sanded beechwood dowel rod (12 inches)
- Large natural wooden craft handles or flat birch sticks
- Tapestry comb and sharp fabric shears
How to Make It
- Mount 12 lengths of cotton cord onto the dowel using Lark’s Head knots.
- Work alternating square knots downward, tapering the outer edges to create a rounded popsicle silhouette.
- Thread wide, flat wooden craft sticks into the bottom woven pocket, securing them with hidden back-stitches.
- Brush the lower fringe meticulously with a fine metal slicker comb.
- Trim the fringe cleanly with sharp tailor shears into a crisp horizontal line.
Tips & Variations
- Dip-dye the bottom third of the woven popsicle into natural tea or avocado dye for a soft gradient finish.
- Insert unfinished wood beads along the top border to add architectural rhythm.
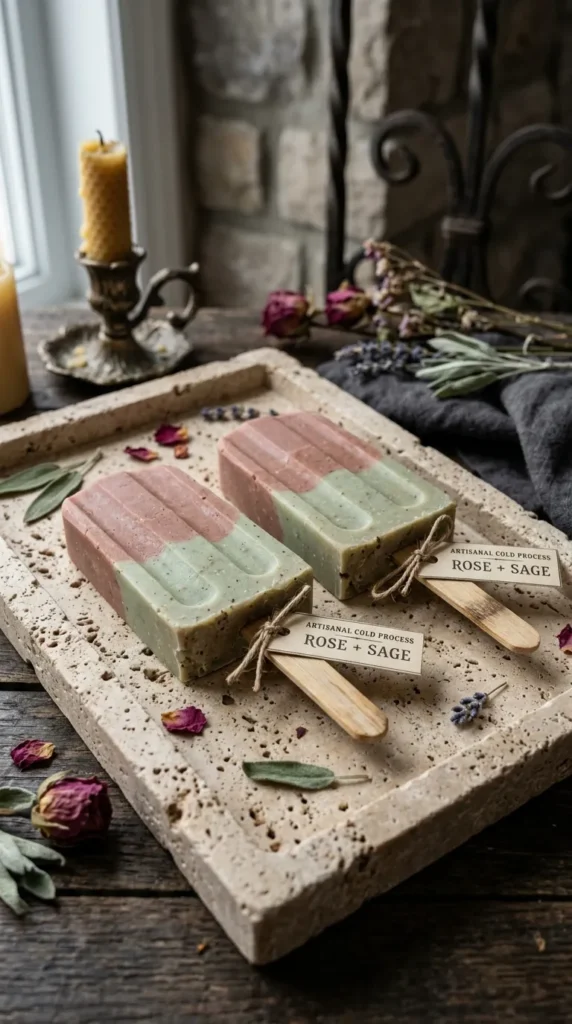
8. Artisanal Cold-Process Popsicle Bath Bars
Introduction Luxurious cold-process soap bars formulated with plant butters and molded into realistic gourmet popsicle shapes.
What This Idea Means This blends functional skincare with modern dessert design, turning daily bathing into an elevated spa experience.
Needs & Materials
- Saponified oils base (olive, coconut, shea butter) and sodium hydroxide lye solution
- Natural French clays (pink, green, yellow) and botanical extracts
- Silicone multi-cavity popsicle molds
- Natural bamboo popsicle sticks
- Safety goggles, immersion blender, and digital scale
How to Make It
- Prepare lye-water solution and base oils separately, bringing both to 100°F (38°C).
- Combine and blend to light trace using an immersion blender.
- Divide the soap batter and incorporate colored French clays for gentle natural pigmentation.
- Pour contrasting colors into molds to create horizontal, crisp popsicle layers.
- Insert bamboo sticks halfway down each cavity once the soap reaches medium trace.
- Insulate for 24 hours, unmold carefully, and cure in an airy room for 4 to 6 weeks.
Tips & Variations
- Swirl in real ground rolled oats to create a gentle exfoliating “crust” on the base of the bar.
- Package in unbleached parchment with minimalist custom typography labels for gifting.
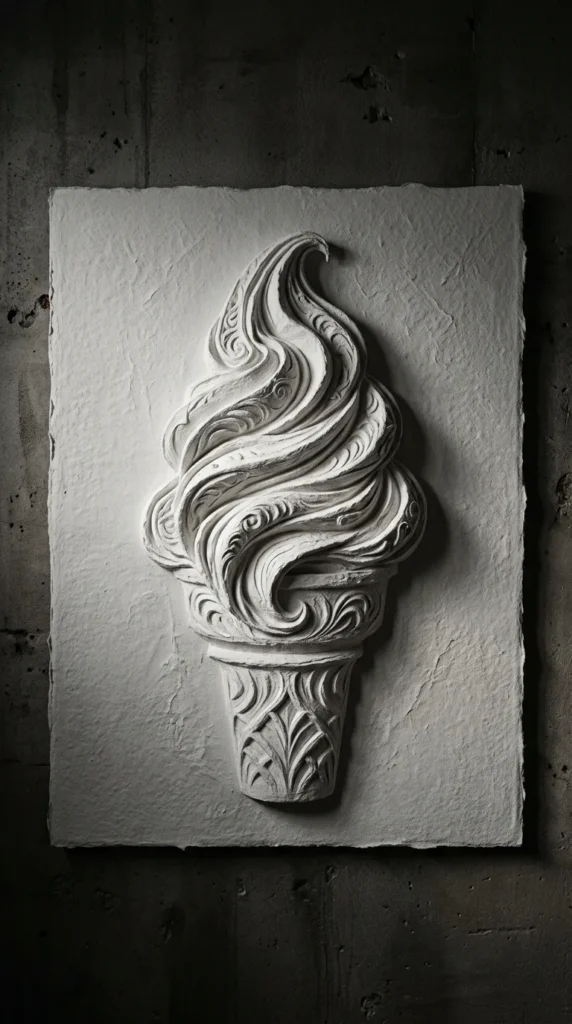
9. Monochromatic 3D Paper Mache Soft-Serve Wall Art
Introduction A modern textured relief art canvas featuring an oversized, sculptural soft-serve ice cream silhouette painted in a single matte color.
What This Idea Means Moving away from multi-colored cartoon motifs, this project treats the ice cream shape as an abstract architectural study in light, shadow, and organic curves.
Needs & Materials
- Stretched canvas (16×20 inches)
- CelluClay or DIY newspaper pulp with PVA adhesive
- Joint compound or fine spackle for smoothing
- Ultra-matte architectural wall paint (such as warm chalk white, greige, or terracotta)
- Palette knives and sculpting spatulas
How to Make It
- Sketch a minimal, sweeping ice cream swirl outline directly onto the canvas.
- Build up the 3D relief using dense paper mache pulp, layering it 2 to 3 inches off the canvas surface.
- Let the core dry completely for 48 to 72 hours.
- Apply a layer of joint compound over the rough pulp with flexible palette knives, creating smooth curved ridges.
- Sand gently when dry to remove sharp edges while preserving the sculptural peaks.
- Paint the entire canvas—both background and relief—with two coats of ultra-matte chalk paint.
Tips & Variations
- Mix fine quartz sand into the base paint to create a rich limestone texture.
- Position a directional picture light directly above the piece to emphasize the dramatic sculptural shadows.
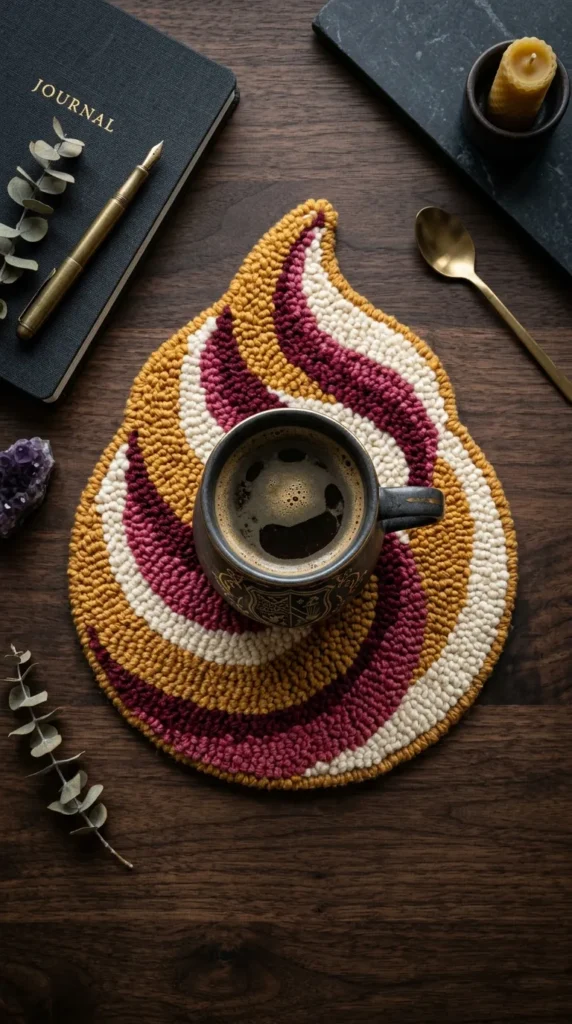
10. Abstract Tufted Wool Gelato Mug Rugs
Introduction Miniature tufted textile coasters crafted with rich wool yarns that represent swirling gelato pools.
What This Idea Means Tufting brings plush, high-end warmth to tabletop surfaces. These mug rugs protect desks while showcasing sophisticated fiber palettes and organic outlines.
Needs & Materials
- Punch needle tool or manual tufting gun
- Monks cloth stretched onto an embroidery/gripper frame
- 100% New Zealand wool yarn in cream, warm ochre, and deep berry
- Flexible fabric latex adhesive and felt backing sheet
How to Make It
- Trace an organic, fluid droplet-and-cone outline onto the tight monks cloth.
- Punch or tuft the design, keeping loop heights uniform and compact.
- Paint the back of the tufted fibers with carpet adhesive to lock the stitches permanently.
- Allow 24 hours to cure, then cut the piece from the frame leaving a 0.5-inch border.
- Fold borders back, glue a dense wool felt sheet onto the reverse side, and shear the top loops flat with duckbill scissors.
Tips & Variations
- Carve shallow channels between color boundaries using precision detail clippers to create a dynamic 3D surface.
- Stick to warm earthy neutrals (tan, espresso, ivory) for a chic cafe vibe.
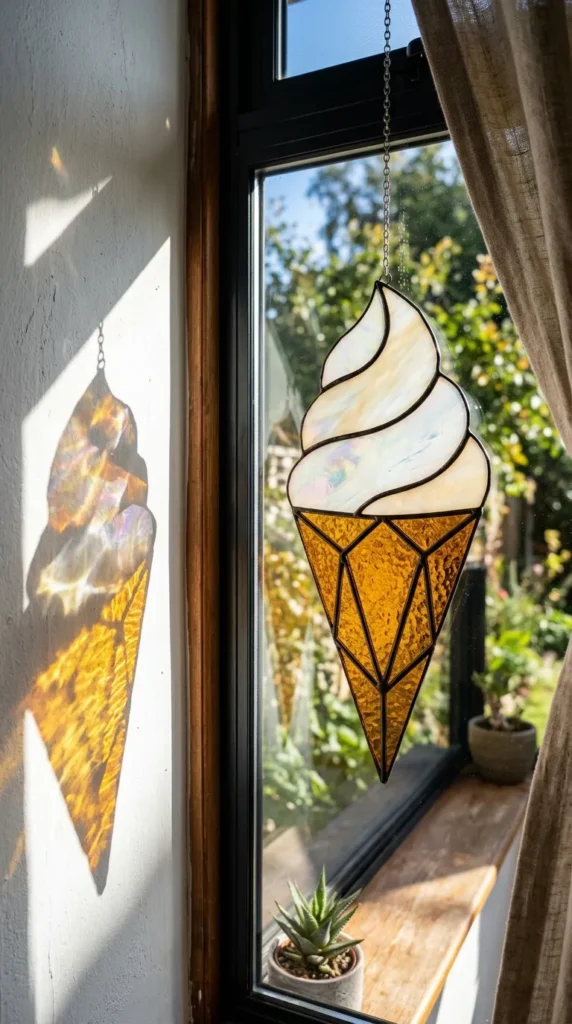
11. Stained Glass Geometric Ice Cream Suncatchers
Introduction A sleek decorative glass hanging utilizing the classic copper foil (Tiffany) technique to produce modern geometric ice cream silhouettes.
What This Idea Means Light streaming through colored art glass produces dynamic ambient illumination. Using crisp angular glass facets gives the traditional ice cream shape a contemporary mid-century look.
Needs & Materials
- Spectrum art glass sheets (amber textured cathedral glass, opalescent white, and soft pink)
- Glass scorer, running pliers, and glass grinder
- 7/32-inch copper foil tape
- 60/40 solder wire and 80W temperature-controlled soldering iron
How to Make It
- Draw an angular geometric pattern with 5 to 7 clean facet cuts.
- Score and break the art glass precisely along pattern lines using running pliers.
- Grind all glass edges completely smooth and rinse thoroughly to remove grit.
- Wrap every edge with copper foil tape, burnishing flat with a plastic fid.
- Apply flux and solder the seams on both sides until a smooth, raised bead is achieved.
- Solder a small brass jump ring at the top apex and hang with monofilament line.
Tips & Variations
- Apply a black or copper patina solution to the solder seams to accentuate the graphic outline.
- Mix ribbed or ripple-textured glass for the cone section to evoke the texture of waffle pastry.
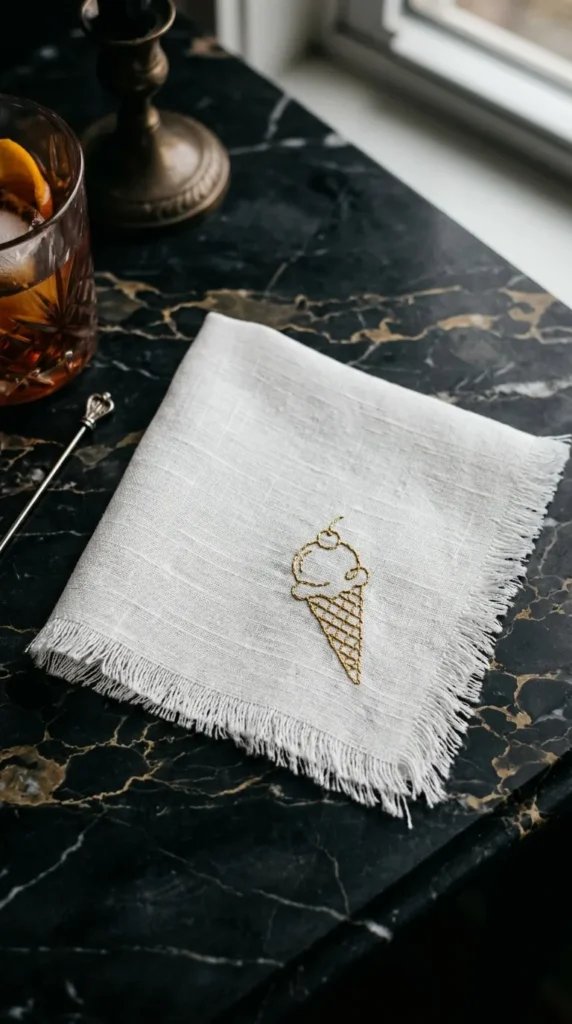
12. Embroidered Waffle-Cone Linen Cocktail Napkins
Introduction Heirloom-quality pure linen cocktail napkins featuring delicate hand-embroidered cone line art in one corner.
What This Idea Means Understated elegance is achieved through fine-gauge line work rather than bold fills. These napkins elevate summer aperitifs and formal dinner parties.
Needs & Materials
- 100% Belgian flax linen fabric (pre-washed)
- DMC stranded cotton embroidery floss (matte gold, deep walnut, and ivory)
- Embroidery hoop and size 9 embroidery needles
- Water-soluble pattern transfer stabilizer
How to Make It
- Cut linen into 10×10-inch squares and create a 0.5-inch frayed fringe on all four edges.
- Print or trace a minimalist single-line ice cream motif onto the water-soluble stabilizer.
- Hoop the fabric securely with the stabilizer placed in the lower-right corner.
- Stitch the design using a delicate two-strand stem stitch or split stitch.
- Rinse in lukewarm water to dissolve the stabilizer completely, then press flat from the reverse side while damp.
Tips & Variations
- Use metallic gold filament blended with cotton floss for a subtle glimmer when caught by candlelight.
- Monogram a small guest initial alongside the embroidered cone for personalized entertaining.
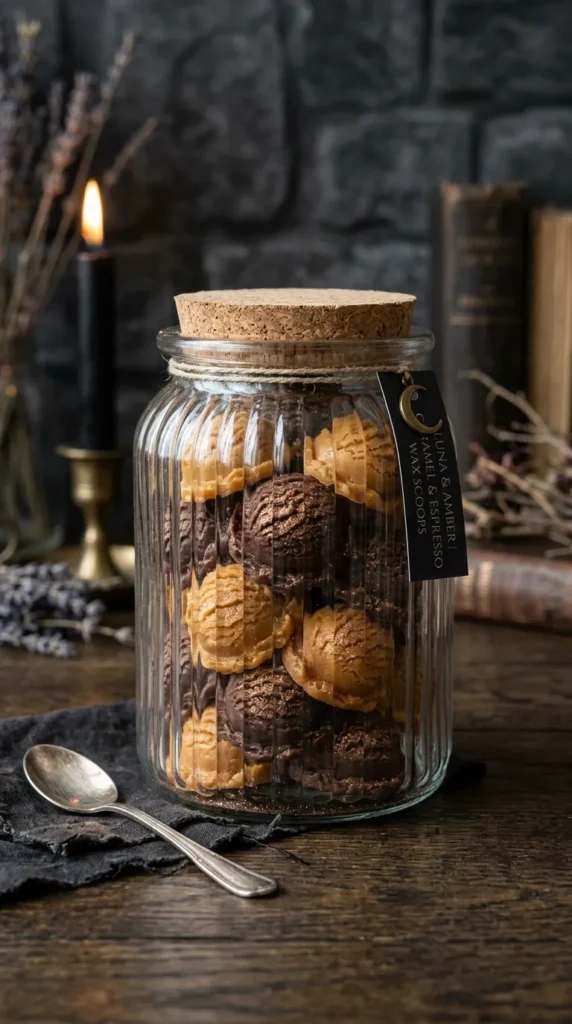
13. Scented Soy-Wax Melt Ice Cream Scoop Bonbons
Introduction Realistic petite wax melts shaped like miniature ice cream scoops, packaged in reusable glass jars for luxury home fragrance.
What This Idea Means A flameless fragrance solution that doubles as a decorative shelf accent, releasing rich gourmand scents when warmed.
Needs & Materials
- Pillar-grade natural soy wax (BW-921 or similar)
- Professional fragrance oils (salted caramel, espresso gelato, or fresh mint)
- 1-inch mini melon baller or silicone multi-cavity hemisphere mold
- Natural mica powders and candle color chips
How to Make It
- Melt soy wax to 185°F (85°C) and blend in fragrance oil at a 9% load.
- Allow the wax to cool until it turns thick and semi-solid (resembling buttercream).
- Use the metal melon baller to scoop small portions directly onto parchment paper, creating authentic ragged scoop skirts.
- Dust lightly with bronze mica powder using a soft cosmetic brush.
- Let cure for 14 days before using in electric wax warmers.
Tips & Variations
- Layer two mini scoops of contrasting scents (such as dark chocolate and sweet orange) for custom aroma blending.
- Store in ribbed apothecary jars with natural cork stoppers.
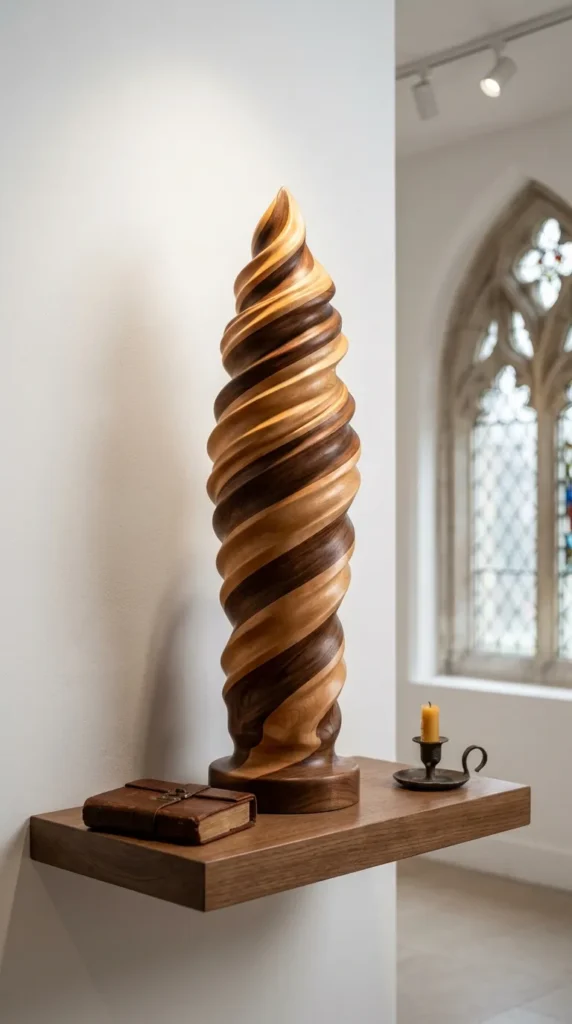
14. Modernist Wooden Turned Soft-Serve Totems
Introduction Hand-turned or assembled solid hardwood decorative sculptures that celebrate the clean contours of soft-serve swirls.
What This Idea Means This concept appeals to enthusiasts of modern Scandinavian woodwork. The natural grain of walnut, maple, and oak provides rich organic texture.
Needs & Materials
- Solid wood turning blanks (hard maple and black walnut)
- Wood lathe or pre-cut geometric wooden beads and cones
- Woodworking chisels and progressive sandpapers (80 to 400 grit)
- Natural food-safe beeswax and mineral oil finish
How to Make It
- Mount the hardwood blank onto the lathe spindle between centers.
- Rough turn the cylinder, then carve fluid rhythmic concave and convex swoops that simulate soft-serve ripples.
- Form a clean, tapered inverted cone at the base of the piece.
- Sand through grits while the piece spins on the lathe to ensure a silky surface.
- Part the sculpture off the lathe and sand the base flat.
- Rub generously with beeswax paste, letting it soak in before buffing to a soft sheen.
Tips & Variations
- Combine contrasting wood species using dowel joinery (e.g., walnut base cone with a maple swirl top).
- Leave the finished piece completely unvarnished to showcase the raw wood grain.

15. Tactile Bouclé Ice Cream Cone Throw Pillows
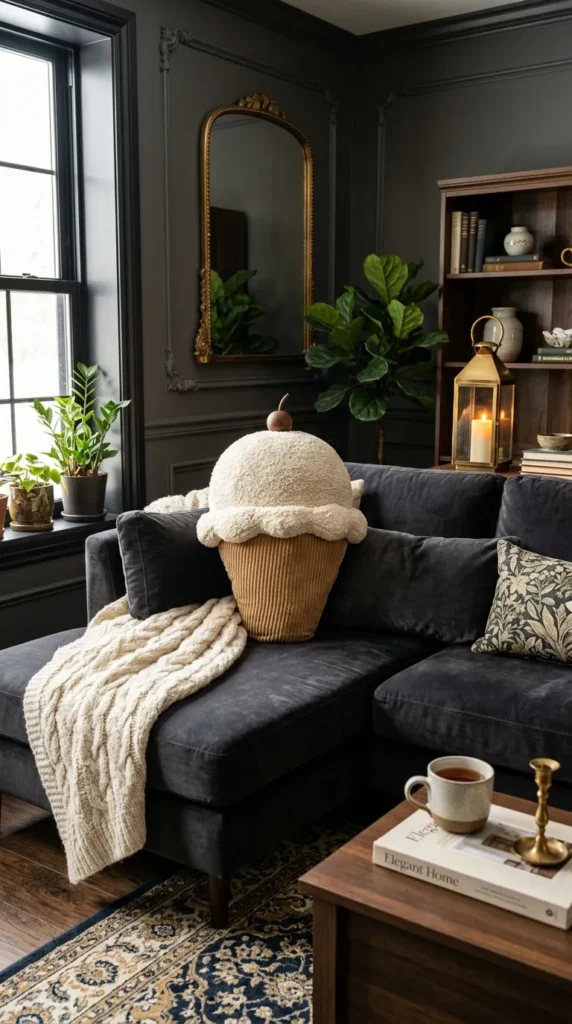
Introduction Textured statement accent pillows sewn from cozy bouclé fabric and shaped into stylized ice cream scoops.
What This Idea Means Bouclé yarn’s looped texture mimics the frothy, creamy density of ice cream while adding a tactile element to neutral sofas and armchairs.
Needs & Materials
- 1 yard heavyweight cream or butter-yellow bouclé upholstery fabric
- 0.5 yard textured ribbed corduroy or tan twill for the cone base
- Heavy-duty sewing thread and invisible zipper (14 inches)
- Hypoallergenic siliconized polyfill stuffing
How to Make It
- Draft a rounded scoop pattern with a gentle bottom scalloped edge and a corresponding triangular cone piece.
- Cut front and back panels from the bouclé (top) and corduroy (bottom).
- Sew the top and bottom panels together to form full front and back pieces.
- Install the invisible zipper along the bottom diagonal edge of the cone.
- Place front and back panels right sides together, pin carefully, and stitch the perimeter with a 0.5-inch seam allowance.
- Turn right-side out, pack firmly with polyfill, and zip closed.
Tips & Variations
- Use subtle sherpa or teddy fleece for an even plusher texture.
- Create a set of three pillows in varied sizes (small, medium, large) for a layered lounge setup.
16. Upcycled Glass Ice Cream Coupe Bud Vases
Introduction Vintage glass dessert coupes transformed into minimalist flower-arranging vessels using ceramic-effect stone paint.
What This Idea Means Upcycling thrifted glassware with modern matte stone coatings creates a vessel that pays homage to dessert culture while displaying fresh seasonal stems.
Needs & Materials
- Thrifted glassware sundae coupes or dessert bowls
- Water-based acrylic craft paint mixed with baking soda (1:1 ratio)
- Matte spray primer suited for non-porous glass
- Natural brass floral frog (kenzan) and waterproof floral clay
How to Make It
- Clean glassware thoroughly with isopropyl alcohol to remove oils.
- Apply a thin coat of bonding spray primer and let cure for 2 hours.
- Mix acrylic paint with baking soda to create a thick, gritty paste.
- Brush the mixture across the glass surface with directional strokes, simulating hand-thrown pottery.
- Apply a second coat to build opaque coverage and texture.
- Affix the floral frog to the inside bottom with waterproof floral clay to support minimalist flower stems.
Tips & Variations
- Paint with a terracotta tone to imitate Mediterranean earthenware.
- Arrange single architectural stems (such as anthuriums or calla lilies) for a contemporary ikebana look.
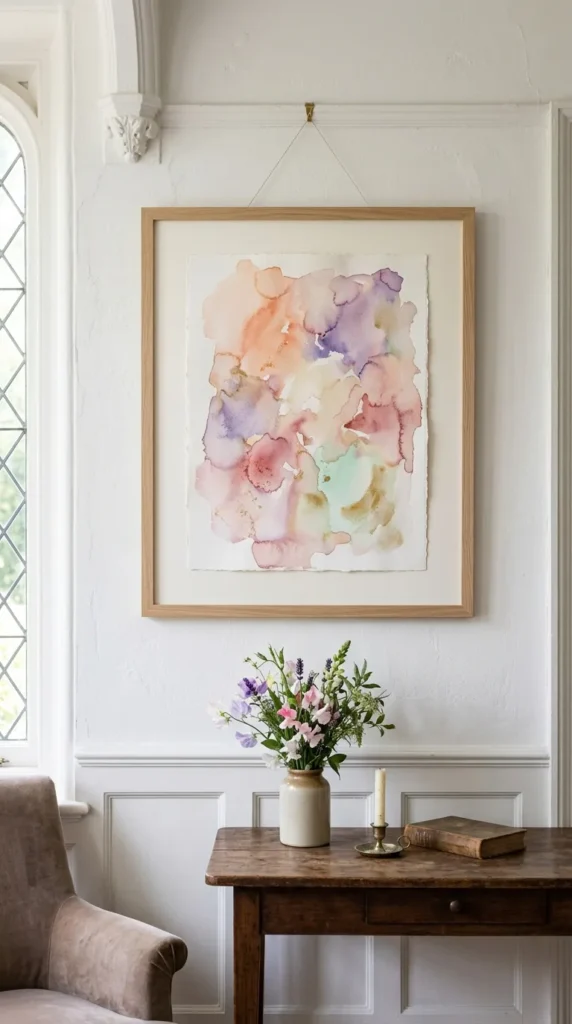
17. Abstract Watercolor Gelato Palette Art Prints
Introduction Original framed fine art prints showcasing fluid, bleeding watercolor gradients that capture melting gelato flavors.
What This Idea Means This craft focuses on abstract color theory. By avoiding literal line art, the blending pigments evoke sensory memories of summer gelaterias.
Needs & Materials
- 140lb (300gsm) 100% cotton cold-press watercolor paper
- Professional artist watercolor pan set (cobalt blue, quinacridone rose, cadmium yellow)
- Large round mop brush (size 12 or 16)
- Clean water jars and cotton wiping cloths
How to Make It
- Tape the watercolor paper flat onto a rigid backing board with acid-free painter’s tape.
- Wet the central area of the paper thoroughly with clean water, leaving a crisp dry margin.
- Drop concentrated pigments into the wet area, letting the colors feather and blend organically.
- Tilt the board gently to direct pigment migration into soft circular shapes.
- Allow to air dry completely flat for 24 hours to prevent paper warping.
- Frame inside an oak wood gallery frame with an oversized white mat board.
Tips & Variations
- Sprinkle coarse sea salt onto damp pigment pools to create crystalline textural starbursts.
- Paint in triptych form (three coordinating pieces) to form a cohesive gallery wall arrangement.
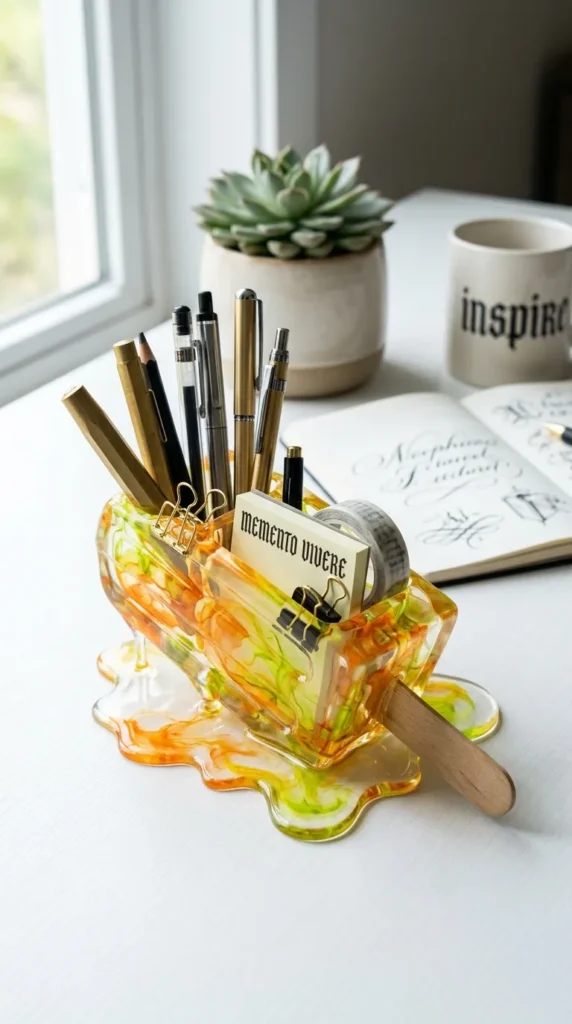
18. Cast Resin Popsicle Desk Organizers
Introduction Crystal-clear epoxy resin desktop trays shaped like melting popsicles that hold pens, paperclips, and small accessories.
What This Idea Means This design brings high-gloss contemporary resin casting to functional office organization, capturing an authentic glossy wet look.
Needs & Materials
- Low-viscosity casting epoxy resin (2-part system)
- Flat popsicle silicone tray mold with recessed cavities
- Alcohol inks (translucent coral, citrus, and mint)
- Heat gun or butane torch for micro-bubble elimination
How to Make It
- Mix Part A and Part B epoxy resin at the exact recommended ratio for 3 full minutes.
- Drop 2 drops of alcohol ink into the resin to retain translucent clarity.
- Pour resin into the mold cavities up to 50% capacity.
- Wave the heat gun 6 inches above the liquid to burst rising surface bubbles.
- Allow to cure for 12 hours until firm, then add a final clear topcoat layer for depth.
- Demold after 48 hours and place on desk surface with rubber bumper feet.
Tips & Variations
- Embed pressed dried botanical pansies into the clear layer for a sophisticated garden-popsicle motif.
- Polish edges with a plastic buffing compound to achieve a high-gloss finish.
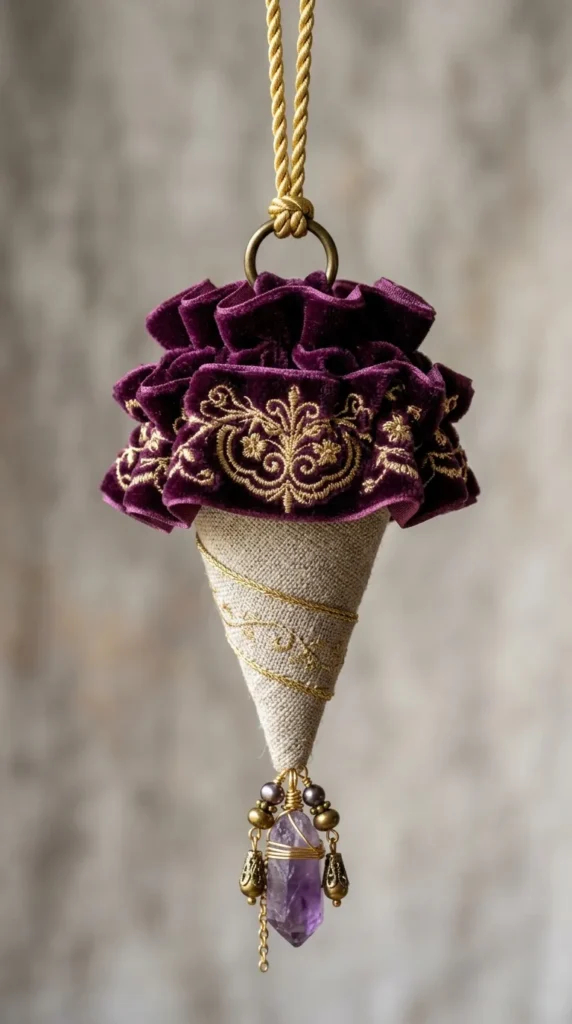
19. Velvet Ribbon & Linen Cone Ornament Charms
Introduction Small, tactile holiday or summer tree ornaments crafted with structured linen bases and gathered velvet ribbon scoops.
What This Idea Means Elevating seasonal decor by substituting plastic items with luxurious velvet and natural flax fiber.
Needs & Materials
- 1.5-inch wide French plush velvet ribbon (shades of plum, moss, and mustard)
- Stiff unbleached linen fabric scraps
- Hand-sewing needle, gold silk thread, and brass hanging wire
- Light polyfill batting
How to Make It
- Cut small semi-circles from stiff linen and stitch them into tight conical shapes.
- Gather a 10-inch strip of velvet ribbon along one edge with a loose running stitch.
- Pull the thread to ruffle the velvet into a compact, swirling pompom.
- Stuff the ruff lightly with polyfill to give it substance.
- Hand-stitch the velvet scoop securely into the open mouth of the linen cone.
- Attach a loop of twisted brass wire to the top apex for hanging.
Tips & Variations
- Embroider a subtle cross-hatch pattern onto the linen cone with golden thread before assembly.
- Infuse the internal stuffing with dried lavender buds for a subtle, natural aroma.
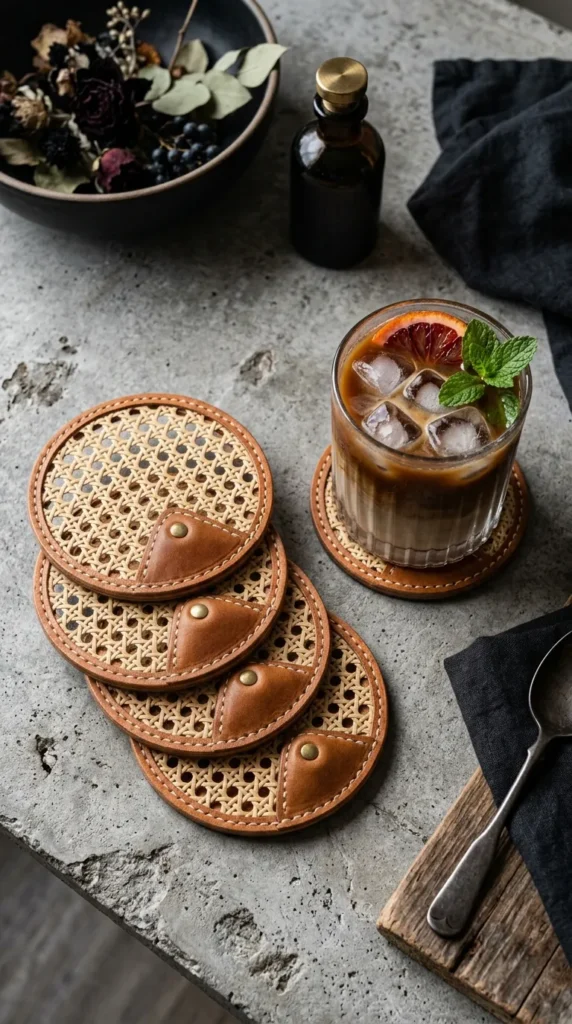
20. Woven Cane & Leather Ice Cream Silhouette Coasters
Introduction Durable drink coasters combining natural woven rattan cane webbing with vegetable-tanned leather cone accents.
What This Idea Means This project brings mid-century modern material combinations into a functional tableware collection.
Needs & Materials
- Fine open-mesh natural rattan cane webbing
- 4oz vegetable-tanned natural leather hides
- Rotary cutter, leather hole punch, and waxed saddle stitching thread
- Contact cement and leather edge slicker tool
How to Make It
- Soak the cane webbing in warm water for 30 minutes to make it pliable, then dry flat under weights.
- Cut circular coaster discs (4 inches in diameter) from the dried cane webbing.
- Cut triangular cone bases from vegetable-tanned leather.
- Glue the leather cone base over the bottom third of the cane disc with contact cement.
- Punch stitching holes through the leather and cane using an awl or punch tool.
- Saddle-stitch along the leather edge with waxed thread and seal the raw leather edges with gum tragacanth.
Tips & Variations
- Stamp custom geometric initials onto the leather cone before assembly.
- Dip the top cane rim into white water-resistant enamel for a crisp, color-blocked modern finish.