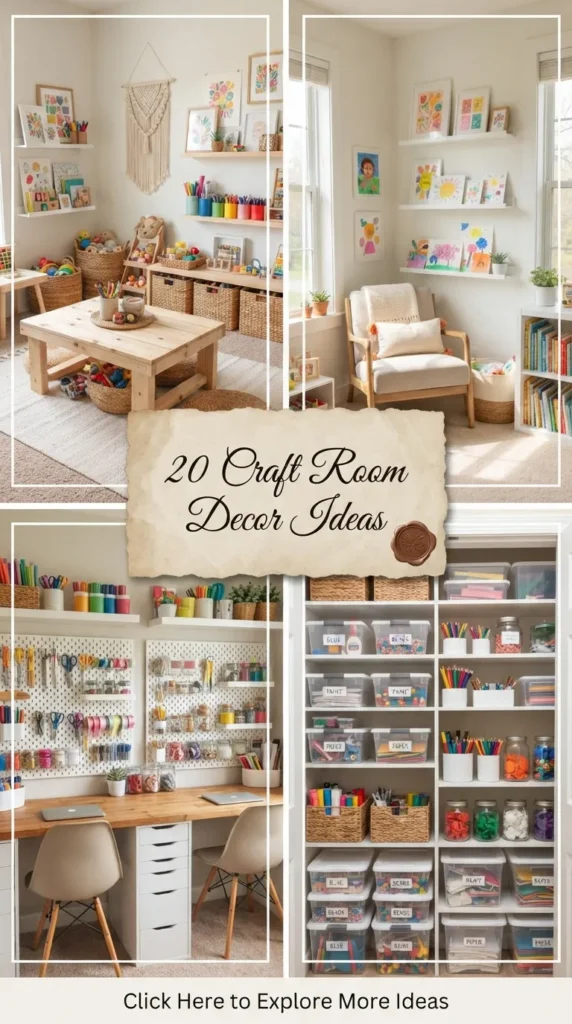
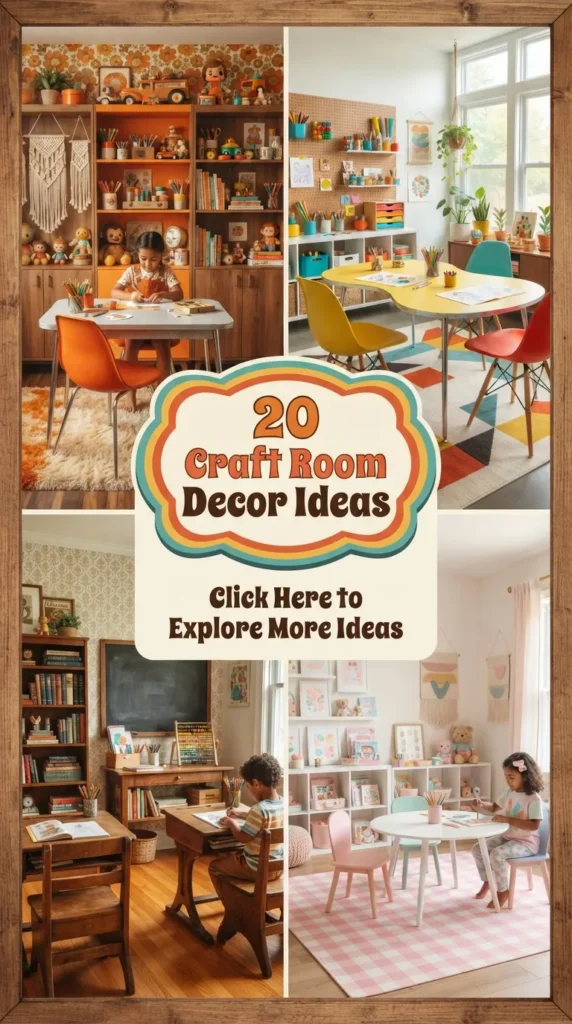
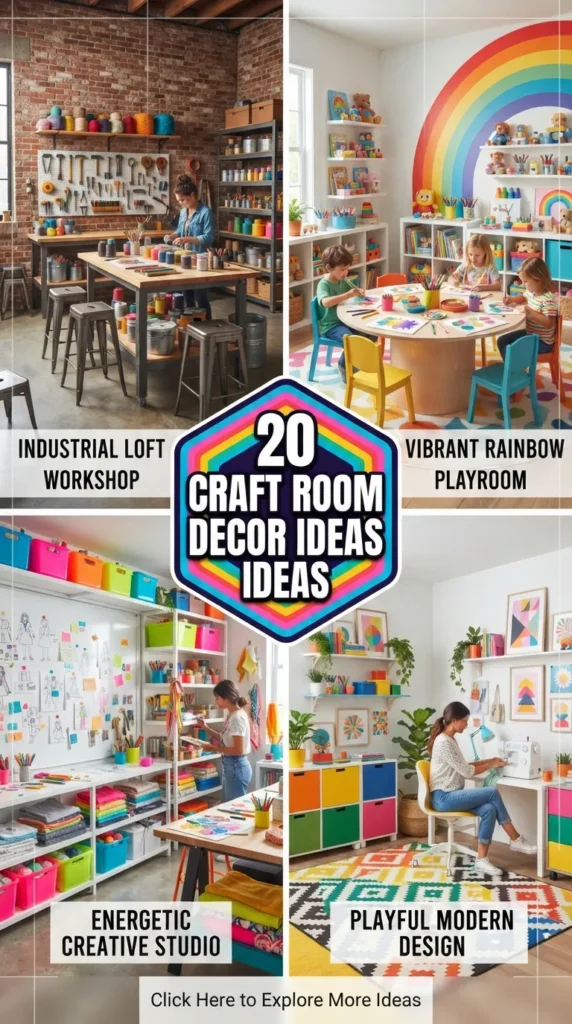
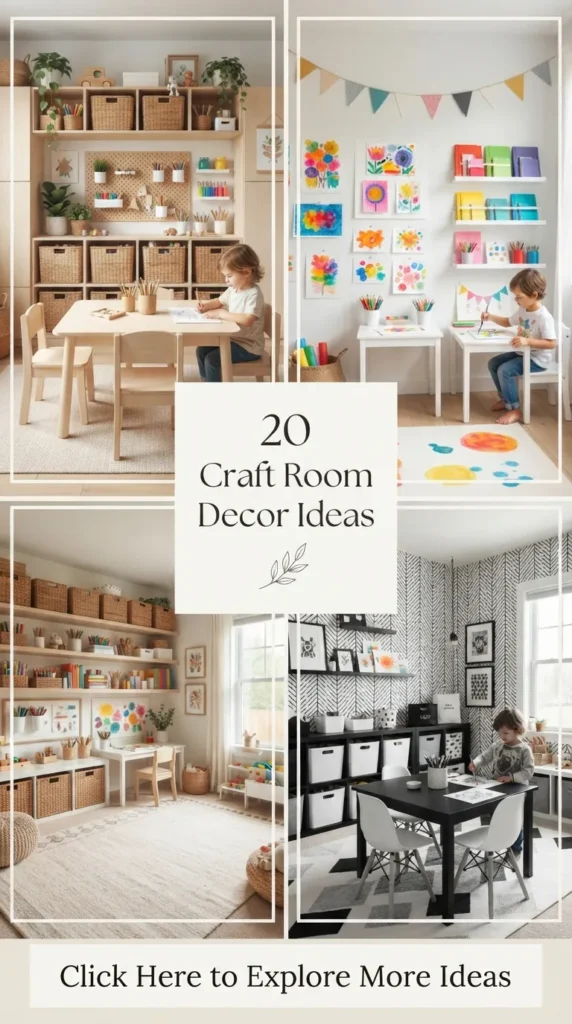
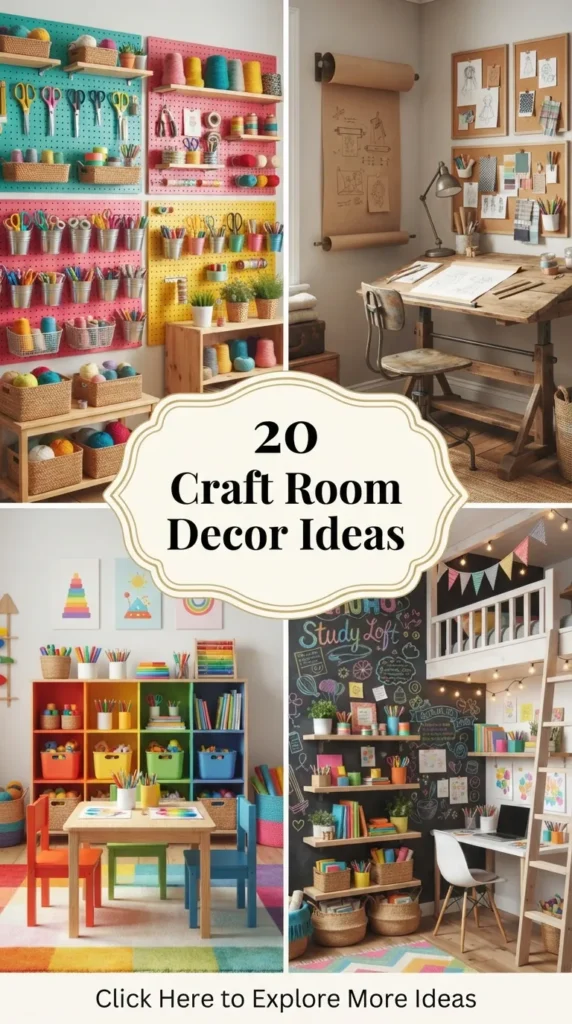
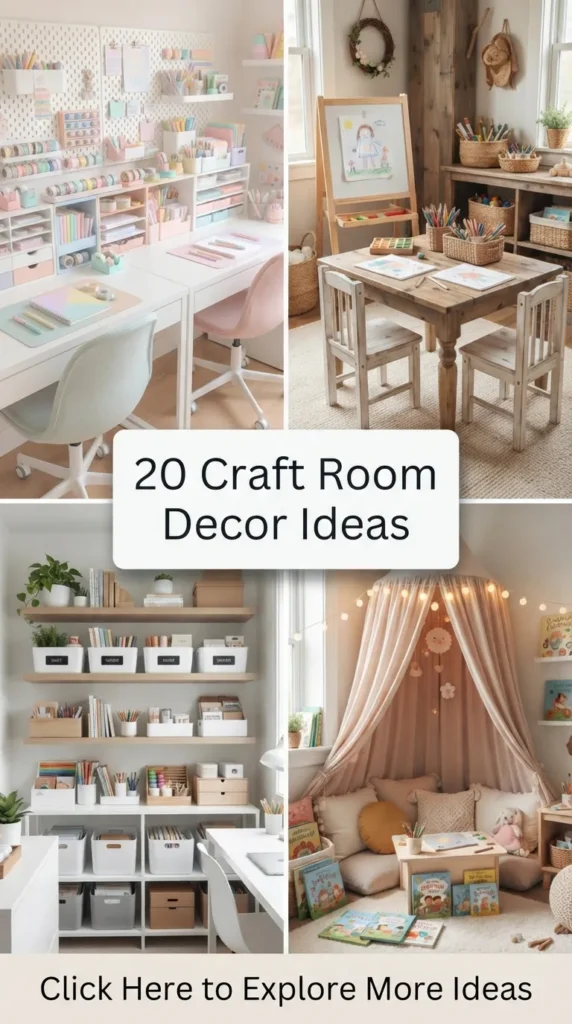
Creating a dedicated craft space is more than just setting up a desk with a pair of scissors and some paper; it is about designing a personal sanctuary that fuels imagination, fosters focus, and keeps creative energy flowing smoothly. A well-decorated craft room seamlessly blends functionality with aesthetic charm. When your tools are neatly stored, your color palette is inviting, and your workspace is filled with personal artistic touches, the simple act of stepping into your studio can spark instant inspiration.
Whether you have an entire spare room, a cozy attic nook, or a converted closet corner, transforming your creative space doesn’t require complex renovations. Thoughtful layout planning, smart storage solutions, artistic wall displays, and cozy styling details can completely elevate your environment. Here are 20 amazing, realistic, and Pinterest-inspired craft room decor ideas designed to turn your studio into a beautiful, functional paradise, complete with step-by-step guides, helpful tips, variations, and necessary materials for each project.
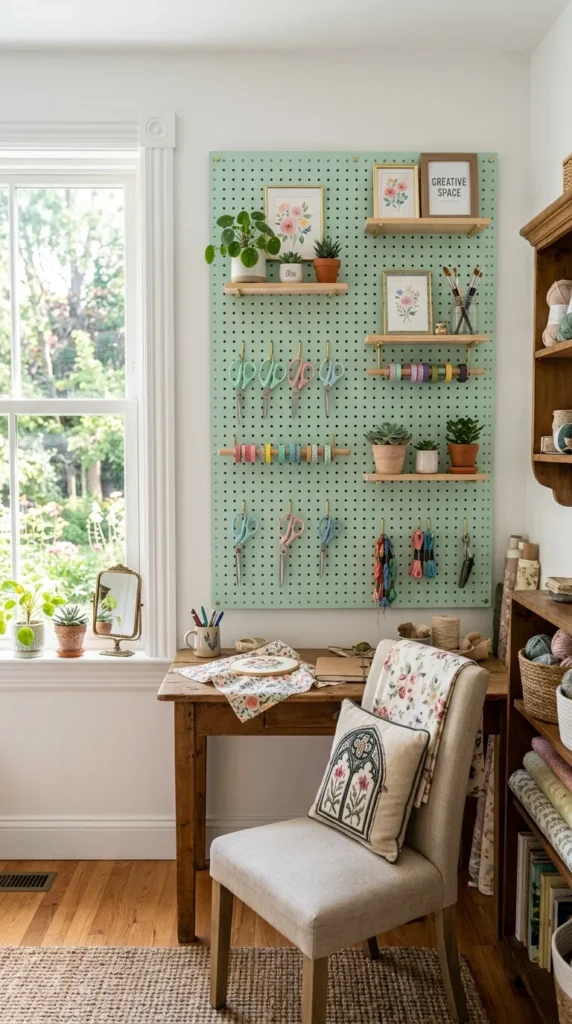
1. Pastel Pegboard Creative Wall Gallery
What This Idea Means
A pegboard creative wall gallery turns an empty vertical wall into an interchangeable, functional piece of living decor. By painting the board a soft pastel shade and arranging tools alongside framed art, you elevate utilitarian storage into a centerpiece of room styling.
How to Make It
- Prepare the Board: Sand a wooden or heavy-duty hardboard pegboard. Apply a coat of primer followed by two coats of soft pastel acrylic paint (such as mint green, blush pink, or soft lavender).
- Mount with Spacers: Secure furring strips to wall studs, then anchor the pegboard over them to ensure there is space behind the holes for hooks to slide in smoothly.
- Organize Tools & Decor: Hang shiny brass or white wire hooks, small floating wooden shelves, and hanging metal cups.
- Style the Layout: Balance practical tools (scissors, tape rolls, paintbrushes) with decorative elements like mini framed art prints, tiny potted succulents, and motivational quote cards.
Tips and Variations
- Tips: Group tools by color or material to keep the visual grid looking tidy and deliberate rather than cluttered.
- Variations: Frame the outer border of your pegboard with ornate white crown molding to give it a polished, gallery-like feel.
Needs to Make That Thing
- Perforated hardboard or wooden pegboard
- Furring strips and wall anchor screws
- Pastel interior paint and rollers
- Pegboard hooks, wire baskets, and small wooden shelf inserts
- Mini framed art prints and small potted plants
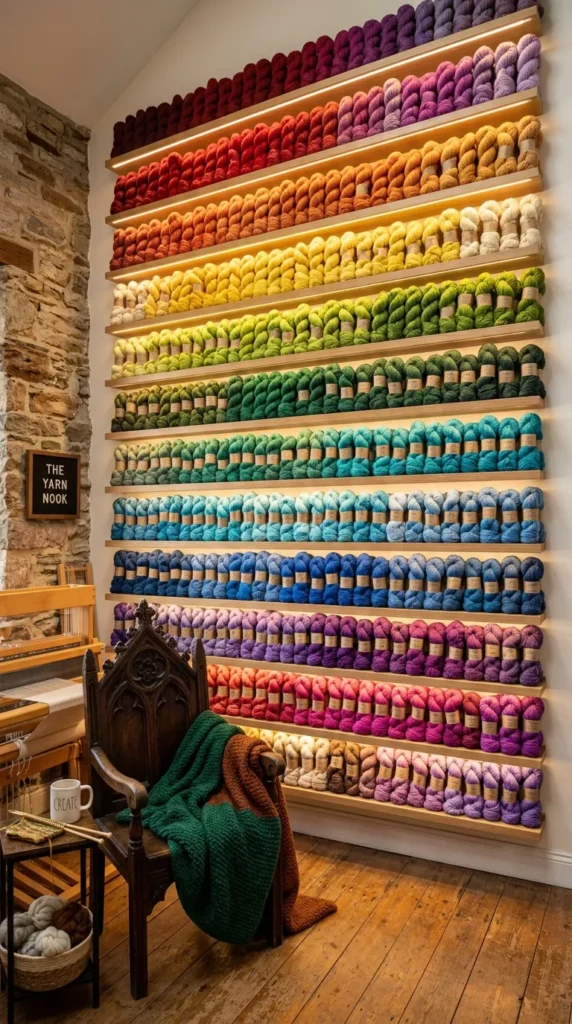
2. Floor-to-Ceiling Rainbow Yarn Wall
What This Idea Means
A floor-to-ceiling yarn wall displays yarn skeins organized strictly by color spectrum across narrow open shelves or wooden dowels. This turns your fiber craft inventory into a dramatic, cozy architectural accent wall that adds rich texture and vibrant color to the studio.
How to Make It
- Install Shelving: Mount shallow wooden picture ledges or narrow open shelves vertically along a focal wall, extending from floor level up toward the ceiling.
- Sort Yarn: Group all your yarn skeins, balls, and cakes by shade (Red, Orange, Yellow, Green, Blue, Purple, Neutrals).
- Arrange Spectrum: Stack the yarn neatly onto the ledges in seamless rainbow order from left to right or top to bottom.
- Add Accent Lighting: Install a warm LED light strip directly beneath each shelf ledge to illuminate the soft yarn textures at night.
Tips and Variations
- Tips: Wind messy skeins into neat center-pull cakes using a yarn winder so every color display block looks clean and uniform.
- Variations: Replace flat wooden shelves with horizontal wooden dowel rods to thread yarn spools directly onto wall bars.
Needs to Make That Thing
- Shallow wooden picture ledges or open wall shelves
- Wall anchors and mounting screws
- Yarn inventory (sorted by color)
- LED strip lighting with power adapter
- Yarn ball winder (optional)
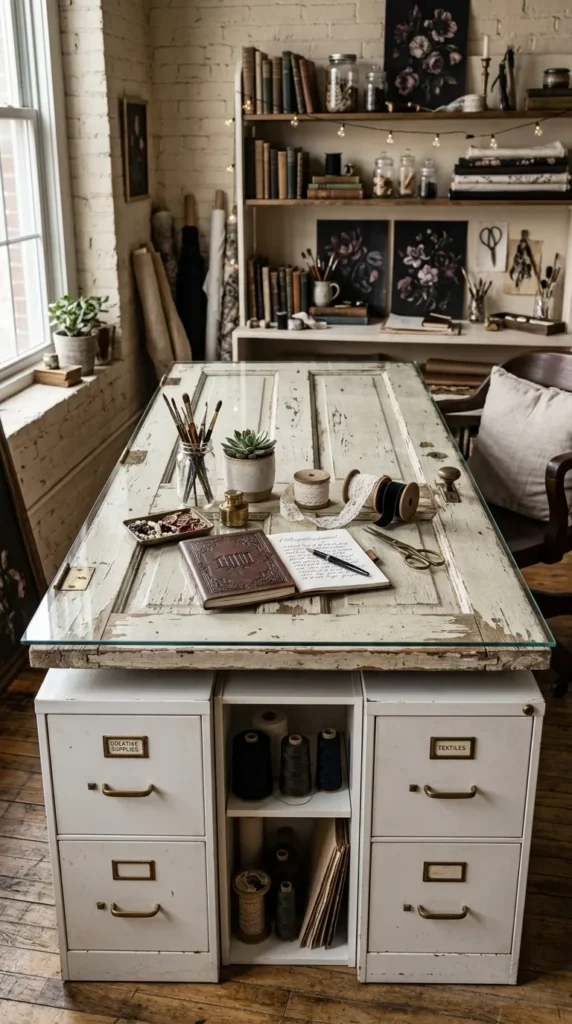
3. Repurposed Vintage Door Craft Table
What This Idea Means
This upcycled decor idea converts a vintage wooden panel door into a spacious, character-filled central craft island. The natural wood grain, weathered patina, and smooth protective glass top create a rustic focal point for cutting, sewing, and designing.
How to Make It
- Source & Clean: Clean an old solid wooden panel door, lightly sanding down any loose paint flakes while preserving its natural vintage character.
- Build Base Supports: Attach two sturdy wooden trestle legs, filing cabinets, or small cube storage bookcases underneath each end of the door to act as legs and storage bases.
- Secure Desktop: Screw the door securely to the base supports using angle brackets from underneath.
- Add Glass Top: Place a custom-cut piece of tempered clear glass over the top door surface to create a perfectly flat, easy-to-clean workspace while keeping the antique panel details visible.
Tips and Variations
- Tips: Ensure the glass sheet features polished bevel edges for safety while working.
- Variations: Seal the door recesses under the glass with dried pressed flowers, maps, or vintage photos to make a customized memory table.
Needs to Make That Thing
- Solid wood vintage door
- 2 storage base units (cube shelves or filing cabinets)
- Tempered clear glass top panel
- Angle brackets and wood screws
- Sandpaper and clear matte sealer
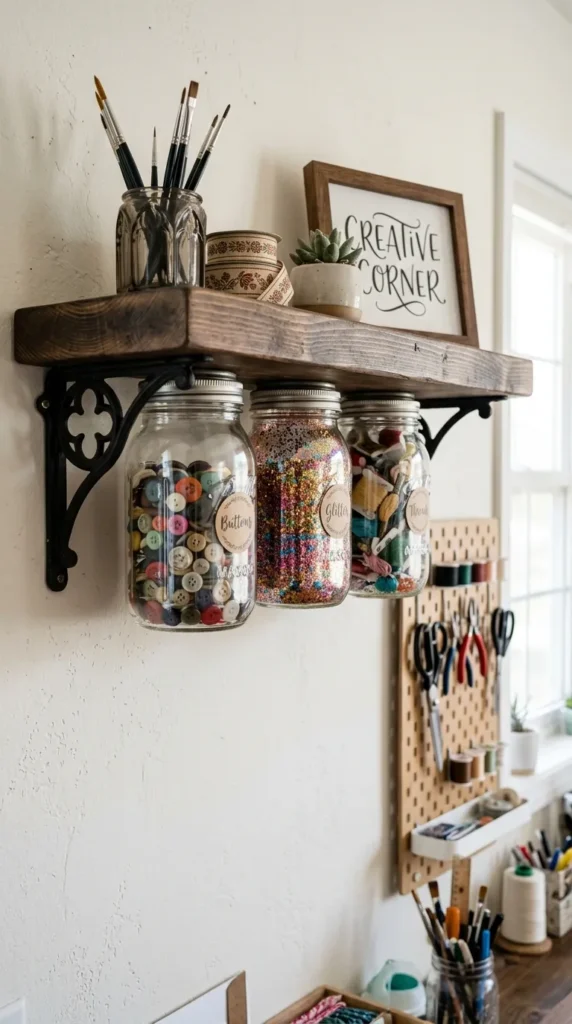
4. Hanging Mason Jar Floating Shelf
What This Idea Means
Hanging mason jar floating shelves utilize the underside space of open wooden wall shelves by mounting jar lids beneath them. Screwing jars in and out creates a floating display for small, colorful supplies like buttons, beads, and glitter.
How to Make It
- Prepare Jar Lids: Remove the screw bands and metal lids from 6 to 8 uniform glass mason jars.
- Mount Lids to Shelf: Hold the metal lids flat against the underside of a thick solid wooden floating shelf. Fasten each lid in place using two small wood screws driven through the top of the lid into the wood.
- Fill Jars: Fill the glass jars with small organized craft items like buttons, sequins, brass brads, and colorful pompoms.
- Screw Jars On: Screw each filled glass jar directly into its mounted lid beneath the shelf, letting them float securely above your desk.
Tips and Variations
- Tips: Space the lids at least 1 inch apart so your fingers can easily grip and unscrew individual jars without hitting adjacent ones.
- Variations: Use shatterproof plastic jars if your craft room is a shared space with young children.
Needs to Make That Thing
- Solid wood floating shelf
- Glass mason jars with metal screw lids
- Short wood screws
- Drill and screwdriver
- Small craft supplies for filling
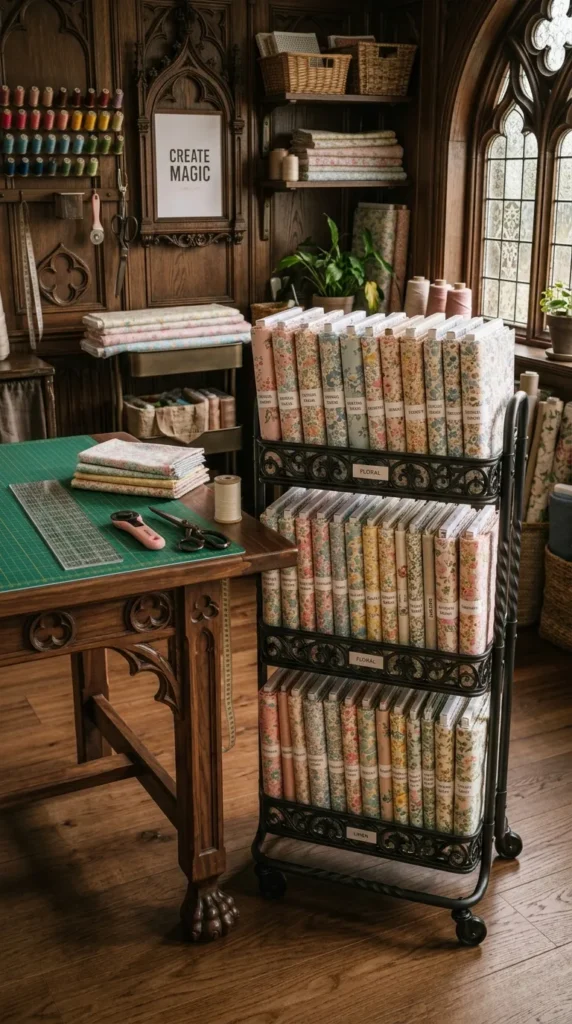
5. Mobile Fabric Bolt Rolling Cart Station
What This Idea Means
A mobile fabric bolt station organizes large fabric cuts, wrapping papers, and vinyl rolls onto a mobile rolling cart frame. By wrapping textiles around mini mini-bolts, your fabric stash transforms into a boutique-style decor feature that rolls wherever you need it.
How to Make It
- Assemble Cart: Assemble a sturdy wire or wooden rolling cart featuring tall vertical side supports.
- Wrap Fabric Bolts: Fold fabric lengths neatly around sturdy cardboard mini-bolt boards (approx. 7×11 inches) and secure the fabric edges with simple brass pins.
- File Vertically: Line up the wrapped fabric bolts vertically inside the cart shelves like books in a library, arranged by color or print pattern.
- Add Side Accessories: Clip small wire baskets to the outer cart handles to hold fabric scissors, measuring tapes, and rotary cutters.
Tips and Variations
- Tips: Use acid-free cardboard bolts to prevent any fabric discoloration over long storage periods.
- Variations: Use the middle tier for rolled vinyl sheets or rolls of decorative gift wrap standing upright in tall wire dividers.
Needs to Make That Thing
- Multi-tiered rolling utility cart
- Cardboard mini fabric bolt boards
- Sewing pins or clips
- Fabric collection
- Side-hanging wire baskets
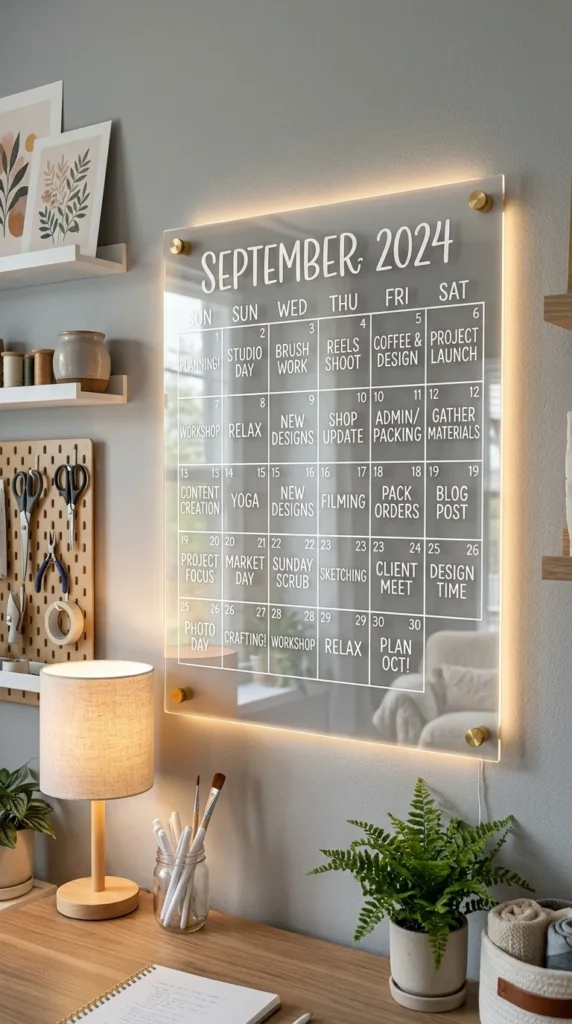
6. Illuminated Floating Acrylic Wall Calendars
What This Idea Means
A floating acrylic wall calendar provides a sleek, modern planning command center for tracking project deadlines, order shipments, and video tutorials. Bordered by soft LED backlighting, it acts as a functional luminescent wall piece.
How to Make It
- Mount Acrylic Sheet: Anchor a large, clear acrylic sheet (approx. 24×36 inches) onto the wall using brass or silver metal standoff wall mounts.
- Rule Calendar Grid: Use permanent white or gold sharpie paint markers to draw a crisp 31-day calendar grid, along with sections for “Notes” and “Project Goals.”
- Install Backlighting: Apply a subtle warm-white LED light strip along the back perimeter of the acrylic panel to make the clear edges glow softly against the wall.
- Write Notes: Use colorful dry-erase markers or liquid chalk pens to update monthly schedules and craft deadlines.
Tips and Variations
- Tips: Mount the calendar near your main work desk so you can update dates while staying seated.
- Variations: Slide a large piece of colorful patterned wallpaper behind the acrylic sheet for a bold graphic background.
Needs to Make That Thing
- Clear acrylic sheet (1/4 inch thick)
- 4 metal standoff wall mounts with anchors
- Permanent white or gold paint markers
- Dry-erase or liquid chalk markers
- LED light strip kit
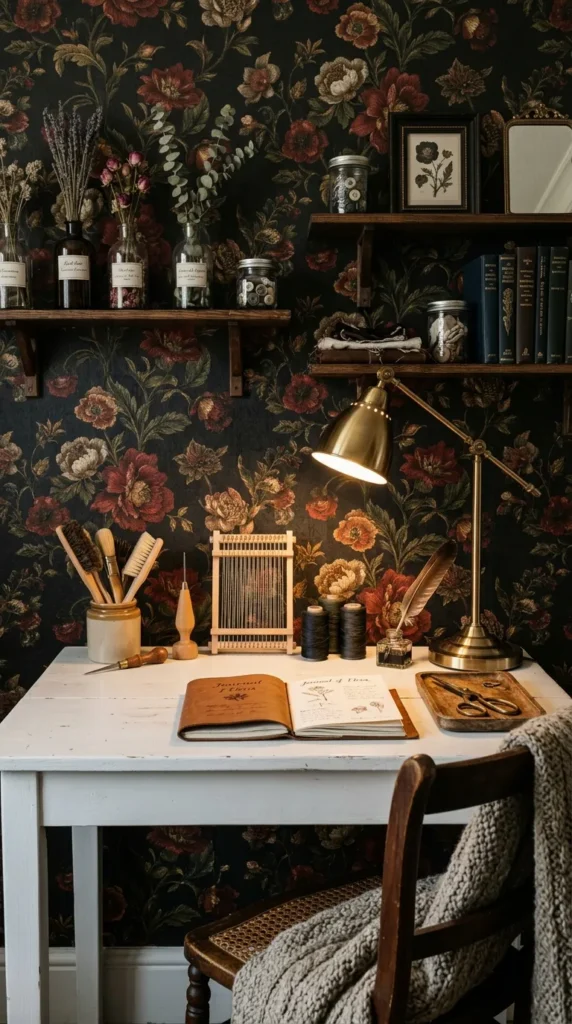
7. Moody Floral Accent Wall Mural
What This Idea Means
A moody botanical or floral mural wallpaper creates a dramatic feature wall that adds depth and artistic inspiration to a studio space. Dark background tones paired with large vintage floral prints offer a rich, cozy aesthetic.
How to Make It
- Prep Wall Surface: Clean the chosen focal wall, patch any nail holes, and smooth out bumps with fine sandpaper.
- Measure & Paste: Measure your wall dimensions and trim peel-and-stick mural wallpaper panels accordingly, leaving a 1-inch overlap at the top and bottom.
- Apply Panels: Peel the backing paper from the first panel, starting from the top corner, and smooth it down using a plastic wallpaper squeegee to eliminate air bubbles.
- Match Patterns: Align subsequent panels carefully along pattern seams, trimming excess along baseboards using a razor knife and metal straightedge.
Tips and Variations
- Tips: Use peel-and-stick removable mural wallpaper so you can change up your studio wall decor easily in the future without damaging drywall.
- Variations: Hand-paint your own abstract floral wall mural using leftover acrylic wall paints for a personalized art statement.
Needs to Make That Thing
- Moody floral peel-and-stick wall mural
- Plastic wallpaper smoothing squeegee
- Razor knife and metal ruler
- Measuring tape and level
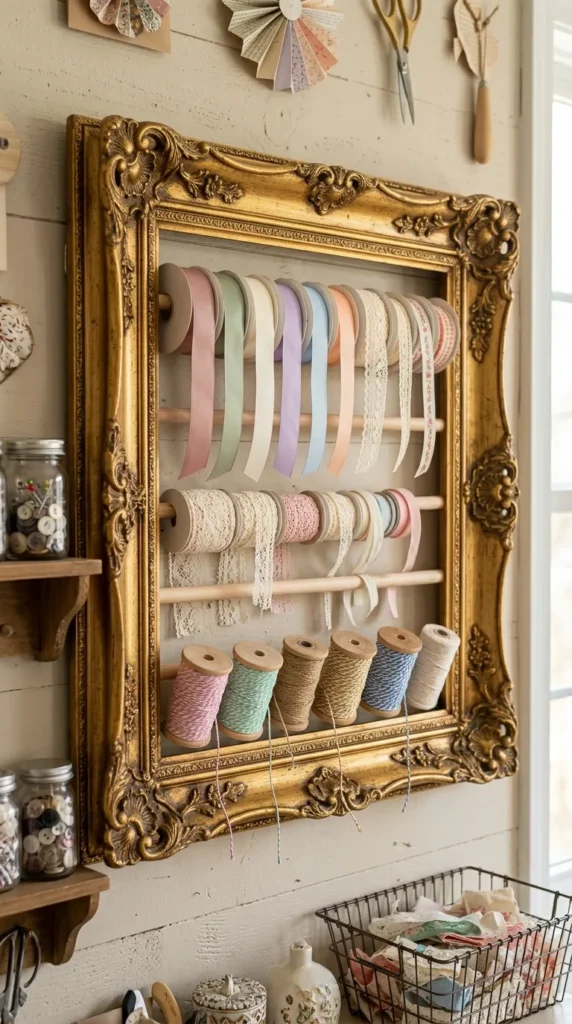
8. Framed Ribbon & Trim Dispenser Gallery
What This Idea Means
A framed ribbon dispenser transforms rolls of decorative ribbon, lace, and baker’s twine into a framed wall art piece. Mounting wooden dowel rods inside an ornate picture frame organizes spools while letting you pull and snip trims directly from the wall.
How to Make It
- Prep Vintage Frame: Take a large, deep wooden picture frame (discarding the backing and glass). Paint or stain the frame to match your room aesthetic.
- Install Dowel Supports: Screw small cup hooks or wooden dowel brackets inside the interior left and right frame edges in parallel horizontal rows.
- Thread Ribbon Spools: Thread your colorful ribbon, lace, and twine spools onto thin wooden dowel rods.
- Mount & Dispense: Drop the ends of the filled dowels into the frame brackets, mount the frame to the wall, and pull ribbon ends through for easy cutting.
Tips and Variations
- Tips: Secure a small pair of vintage brass scissors to a ribbon tied at the bottom of the frame so scissors are always handy.
- Variations: Use a similar setup to display spools of colorful embroidery floss, sewing thread, or decorative washi tape.
Needs to Make That Thing
- Large deep wooden picture frame (without glass)
- Wooden dowel rods (1/2 inch thick)
- Small metal cup hooks or dowel sockets
- Ribbon, lace, and twine spools
- Wall mounting hardware
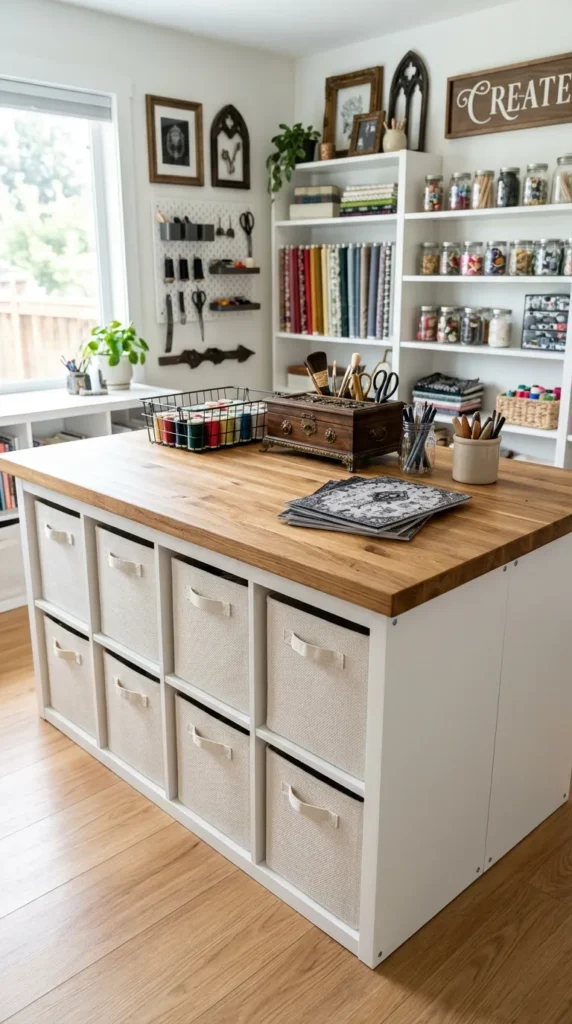
9. Modular White Storage Cube Island
What This Idea Means
A central modular craft island built from white cube storage units topped with a butcher block surface creates a 360-degree accessible workspace. It provides standing-height cutting space while housing deep storage baskets on all sides.
How to Make It
- Assemble Cubes: Assemble two to four 4-cube white square storage units according to manufacturer instructions.
- Position Back-to-Back: Place two cube units back-to-back in the middle of your craft room, leaving outer open cubes accessible from both sides.
- Attach Desktop: Secure a large solid wood butcher block or thick plywood top across the top of the combined cube units using angle brackets.
- Insert Bins: Slide canvas fabric bins, woven baskets, or clear plastic bins into individual cube openings to store heavy machines, fabric scraps, and paper pads.
Tips and Variations
- Tips: Add locking caster wheels to the bottom of the cube units to turn the entire central island into a mobile workstation.
- Variations: Coat the top wooden surface with clear epoxy resin for a smooth, scratch-resistant surface ideal for messy paint and resin work.
Needs to Make That Thing
- 2 to 4 white cube storage bookshelf units
- Solid wood butcher block countertop
- Angle brackets and wood screws
- Fabric storage bins or woven baskets
- Locking caster wheels (optional)
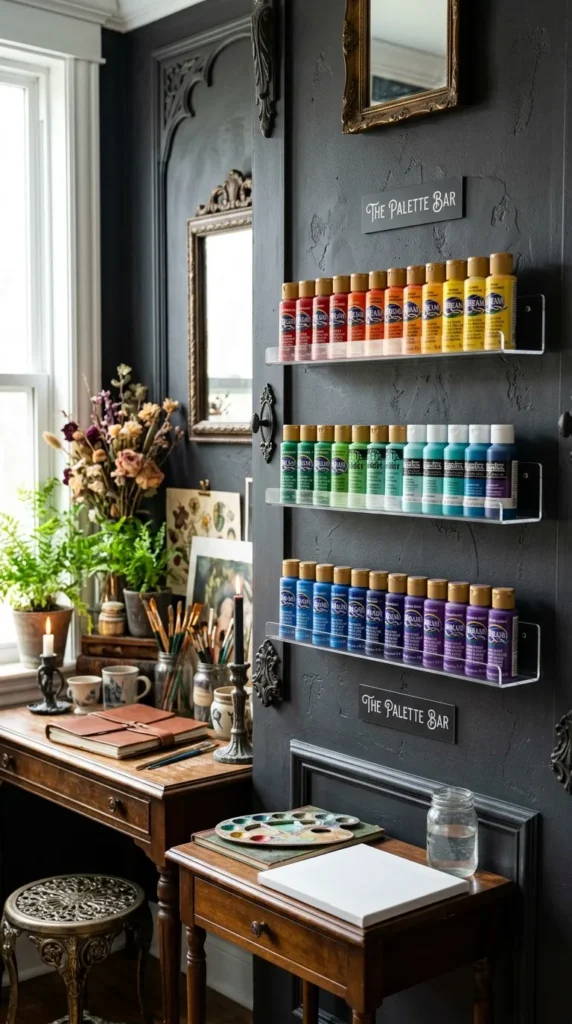
10. Floating Glass Shelf Paint Bar
What This Idea Means
A paint bar uses narrow floating glass or clear acrylic shelves mounted against a sunlit wall to display paint bottles sorted by tone. Light streaming through glass jars of acrylics, watercolors, and dyes turns supplies into a glowing rainbow display.
How to Make It
- Mount Shelves: Install multiple 3-inch deep clear acrylic floating picture ledges horizontally in a vertical row on an open wall.
- Sort Paints: Group acrylic paint bottles, glass watercolor jars, and ink dropper bottles by color palette.
- Arrange Bottles: Set paint containers neatly along the clear ledges, arranging colors smoothly from dark shades to bright highlights.
- Organize Brushes: Mount small acrylic cylinder cups alongside the shelves to hold clean paintbrushes vertically by size.
Tips and Variations
- Tips: Place the paint bar on a wall adjacent to natural light rather than direct harsh sunlight to prevent paint from drying out over time.
- Variations: Use small clear spice bottles to store loose powdered pigments or glitter powders on the same ledges.
Needs to Make That Thing
- Clear acrylic floating shelves or picture ledges
- Wall anchors and mounting screws
- Paint bottle inventory (acrylics, inks, oils)
- Clear acrylic brush holder cups
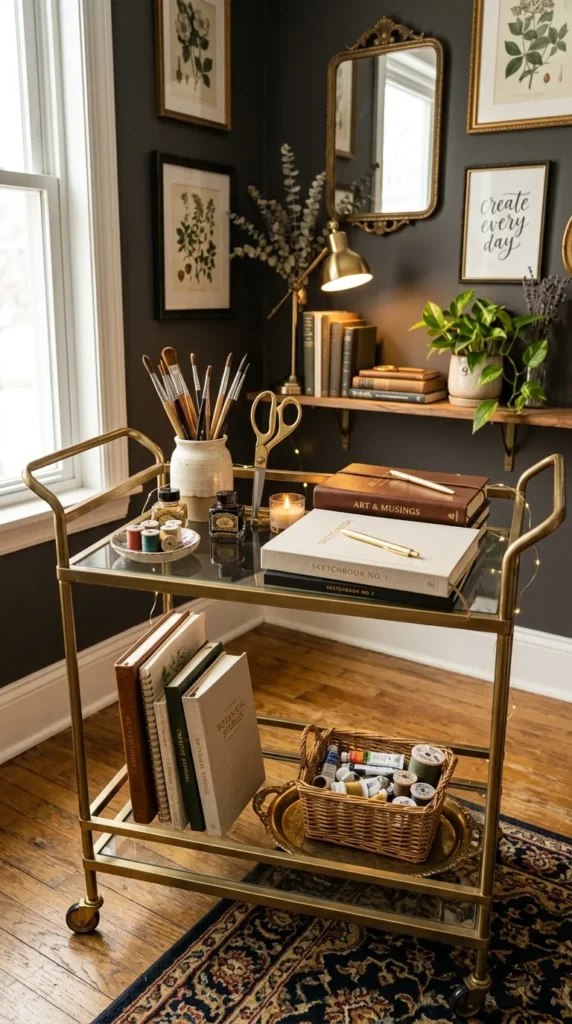
11. Tiered Brass & Glass Rolling Cart Bar
What This Idea Means
A vintage-inspired brass and glass rolling bar cart brings a touch of glam to the craft studio. Reimagined as a mobile luxury supply cart, it holds your daily essential items, a cup of tea, and current projects in style.
How to Make It
- Select Cart: Source a two- or three-tier rolling bar cart featuring a metallic brass or gold frame with glass or marble shelf inserts.
- Top Tier Styling: Arrange your most aesthetically pleasing daily tools on top—such as gold scissors, a small ceramic vase with fresh flowers, and a designer sketchbook.
- Lower Tier Storage: Place glass jars filled with colorful wooden beads, brass metal clips, and luxury paper pads on the lower shelves.
- Mobility: Roll the cart right next to your craft desk or armchair while working, and wheel it into a cozy corner when finished.
Tips and Variations
- Tips: Use velvet-lined tray dividers inside cart tiers to keep small brass tools from scratching glass surfaces when rolling.
- Variations: Spray paint a standard black metal cart with metallic champagne-gold spray paint for a budget-friendly DIY version.
Needs to Make That Thing
- Metallic brass or gold rolling bar cart
- Clear glass jars and ceramic display cups
- High-end stationery and gold craft tools
- Small decorative tray inserts
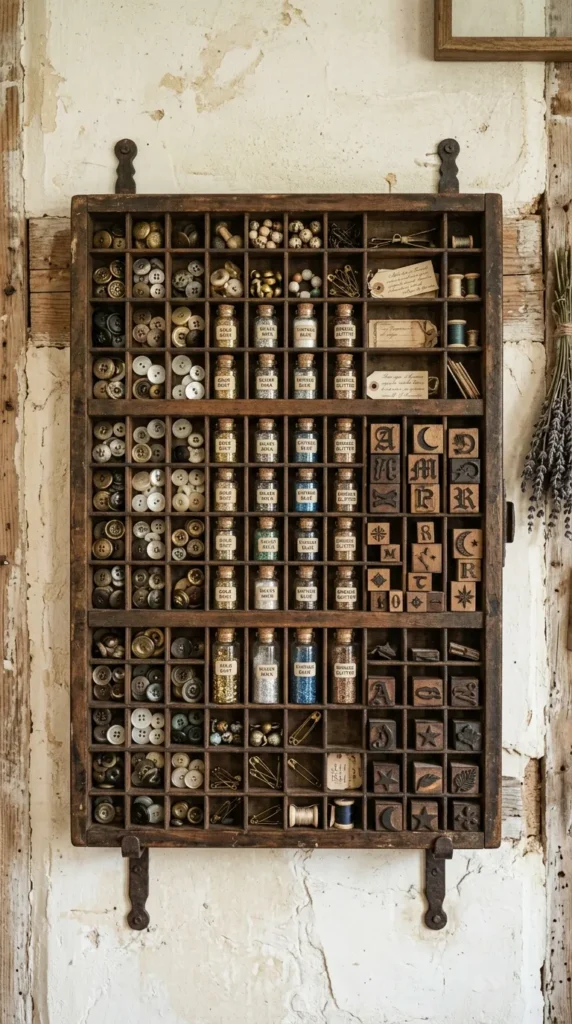
12. Vintage Wooden Printing Drawer Sorting Wall
What This Idea Means
A vintage wooden printing drawer (or typesetter’s tray) mounted flat on the wall provides dozens of tiny wooden compartments. It functions as a nostalgic display case for miniature craft embellishments, antique stamps, beads, and tiny trinkets.
How to Make It
- Clean & Seal Tray: Clean an old wooden typesetter’s printer tray with soft soap and a brush. Coat with clear matte varnish to preserve the warm wood patina.
- Mount Hardware: Attach heavy-duty sawtooth picture hangers securely to the back frame of the tray.
- Anchor to Wall: Screw wall anchors into your wall and mount the tray flat against the wall surface.
- Curate Miniatures: Place small treasures inside the individual grid pockets—such as glass vials of glitter, miniature clay sculptures, vintage buttons, and thread spools.
Tips and Variations
- Tips: Use tiny drops of tacky wax or removable poster putty under smaller miniatures so they stay upright inside their compartments.
- Variations: Paint the inside back surfaces of individual wooden grid pockets with tiny scraps of patterned paper for colorful backgrounds.
Needs to Make That Thing
- Vintage wooden printer typesetter tray
- Sawtooth picture hangers and screws
- Clear matte spray sealer
- Miniature craft items (buttons, beads, small jars)
- Removable poster putty
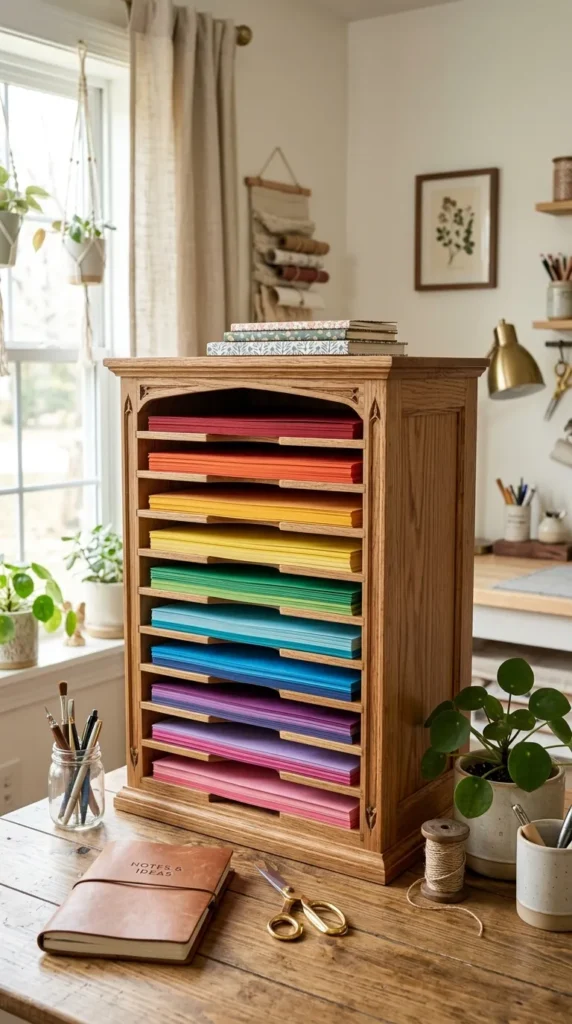
13. Over-the-Desk Wooden Paper Storage Tower
What This Idea Means
An over-the-desk paper storage tower organizes cardstock, scrapbook papers, and specialty papers vertically in open wooden slots. Keeping paper visible by shade prevents sheets from bending while adding a vibrant spectrum to your desk backdrop.
How to Make It
- Build or Buy Unit: Obtain a vertical wooden mail or paper sorter tower featuring multi-tier horizontal slots designed for 12×12 inch scrapbook paper.
- Position on Desk: Place the tower flat against the wall at the back corner of your main work desk.
- Sort by Spectrum: Slide paper packs into slots sorted by color (red, orange, yellow, green, blue, purple, neutrals, metallics).
- Label Slots: Attach small brass label holders to the front edge of each shelf slot to identify paper weights (e.g., 80lb cardstock, watercolor paper, vellum).
Tips and Variations
- Tips: Store scrap paper pieces in clear plastic slide sleeves tucked right alongside their full-sized paper color slots to reduce waste.
- Variations: Mount the paper tower directly onto the wall to free up 100% of your tabletop workspace surface.
Needs to Make That Thing
- Wooden 12×12 inch paper sorter tower
- Scrapbook paper and cardstock sheets
- Brass label holder clips with paper tags
- Clear plastic paper sleeves (for scraps)
14. Cozy Boho Macramé & Floral Desk Nook
What This Idea Means
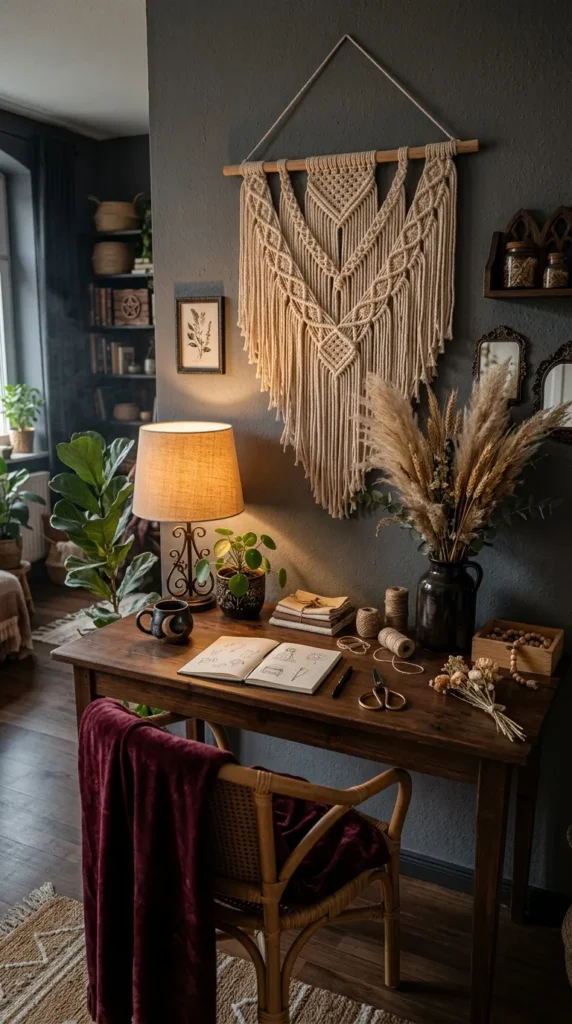
Styling your main craft desk with natural boho accents—such as a large woven macramé wall tapestry, dried pampas grass vases, and warm rattan desk accessories—creates a calming, organic creative nook.
How to Make It
- Hang Tapestry: Mount a large woven cream-colored macramé wall tapestry centered directly behind your wooden desk workspace.
- Add Natural Textures: Place woven rattan pen cups, wooden desk organizers, and a soft sheepskin or woven chair pad on your work stool.
- Botanical Accents: Set a ceramic vase filled with dried pampas grass, eucalyptus sprigs, and bunny tails on a corner of the desk.
- Cozy Lighting: Add a warm wood-base desk lamp with a woven linen lampshade to cast soft ambient light over your workspace.
Tips and Variations
- Tips: Keep bright, harsh neon plastics hidden inside drawers so your workspace maintains a soft, restful natural color palette.
- Variations: Weave tiny LED fairy lights through the macramé wall tapestry for magical evening work sessions.
Needs to Make That Thing
- Large woven macramé wall tapestry
- Natural wooden craft desk and stool
- Rattan pen holders and organizers
- Ceramic vase with dried pampas grass and botanical stems
- Warm linen desk lamp
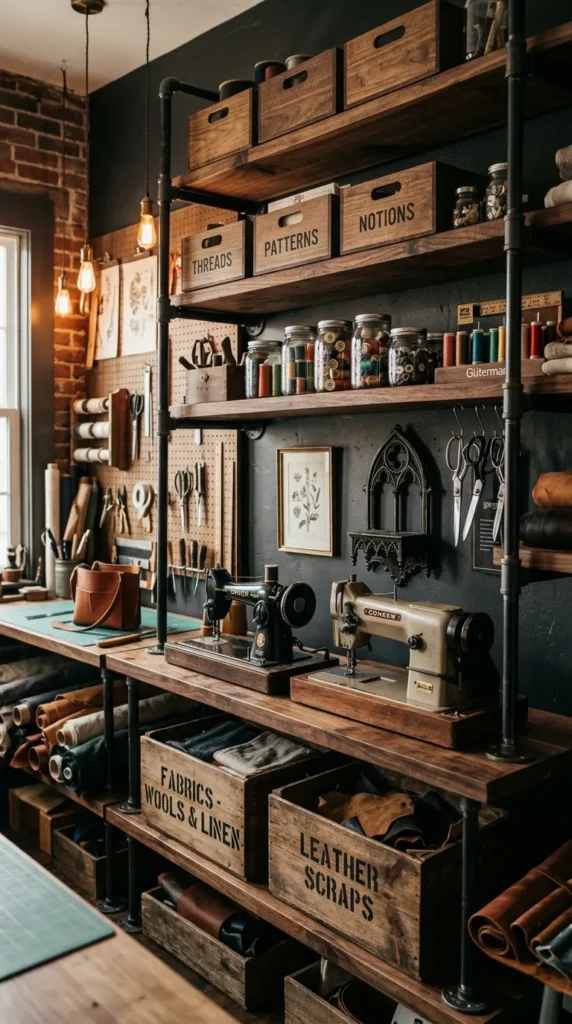
15. Industrial Pipe & Wood Wall Shelf Unit
What This Idea Means
An industrial wall shelf unit built from black iron plumbing pipes and thick rustic wood planks offers sturdy, heavy-duty storage for heavy craft machinery like sewing machines, die-cutters, and book presses.
How to Make It
- Prep Planks: Sand thick solid pine or cedar wood planks (approx. 11 inches deep by 4 feet long) and coat with dark walnut wood stain.
- Assemble Pipe Frame: Thread black iron pipe flanges, nipples, elbows, and tees together to construct vertical ladder-style wall supports.
- Mount Frame: Anchor the iron pipe flanges securely into wall studs using heavy-duty lag screws.
- Set Shelves: Lay the stained wooden planks across the pipe supports, securing them with iron pipe straps from underneath.
- Load Machinery: Set your heaviest craft equipment, sewing boxes, and wooden tool crates onto the sturdy shelves.
Tips and Variations
- Tips: Use a bubble level during every step of pipe assembly to ensure your shelves are perfectly level before tightening flange screws.
- Variations: Paint the iron pipes metallic copper or matte white for a modern industrial look instead of black iron.
Needs to Make That Thing
- Solid wood planks (11 inches deep)
- Black iron plumbing pipes, flanges, and fittings
- Dark walnut wood stain and varnish
- Lag screws and heavy-duty wall anchors
- Pipe strap clamps and drill
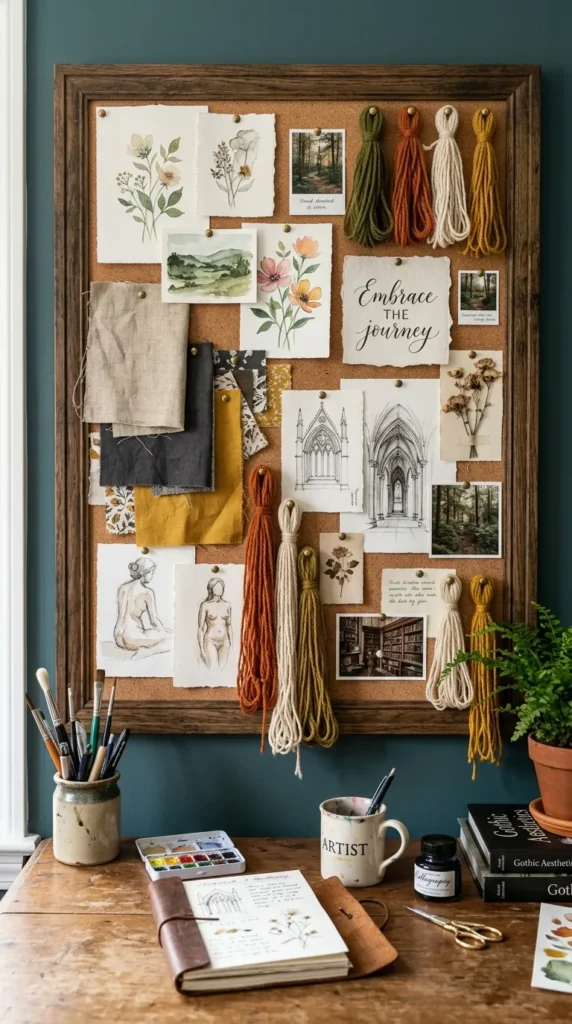
16. Framed Corkboard Mood & Inspiration Board
What This Idea Means
A framed corkboard mood board creates a dedicated space to pin fabric swatches, color palettes, magazine cutouts, and project sketches. Enclosed in a stylish frame, it keeps current creative ideas organized and visually stimulating.
How to Make It
- Prepare Frame & Cork: Take a large wooden frame, insert a thick sheet of natural corkboard, and secure it to the frame backing.
- Upholster Cork (Optional): Wrap thin natural linen or burlap fabric tightly over the corkboard before securing it inside the frame for a softer texture.
- Mount Frame: Secure the framed mood board firmly to the wall directly above your design space.
- Pin Creative Inspiration: Use decorative brass pushpins to arrange current project sketches, yarn swatches, color paint chips, and inspiring photos.
Tips and Variations
- Tips: Rotate the pinned items at the start of every new project to keep your visual workspace fresh and aligned with current goals.
- Variations: Mix corkboard sections with magnetic sheet sections to pin metal tools alongside paper inspiration.
Needs to Make That Thing
- Large ornate wooden picture frame
- High-density corkboard sheet
- Natural linen or burlap fabric (optional)
- Brass or wooden decorative pushpins
- Design swatches, sketches, and paint chips
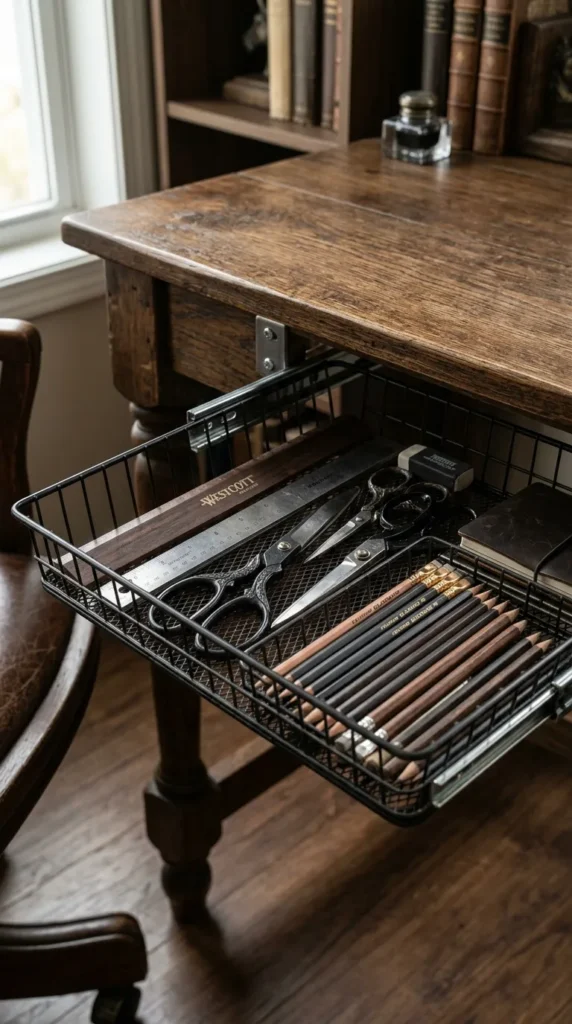
17. Under-Desk Sliding Basket Organization
What This Idea Means
Under-desk sliding wire or canvas baskets utilize the empty negative space beneath your work desktop. Sliding open on smooth tracks, they keep frequently used tools within arm’s reach while keeping table surfaces clear.
How to Make It
- Source Drawer Runners: Obtain under-desk sliding metal drawer tracks or adhesive sliding basket mounts.
- Attach Tracks: Screw the metal slide tracks onto the underside of your wooden craft desktop near the front edge.
- Slide in Baskets: Insert shallow wire baskets or canvas drawer trays into the slide tracks.
- Organize Daily Tools: Store your daily craft tools—such as rulers, scissors, adhesives, note pads, and pencil cases—inside the pull-out baskets.
Tips and Variations
- Tips: Measure your knee clearance height before buying deep baskets to ensure you can still sit comfortably at the desk.
- Variations: Install shallow pull-out wooden trays lined with felt to store delicate jewelry tools or sketch pens.
Needs to Make That Thing
- Under-desk drawer slide tracks and screws
- Shallow wire or canvas baskets
- Electric drill and screwdriver
- Measuring tape
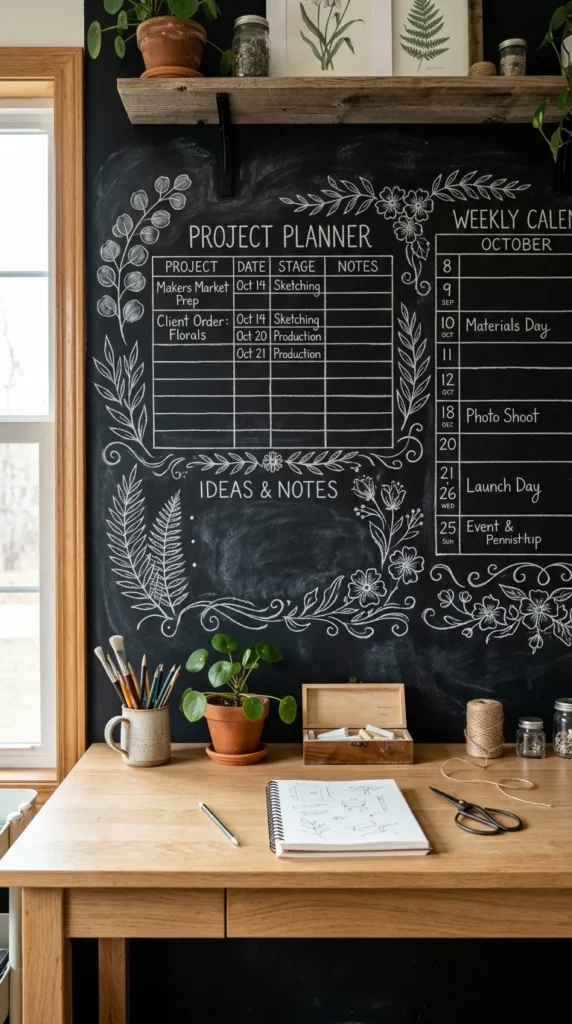
18. DIY Chalkboard Accent Feature Wall
What This Idea Means
Painting an accent wall with matte black chalkboard paint turns a wall section into a huge drawing canvas. It allows you to sketch floor layouts, jot down measurements, doodle project ideas, or write monthly goal lists right on the wall.
How to Make It
- Prep Wall: Smooth down a designated wall panel with fine sandpaper and wipe away dust with a damp cloth.
- Apply Chalkboard Paint: Paint the wall section with two coats of black chalkboard paint using a short-nap roller, allowing 4 hours between coats.
- Season Wall: Once dry (after 3 days), condition the surface by rubbing the flat side of a piece of white chalk over the entire wall, then wipe clean with a dry cloth.
- Draw & Design: Use liquid chalk pens or traditional chalk sticks to draw hand-lettered headers, project planning grids, and creative illustrations.
Tips and Variations
- Tips: Seasoning the chalkboard wall prevents your first written words from leaving permanent “ghosting” marks when erased.
- Variations: Frame the outer border of the chalkboard wall area with natural wood trim to make it look like a framed slate board.
Needs to Make That Thing
- Black interior chalkboard paint
- Paint roller and tray kit
- White chalk sticks for seasoning
- Liquid chalk pens (assorted colors)
- Microfiber eraser cloth
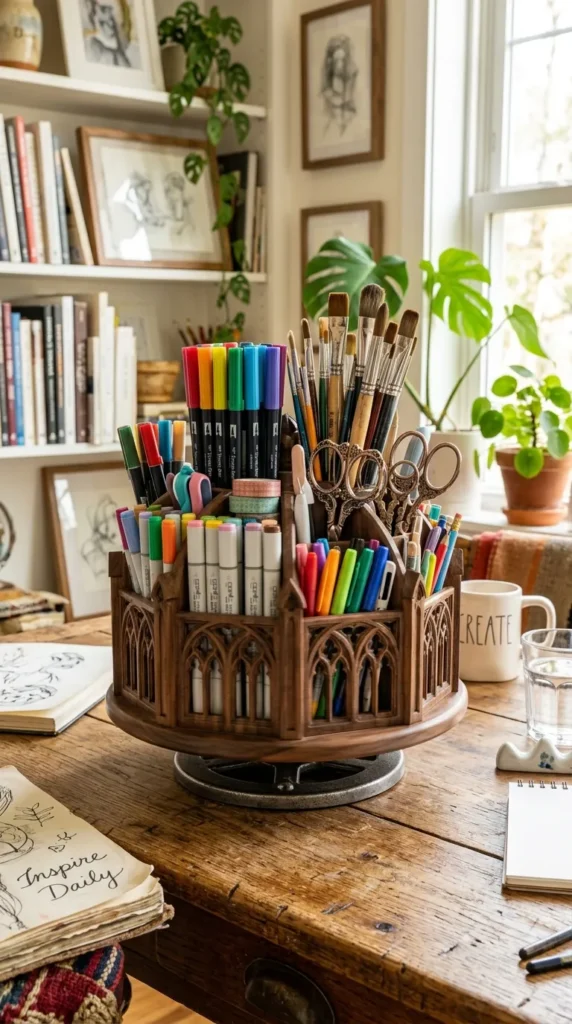
19. Rotating Desk-Top Spinning Tool Carousel
What This Idea Means
A rotating wooden tool carousel organizes pens, scissors, paintbrushes, glue sticks, and rulers inside vertical slots on a lazy susan turntable base. It brings 360-degree accessibility to your tabletop center.
How to Make It
- Prepare Container: Obtain a round multi-compartment wooden caddy or set of wooden cups grouped together.
- Mount Turntable: Attach a metal lazy susan rotating bearing mechanism to the bottom base of the wooden caddy using short wood screws.
- Finish Wood: Stain or paint the carousel to complement your overall room decor, sealing with a smooth clear varnish.
- Fill Compartments: Sort tools into individual compartments—one section for markers, one for scissors and pliers, one for glue, and one for rulers.
Tips and Variations
- Tips: Apply felt or rubber pads to the bottom of the turntable base so it spins smoothly without scratching your desktop.
- Variations: Use a multi-tier rotating Lazy Susan to store stacked paint jars alongside upright tool cups.
Needs to Make That Thing
- Wooden multi-compartment caddy or pencil cups
- Metal lazy susan rotating bearing plate
- Wood screws and screwdriver
- Wood stain or acrylic paint
- Daily desktop craft tools
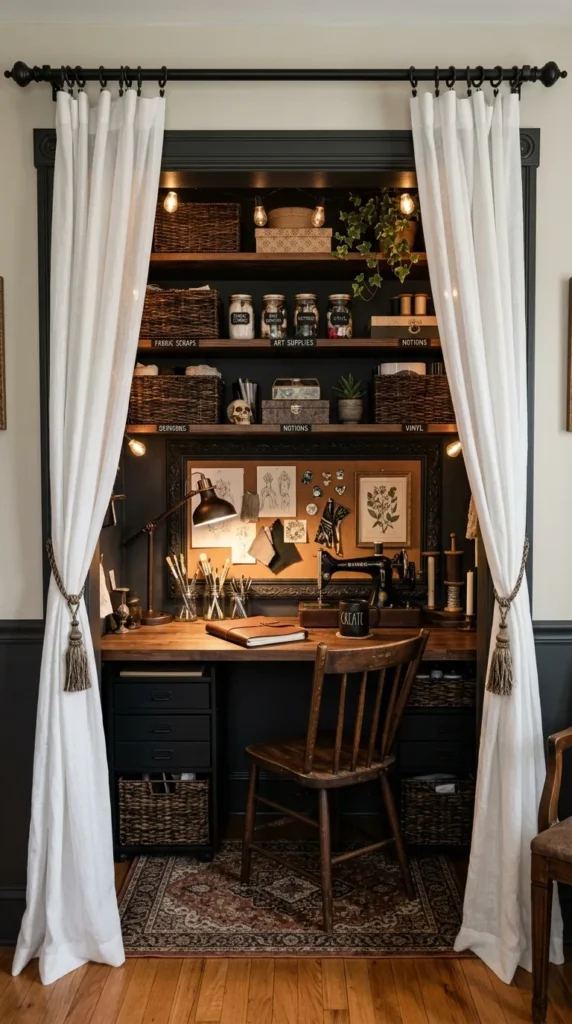
20. Sheer Linen Curtain Wrapped Closet Studio
What This Idea Means
A closet studio (or “cloffice”) converts a standard bedroom closet into a fully functioning craft workstation. Framing the closet opening with sheer linen curtain panels allows you to display your studio or tuck it away neatly.
How to Make It
- Clear Closet: Remove existing closet doors and clothes rods. Paint the interior closet alcove a bright, reflective white or pastel tone.
- Install Built-in Desk: Secure a sturdy wooden countertop across the closet nook at sitting height, supported by wall cleats on three sides.
- Add Shelving: Mount open wall shelves above the desktop extending up to the ceiling for bins and books.
- Hang Curtain Rod: Install a ceiling-mount curtain rod across the front top of the closet frame, hanging floor-length sheer linen curtain panels.
- Style & Hide: Keep curtains drawn open during creative work hours, and slide them closed to hide the workspace when company arrives.
Tips and Variations
- Tips: Install an LED puck light or under-shelf light strip inside the closet alcove so your workspace is bright.
- Variations: Replace linen curtains with sliding wooden barn doors for a rustic farmhouse closure.
Needs to Make That Thing
- Closet alcove space
- Custom-cut wooden desktop and wall cleats
- Upper wall shelves and brackets
- Ceiling-mount curtain rod
- Floor-length sheer linen curtain panels
- Under-shelf LED lighting