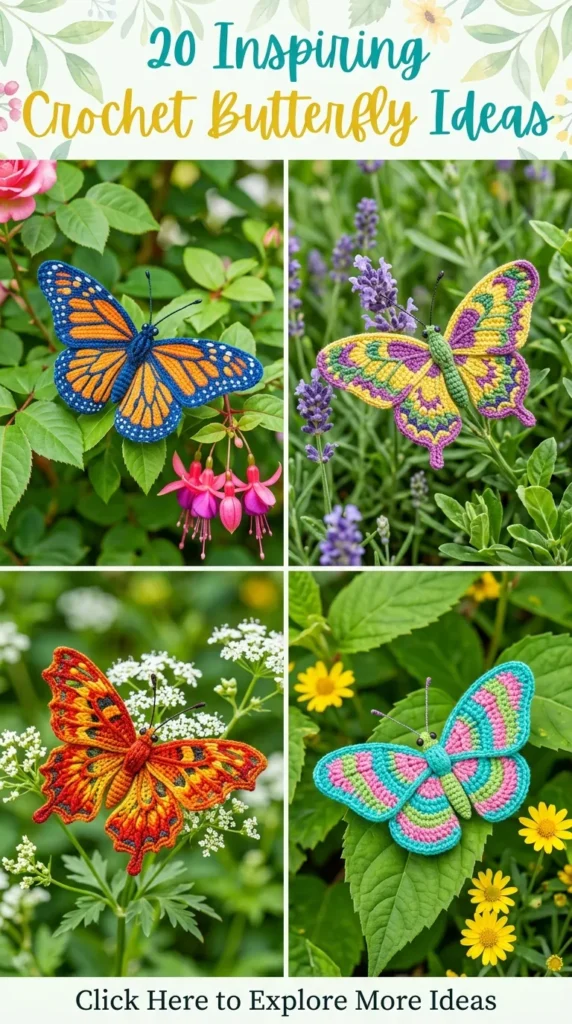
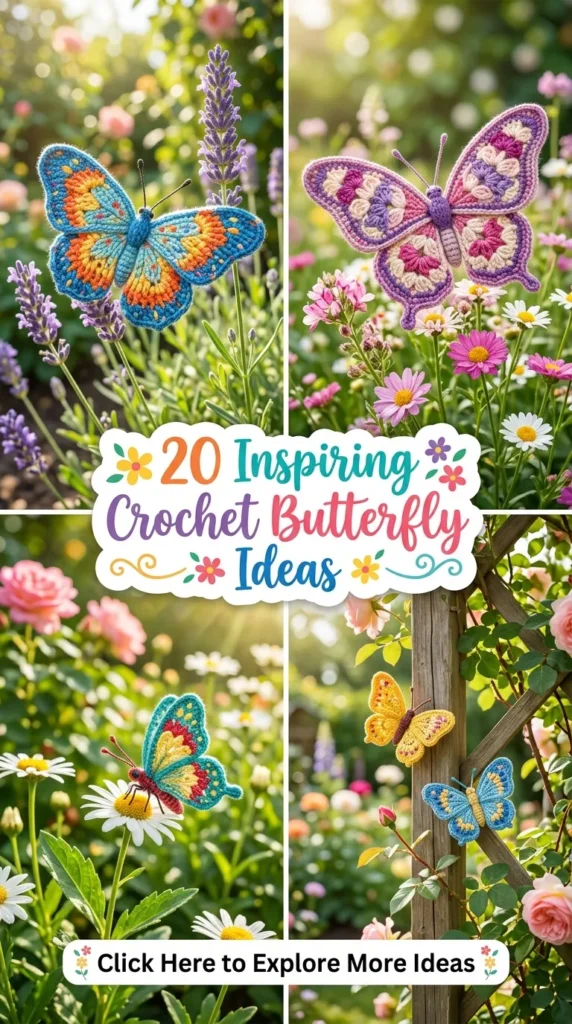
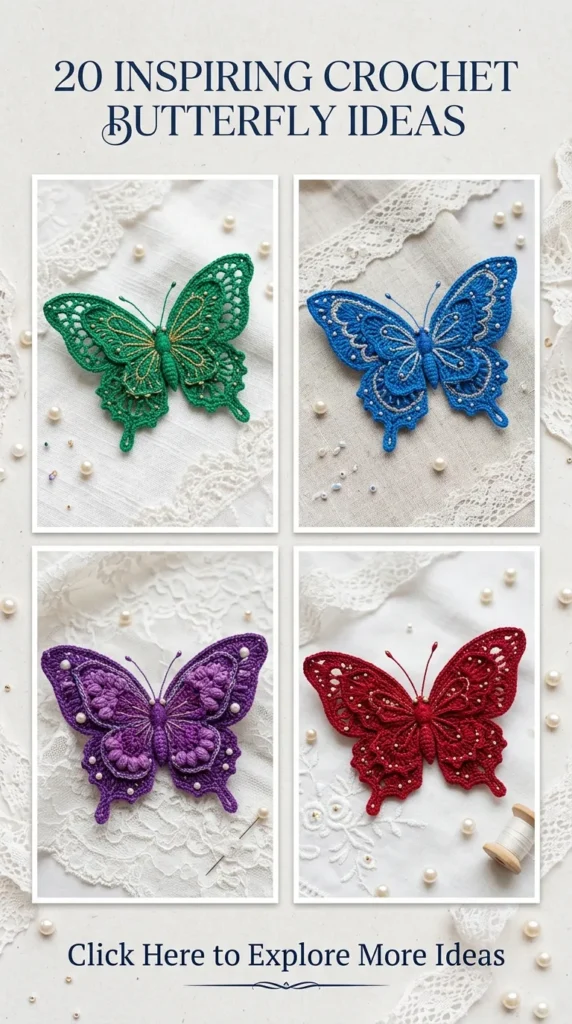
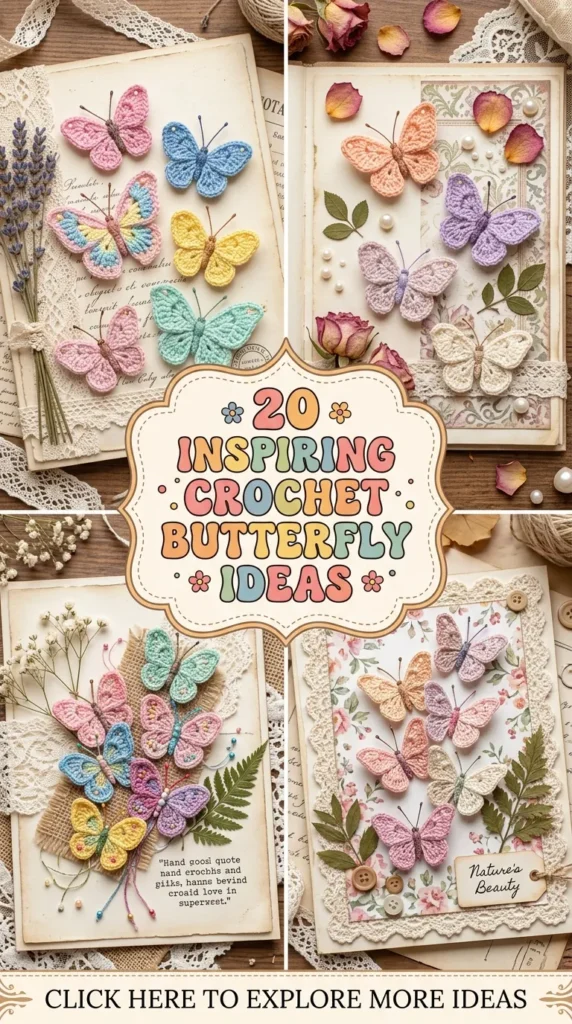
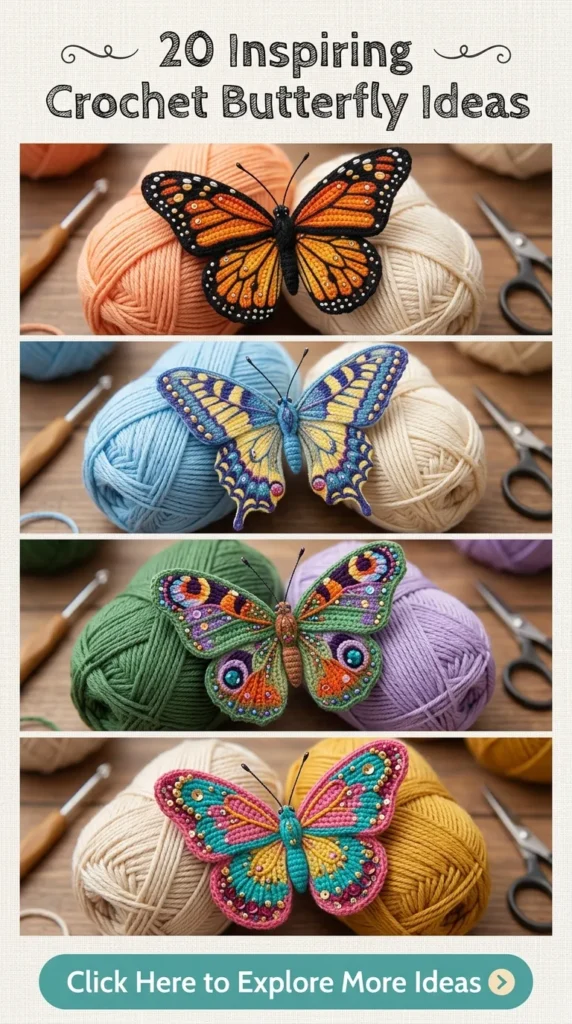
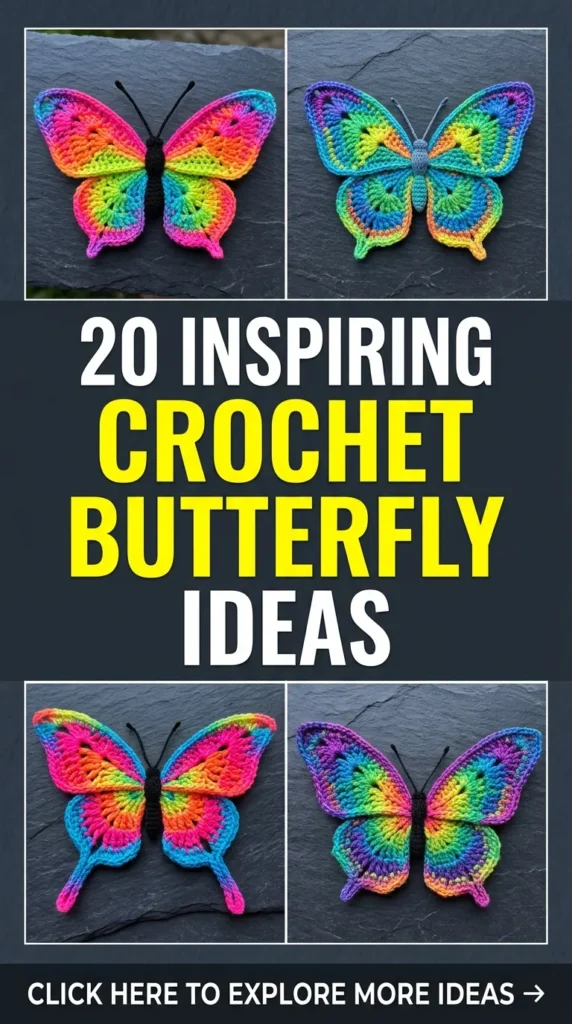
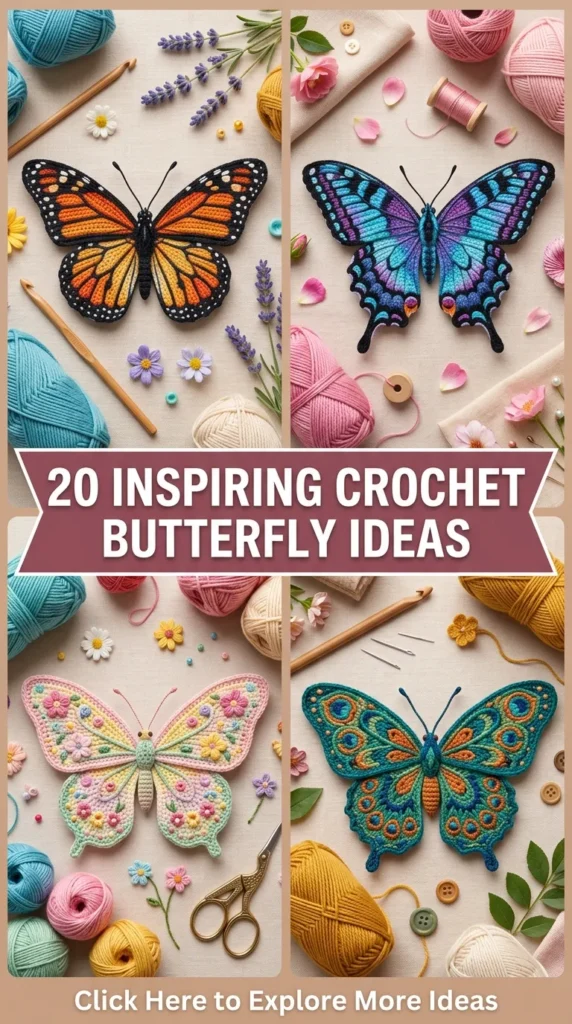
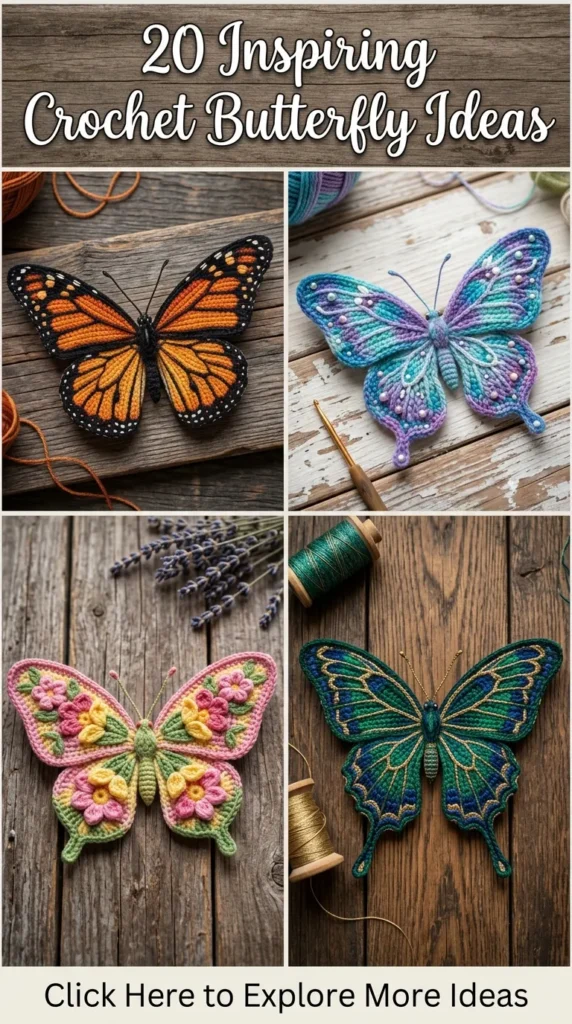
Crochet butterflies are among the most versatile, whimsical, and elegant motifs in the fiber arts world. Whether you are aiming to embellish a cozy home space, elevate your wardrobe, or craft thoughtful handmade gifts, these delicate winged creations offer endless creative potential. Below is an in-depth exploration of 20 unique crochet butterfly ideas, complete with construction methods, practical crafting tips, and creative variations to inspire your next project.
1. The Classic Lace Appliqué Butterfly
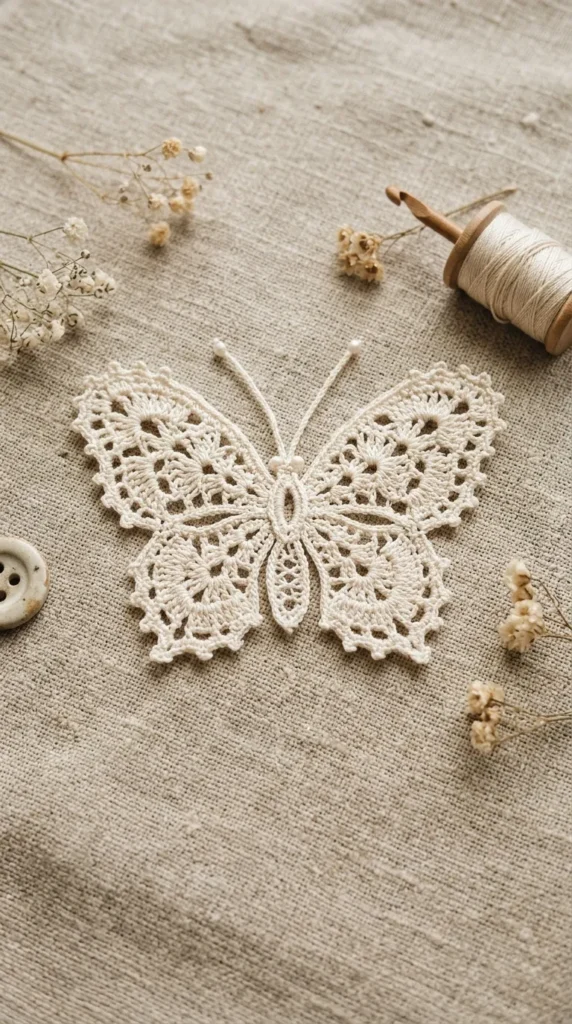
The Classic Lace Appliqué Butterfly is a delicate, flat motif designed to be sewn onto garments, blankets, tote bags, or framed wall art. It focuses on intricate openwork stitches that mimic the natural translucency of real butterfly wings.
How to Make It
- Start with a tiny magic ring or a ring of 4 chain stitches.
- Work a central circle composed of double crochet stitches separated by single chains to form the foundational core.
- Construct the upper wings by working tall stitches—such as treble or double-treble crochets—separated by chain spaces to create delicate, airy arches.
- Construct the lower wings using shorter stitches like half-double or double crochets to form rounded, compact shapes.
- Finish the outer edge with a delicate picot stitch boundary to give the wings crisp, defined points.
- Chain a short central strip for the body and slip stitch back down, leaving long yarn tails at the top to knot into tiny antennae.
Tips and Variations
- Yarn Choice: Use size 10 lace cotton thread or fingering-weight bamboo yarn for maximum stitch crispness.
- Stiffening: Dip the finished piece in a mix of water and fabric stiffener or PVA glue, then pin it flat on a blocking board until dry.
- Variation: Add tiny glass seed beads along the picot border during the final round for a subtle shimmer.
Materials Needed
- Size 10 mercerized cotton crochet thread
- 1.5 mm or 1.75 mm steel crochet hook
- Tapestry needle and embroidery scissors
- Blocking board and rust-proof stainless steel pins
2. Realistic 3D Monarch Butterfly
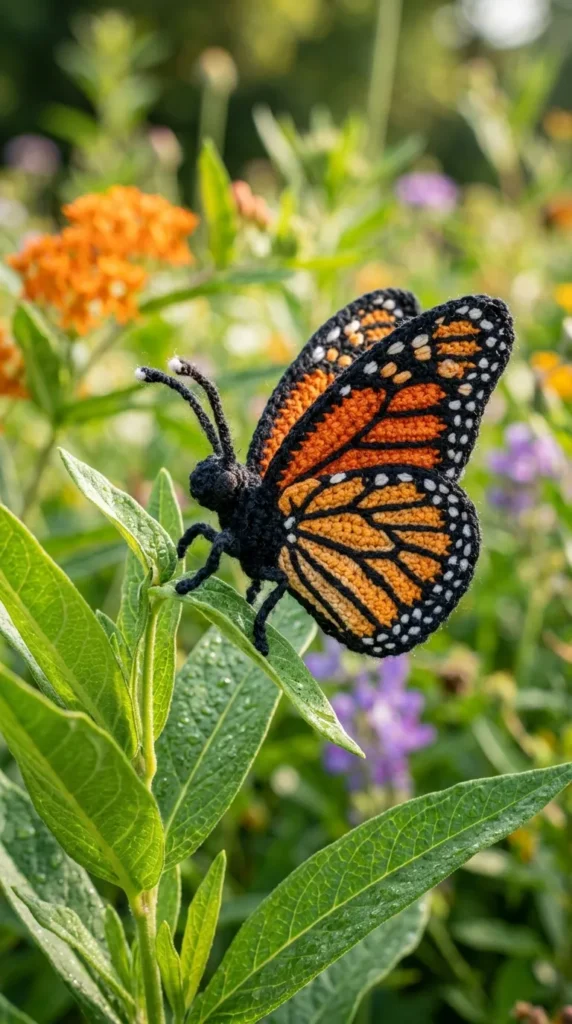
This project recreates the iconic black, orange, and white patterns of the Monarch butterfly in a multi-layered, three-dimensional form.
How to Make It
- Crochet four distinct wing panels (two larger forewings and two smaller hindwings) using bright orange yarn, building them in rows to achieve an angled, teardrop silhouette.
- Join a rich black yarn to the outer perimeter of each wing, working a combination of single crochet and half-double crochet stitches to create a thick border.
- Work tiny white slip stitches or stitch embroidery French knots directly into the black borders to emulate the Monarch’s signature spotted wings.
- Craft a dense, black amigurumi-style tube for the central body using single crochet worked in a continuous spiral.
- Securely stitch the four wing panels to the sides of the central body, angling them slightly upward to give the impression of flight.
Tips and Variations
- Tension: Keep stitch tension firm, especially around the black wing borders, to help the wings maintain their structured shape without sagging.
- Wire Reinforcement: Run a thin piece of 26-gauge floral wire along the top edge of the forewings before working the final black round so you can bend the wings dynamically.
- Variation: Swap the bright orange core yarn for a deep turquoise or cerulean blue to transform it into a realistic Blue Morpho butterfly.
Materials Needed
- Sport-weight cotton yarn in Orange, Black, and White
- 2.5 mm crochet hook
- Fiberfill stuffing for the body
- 26-gauge craft wire (optional)
- Tapestry needle
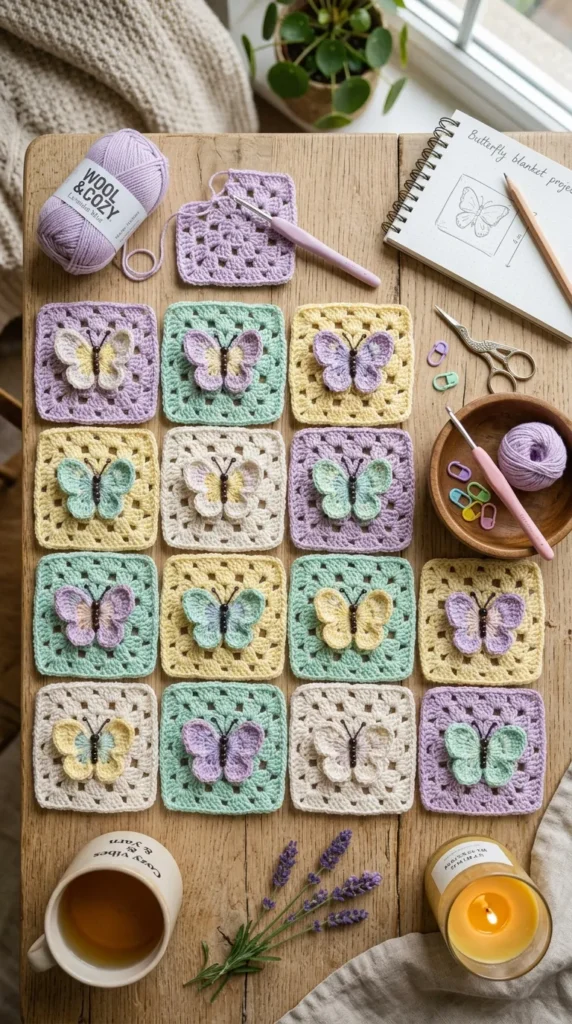
3. Pastel Granny Square Butterfly Block
This concept merges the classic nostalgia of the granny square with the graceful lines of a butterfly, creating a square motif perfect for blankets, pillows, and cardigans.
How to Make It
- Crochet a small, standalone butterfly motif using soft pastel colors (like lavender, mint, or soft pink).
- Work a background round attached behind the butterfly wings using a neutral cream or off-white yarn, bridging the wing tips with long chain spaces.
- Work standard granny clusters (3 double crochets) into these newly created chain spaces, squaring off the corners with double-chain spaces.
- Continue expanding the granny square outwards for 2–3 rounds until the butterfly sits neatly framed in the center of a crisp, flat square.
Tips and Variations
- Blocking: Block each finished square individually to ensure consistent measurements before joining them into a larger project.
- Color Schemes: Use a high-contrast dark background yarn (like charcoal gray or deep navy) to make the pastel center pop vividly.
- Variation: Connect multiple squares together using a join-as-you-go slip stitch technique to construct a whimsical summer throw blanket.
Materials Needed
- DK-weight acrylic or cotton yarn in pastel shades and cream
- 3.5 mm or 4.0 mm crochet hook
- Yarn needle
- Blocking mat and pins
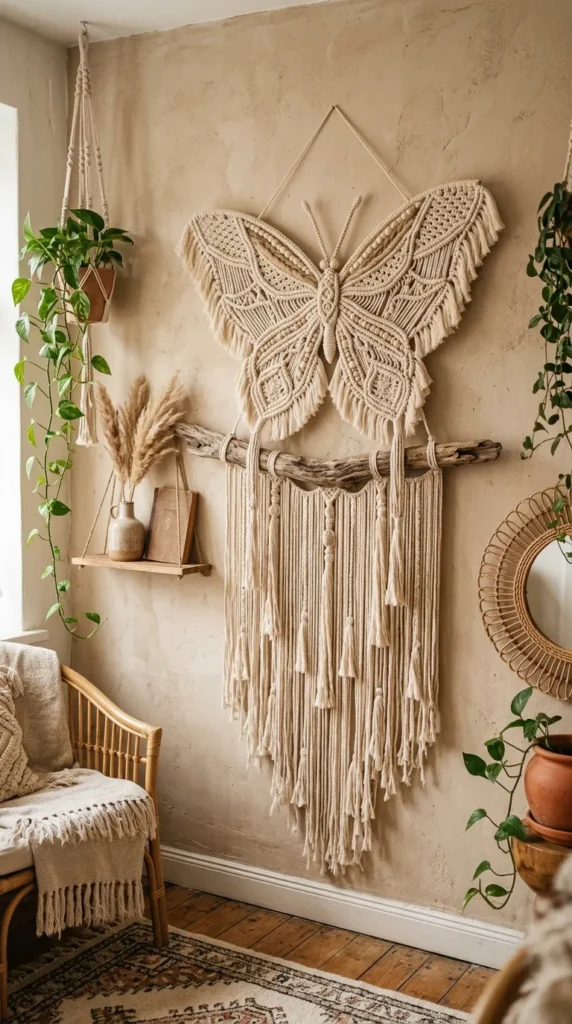
4. Bohol-Style Butterfly Wall Hanging
Designed as a modern piece of fiber wall art, this idea combines a large, textured crochet butterfly with flowing tassel fringe and a natural wooden dowel or driftwood base.
How to Make It
- Crochet an oversized, lacework butterfly pattern using thick, textured cotton cord or macramé-style yarn.
- Incorporate openwork arches, puff stitches, and textured front-post stitches into the wing design for structural contrast.
- Attach long, equal lengths of fringe along the bottom edge of the lower wings and the central body tip.
- Unravel the ply of the bottom fringe using a fine-tooth comb to create a soft, feather-like texture.
- Mount the top of the butterfly wings securely onto a smooth branch or polished wooden dowel using hidden stitches or matching yarn loops.
Tips and Variations
- Texture: Mix natural cotton cord with a strand of metallic thread for a subtle boho-chic sparkle.
- Trimming: Hang the piece on the wall before trimming the bottom fringe so you can cut a perfectly even V-shape or straight line.
- Variation: Add wooden beads to the ends of the fringe before combing out the fibers.
Materials Needed
- 3mm single-strand cotton cord or bulky cotton yarn
- 5.0 mm or 6.0 mm crochet hook
- 12-to-18-inch wooden dowel or piece of natural driftwood
- Fine-tooth comb and sharp fabric shears
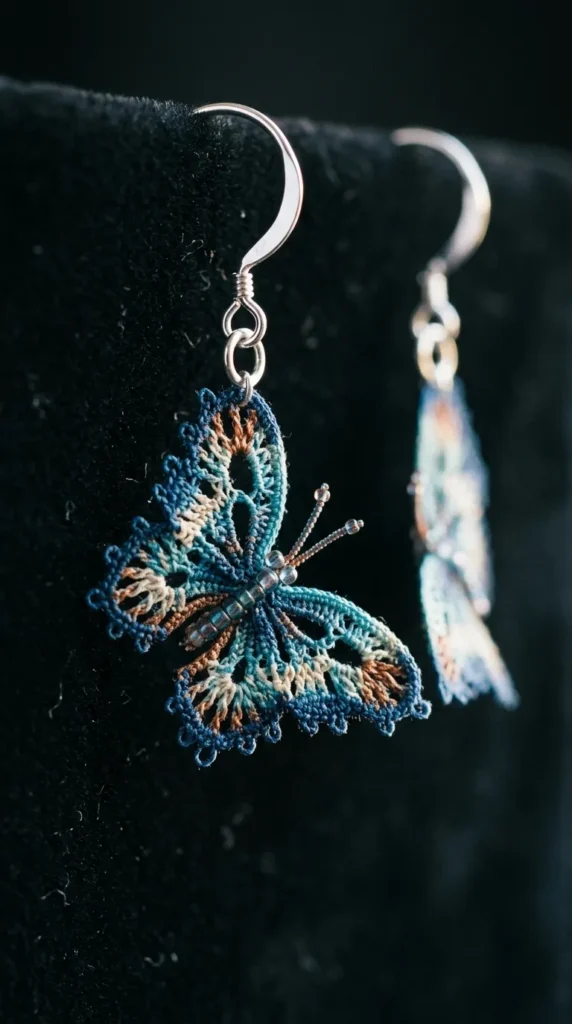
5. Micro Crochet Butterfly Earrings
Micro crochet takes butterfly crafting down to a delicate jewelry scale, turning tiny threads into wearable, lightweight earrings.
How to Make It
- Thread a tiny bead onto your fine embroidery floss before starting if you want a beaded accent.
- Using a steel hook, construct a basic 2-round butterfly motif inside a tiny magic ring: Round 1 consists of 8 chain loops; Round 2 fills those loops with tiny shell stitches.
- Weave in all loose ends using a fine needle, trimming as close as possible.
- Coat the tiny motif with fabric stiffener or clear jewelry sealant and let it cure fully.
- Attach a small jump ring through the top chain space of one upper wing, then connect an earring hook.
Tips and Variations
- Lighting: Work under a bright lamp or magnifying lamp to avoid eye strain while working with tiny threads.
- Hardware: Use hypoallergenic sterling silver or stainless steel earring hooks to prevent skin irritation.
- Variation: Create asymmetric color wings by switching floss colors between the inner wing core and outer border.
Materials Needed
- Embroidery floss or size 20/30 crochet thread
- 0.75 mm to 1.0 mm micro steel crochet hook
- Fabric stiffener or jewelry resin
- Jump rings, earring hooks, and jewelry pliers
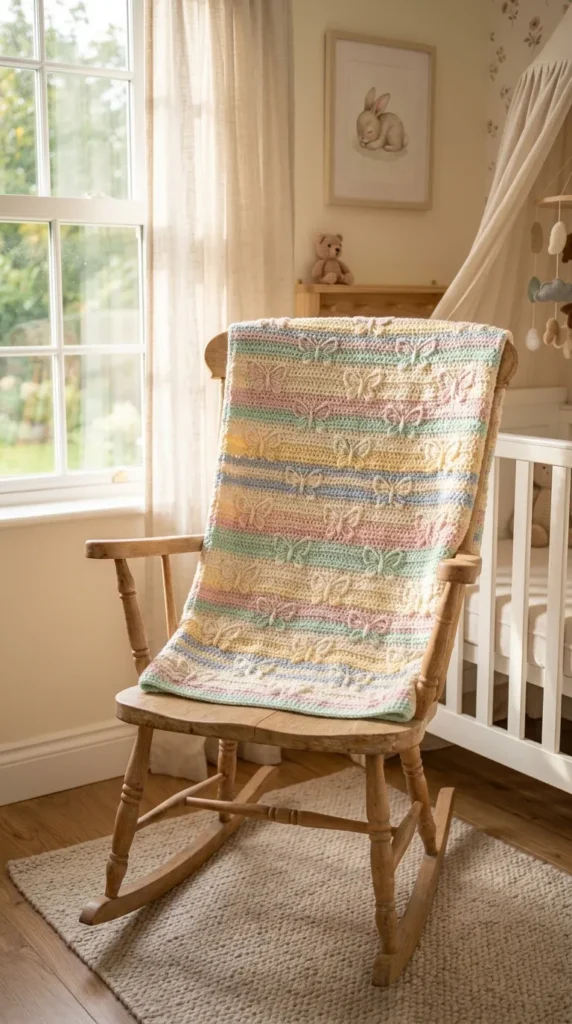
6. Butterfly Wings Baby Blanket
This concept incorporates butterfly motifs directly into the structure of a soft baby blanket, using either stitch texture placement or a continuous repeating wing stitch pattern.
How to Make It
- Foundation chain a multiple required for the continuous butterfly stitch design using a soft, washable baby yarn.
- Work rows of solid stitches (such as half-double crochet) interspersed with decorative shell and chain loops that cluster together every few rows to form butterfly wing silhouettes.
- Create a thick, cozy border around the finished rectangle using crab stitch (reverse single crochet) or a subtle scalloped edge.
Tips and Variations
- Yarn Safety: Choose a certified Oeko-Tex baby-safe yarn that is machine washable and dryable.
- Color Gradients: Use self-striping cakes or long-gradient yarns so the butterflies automatically shift colors across rows without extra yarn changes.
- Variation: Instead of a stitch pattern, make a simple blanket and appliqué 12 separate crochet butterflies onto it in an organized grid layout.
Materials Needed
- 400–600 grams of sport-weight soft baby acrylic or bamboo yarn
- 3.75 mm or 4.0 mm crochet hook
- Tapestry needle and stitch markers
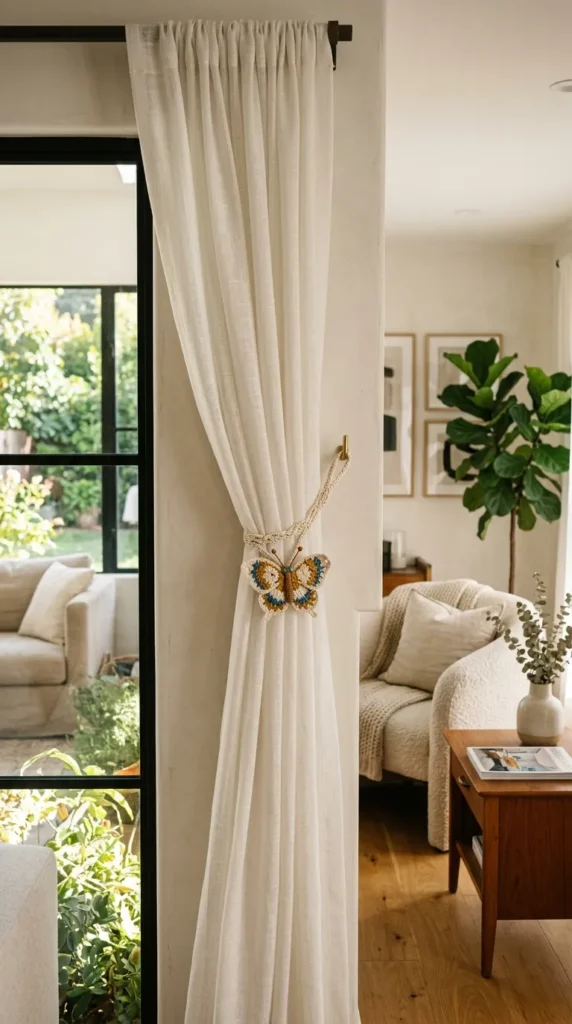
7. Floating Butterfly Curtain Tie-Backs
A practical home decor accent, this project features dimensional butterflies attached to a sturdy braided or corded strap to hold window curtains neatly in place.
How to Make It
- Crochet a long, sturdy cord (such as an i-cord or Romanian pointed cord) measuring approximately 18–20 inches long.
- Work two identical layer butterflies using structured cotton yarn.
- Stiffen the wings using fabric stiffener so they hold an angled, upright shape.
- Stitch the butterflies securely to the center of the cord, layering them slightly so they appear to be perching on the tie-back.
- Add small wood or acrylic rings to both ends of the cord for hanging on wall hooks.
Tips and Variations
- Cord Strength: Keep the base cord tight and sturdy so it doesn’t stretch out over time when holding heavy drapery.
- Seasonality: Make interchangeable butterflies attached with hidden snap fasteners so you can swap colors according to the season.
- Variation: Wrap green leaf garlands around the cord before adding the butterflies to create a botanical look.
Materials Needed
- Worsted-weight mercerized cotton yarn
- 3.5 mm crochet hook
- Fabric stiffener
- Wooden curtain rings (optional)
- Tapestry needle
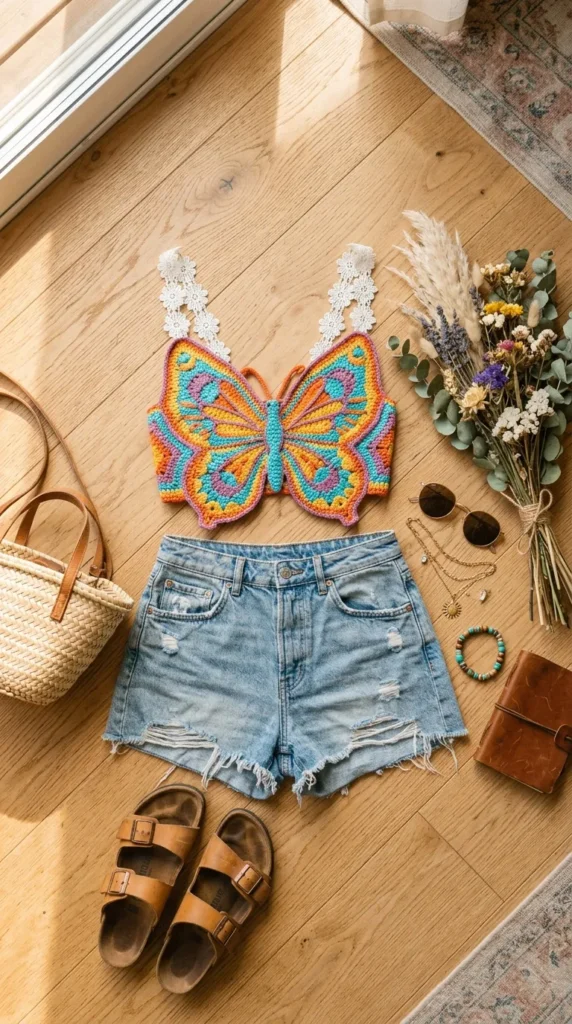
8. Butterfly Motif Summer Crop Top
This fashion-forward piece features two large, intricately detailed butterfly motifs that serve as the main front cups/panels of a light halter or festival-style crop top.
How to Make It
- Crochet two identical large butterfly wing panels, scaling up the pattern using double-treble and triple-treble stitches to cover the chest area adequately.
- Join the two wings at the center body using tight, sturdy single crochets.
- Attach mesh or solid double crochet side panels to extend the garment around the ribs toward the back.
- Construct long, sturdy chain straps from the top forewing tips to tie behind the neck, and crisscross straps across the lower back edge.
Tips and Variations
- Lining: Sew fabric lining panels or soft bra cups behind the wing panels for added opacity and comfort.
- Yarn Elasticity: Use a cotton-spandex or bamboo blend yarn so the top retains its shape while wearing.
- Variation: Extend the bottom edge down into a breezy lace tunic length using cascading fan or chevron stitches.
Materials Needed
- Fingering or DK-weight cotton/acrylic blend yarn
- 3.0 mm or 3.25 mm crochet hook
- Fabric lining or cup inserts (optional)
- Measuring tape and stitch markers
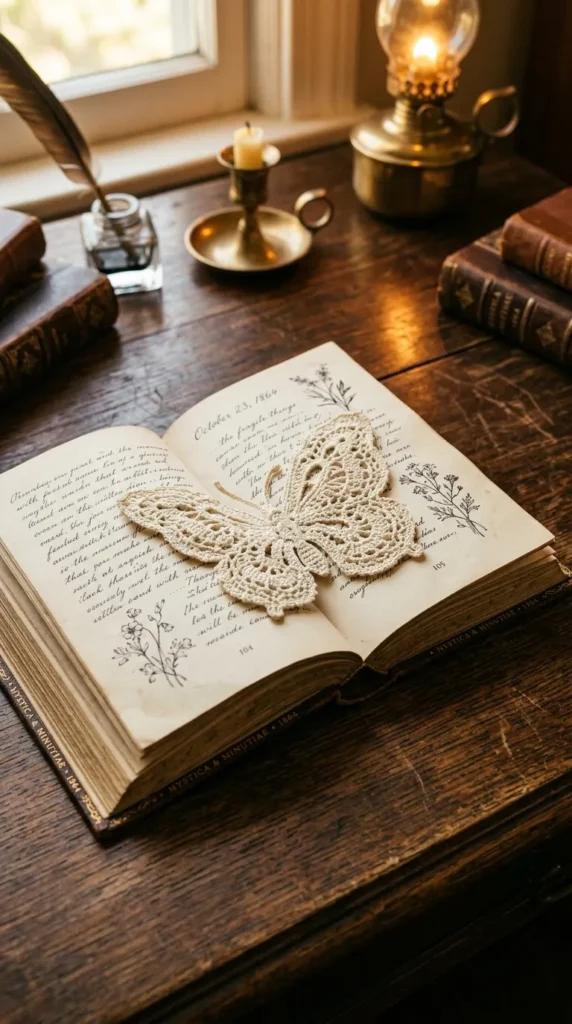
9. Layered 3D Butterfly Bookmarks
This flat-yet-dimensional bookmark features a flat ribbon-like body that slips between book pages, topped with an elegant layered butterfly that sits outside the book spine.
How to Make It
- Crochet a narrow lace strap using picot and chain stitches, approximately 8 to 10 inches long, finishing with a flat, neat edge.
- Create a two-layer butterfly: craft a larger bottom wing set in a solid shade and a slightly smaller top wing set in a lighter shade or lace stitch.
- Stack the top butterfly onto the bottom one and stitch down only along the center body line so the wings remain free to lift up.
- Securely attach the layered butterfly to the top tip of the long lace strap.
- Finish the bottom end of the strap with a small tassel or beaded drop.
Tips and Variations
- Thickness: Keep the lower strap very flat using thin cotton thread so it doesn’t crease or damage book bindings.
- Gifting: Pin the bookmark onto a cardstock display card for a quick handmade gift.
- Variation: Embroider a short word or initials along the central bookmark strap using a contrasting thread color.
Materials Needed
- Size 10 cotton crochet thread in two complementary colors
- 1.75 mm steel crochet hook
- Small wooden or glass beads
- Scissors and tapestry needle
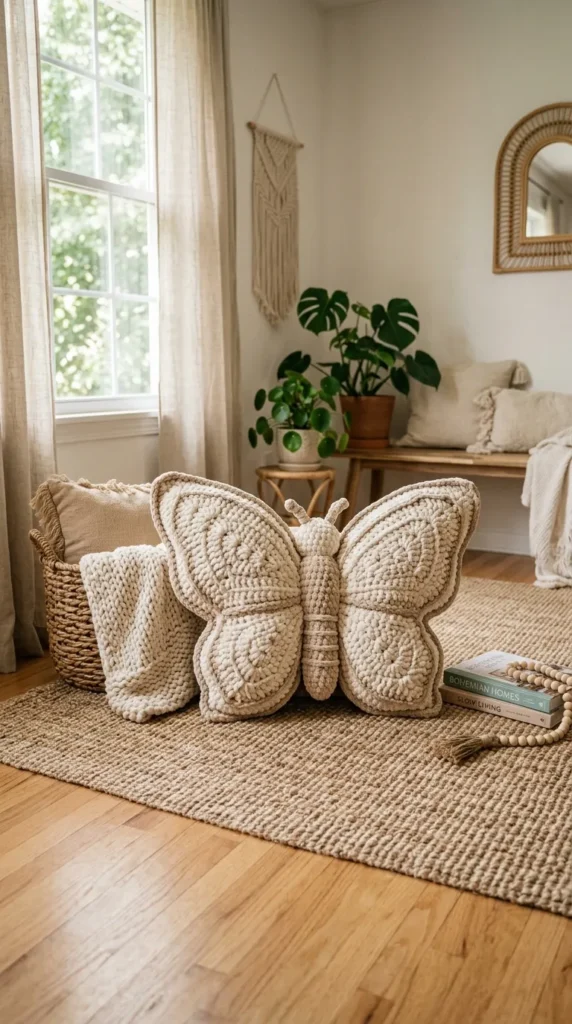
10. Giant Butterfly Floor Cushion
A playful, bohemian accent piece, this extra-large cushion is constructed by crocheting two large butterfly panels with chunky yarn, joining them, and stuffing them firmly.
How to Make It
- Follow a enlarged butterfly diagram using super-bulky yarn and a large hook, making two complete, identical giant butterfly pieces (front and back).
- Block both large panels thoroughly to ensure they match in size and shape.
- Place the panels wrong sides together and join them using single crochet around the perimeter, leaving a 6-inch opening along the bottom.
- Insert a pre-sewn butterfly-shaped fabric inner pillow casing filled with fiberfill or memory foam scraps.
- Single crochet the remaining opening closed and weave in ends securely.
Tips and Variations
- Durability: Choose a soft chenille or sturdy velvet yarn that feels comfortable against the skin and holds up to use.
- Stuffing Layer: Always use an inner fabric pillow lining so stuffing doesn’t poke out through the crochet stitches over time.
- Variation: Add tufting buttons in contrasting colors through the center core of the cushion for a vintage look.
Materials Needed
- Super bulky (Category 6) chenille or plush velvet yarn (approx. 800–1000g)
- 8.0 mm or 9.0 mm crochet hook
- Polyester fiberfill or shredded foam stuffing
- Fabric for inner liner
- Large yarn needle
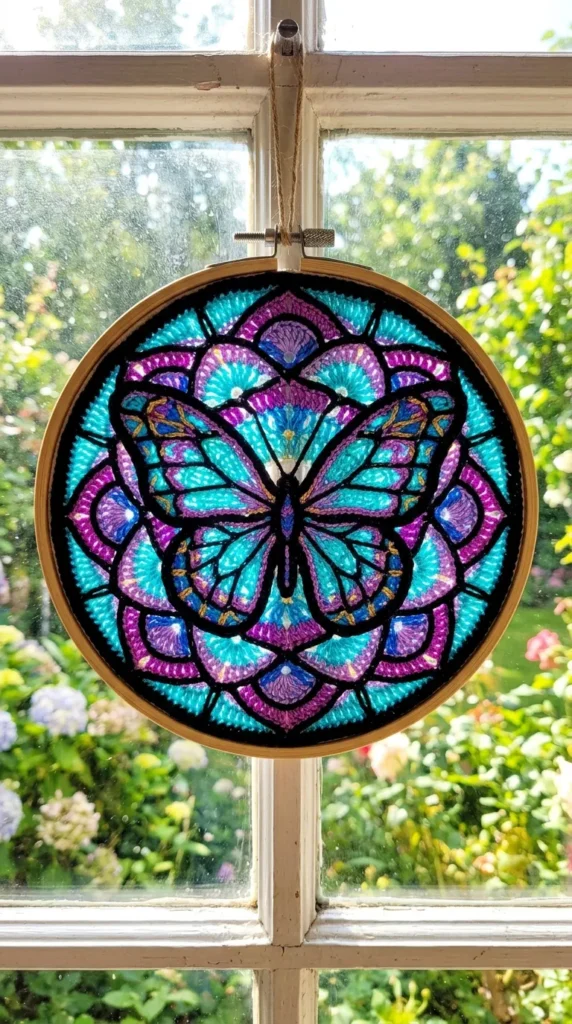
11. Stained Glass Butterfly Mandala
Inspired by traditional stained glass windows, this circular mandala showcases a butterfly motif in vibrant neon or jewel tones framed by thick black crochet outlines.
How to Make It
- Crochet a central butterfly motif using bright, variegated yarn shades like violet, magenta, turquoise, and lime green.
- Encase every wing edge and section boundary in dense, rich black single crochet stitches.
- Extend the design into a full circle by working radiant spokes outward from the butterfly tips, using alternating chain spaces and fan stitches in black.
- Fasten the final round around a solid metal floral hoop, pulling the stitches taut so the mandala stretches smoothly across the frame like a drum.
Tips and Variations
- Hoop Tension: Select a hoop diameter about 1 to 2 inches larger than your unstretched mandala so the work pulls taut without distorting.
- Displaying: Hang this piece directly in front of a bright window so natural light streams through the open stitchwork.
- Variation: Weave a thin LED fairy light strand around the metal frame to illuminate the piece at night.
Materials Needed
- Fine mercerized cotton thread (Black + vibrant jewel tones)
- 2.0 mm crochet hook
- 10-inch to 14-inch metal wire hoop
- Craft glue or thread needle for secure finishing
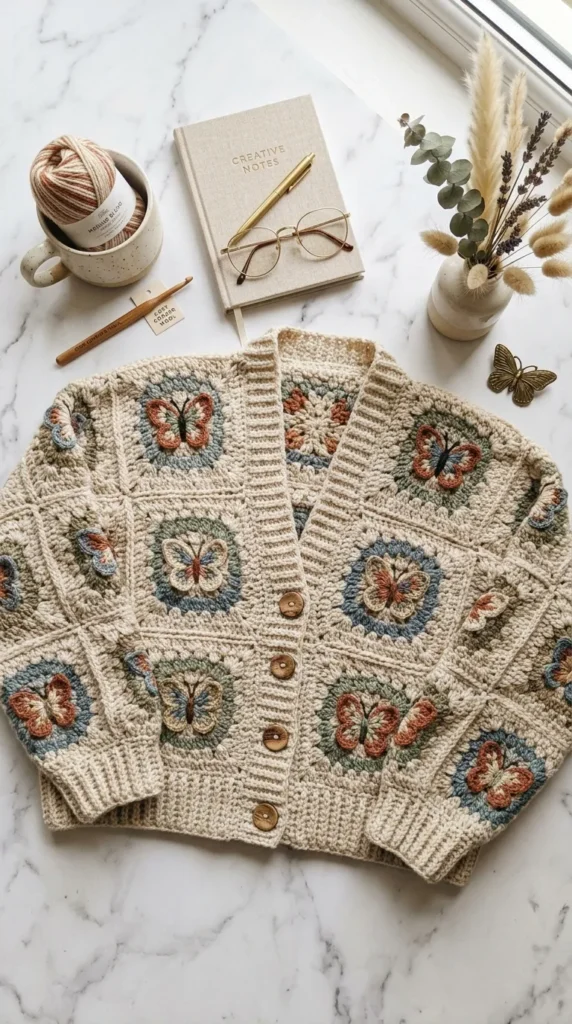
12. Butterfly Garden Granny Cardigan
A playful statement garment, this cardigan uses wearable butterfly blocks joined together with soft neutral panels, finished with ribbed cuffs and collars.
How to Make It
- Crochet 30–40 individual Butterfly Granny Squares (using the technique from Idea #3) in coordinated color combinations.
- Lay out the squares on a flat surface to form the back panel, two front panels, and two sleeves.
- Join the squares using a flat slip-stitch seam or mattress stitch on the wrong side.
- Work ribbed cuffs, hemline, and button placket directly onto the open edges using alternating front-post and back-post double crochet stitches.
- Attach matching wooden buttons along the front placket.
Tips and Variations
- Fit Check: Measure an existing favorite cardigan to gauge the total number of squares needed for your desired length and ease.
- Drape: Use a soft DK acrylic-wool or cotton-acrylic blend to keep the cardigan cozy without feeling heavy.
- Variation: Keep the body of the cardigan entirely plain and add 2–3 floating 3D butterfly motifs perched along the shoulder seam.
Materials Needed
- DK-weight yarn in multiple colors (approx. 1200–1600 yards total)
- 4.0 mm and 4.5 mm crochet hooks
- 4–5 wooden buttons
- Tapestry needle and scissors
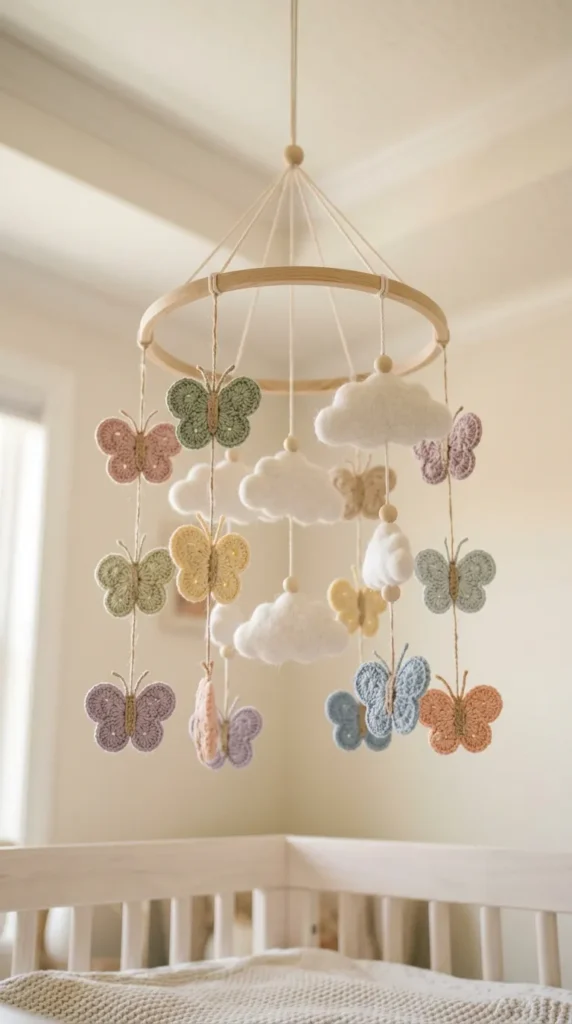
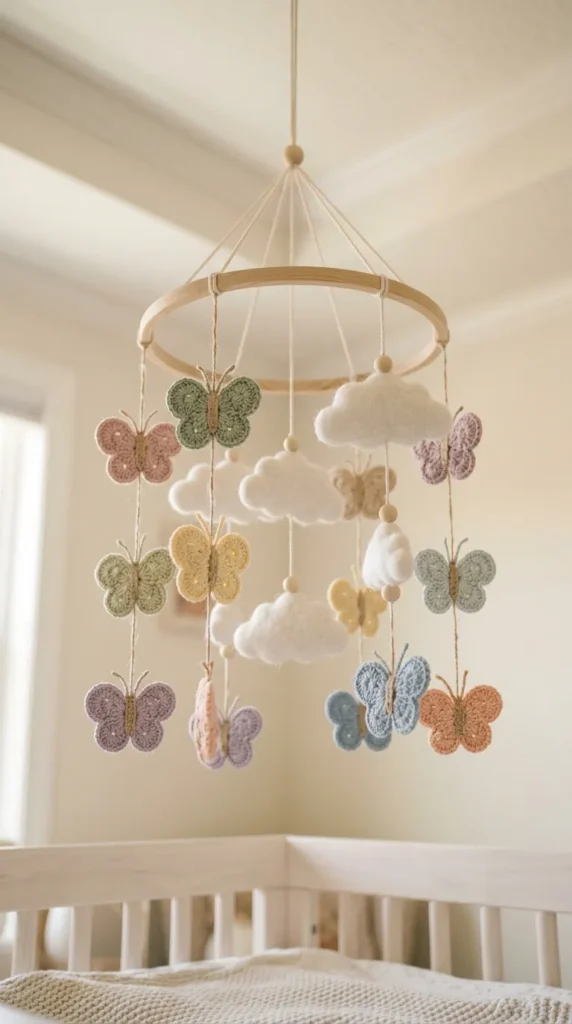
13. Whimsical Butterfly Nursery Mobile
A soft nursery hanging featuring several small, colorful 3D crochet butterflies suspended at varying lengths from a simple wooden ring.
How to Make It
- Crochet 5 to 7 small 3D butterflies (similar to Idea #2) in soft, nursery-friendly shades like duck-egg blue, butter yellow, and blush pink.
- Add tiny felt or embroidered details to the bodies to keep them safe for a baby’s room.
- Attach long, clear nylon thread or thin cotton yarn to the center of each butterfly.
- Wrap a wooden embroidery hoop in cream yarn or satin ribbon until covered.
- Tie the butterflies around the wooden hoop at staggered heights, balancing the weight so it hangs level.
Tips and Variations
- Safety First: Secure all knots with a dab of clear fabric glue, and ensure the mobile hangs safely out of baby’s reach.
- Add-ons: Hang soft crochet clouds or tiny stars between the butterflies for a magical sky theme.
- Variation: Add small wind-chime elements or tiny bells inside the butterfly bodies to produce a gentle sound when moved.
Materials Needed
- Sport-weight baby cotton yarn
- 2.5 mm crochet hook
- 8-inch wooden embroidery hoop
- Clear nylon monofilament thread or thin yarn
- Tapestry needle and scissors
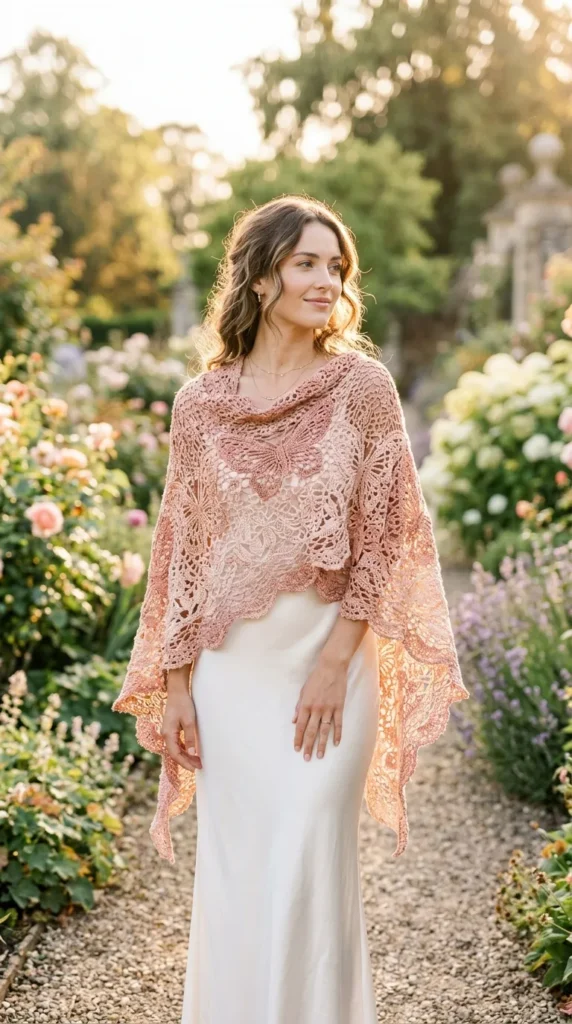
14. Delicate Butterfly Lace Shawl
A stunning wearable wrap made entirely using a repeating lace butterfly stitch, resulting in a light fabric perfect for spring and summer evenings.
How to Make It
- Begin with a long foundation chain that spans the desired width of the shawl (or start from the point in a triangular construction).
- Work a repeating stitch pattern where rows of open mesh build into distinct butterfly silhouettes across the fabric.
- Work until the shawl reaches your desired length, taking care to maintain consistent row gauge.
- Finish the outer edges with a delicate picot or shell border, adding long fringe along the corners if desired.
Tips and Variations
- Yarn Drape: Choose a lace or fingering-weight yarn with high drape, such as silk, alpaca, or bamboo blend.
- Blocking: Wet-blocking is essential for this piece; pin every single butterfly wing loop outward to fully open up the lace pattern.
- Variation: Use a gradual cake yarn that transitions smoothly from deep purple to soft pink across the entire width.
Materials Needed
- 800–1000 yards of lace/fingering weight yarn
- 3.5 mm or 4.0 mm crochet hook
- Blocking mats and stainless steel T-pins
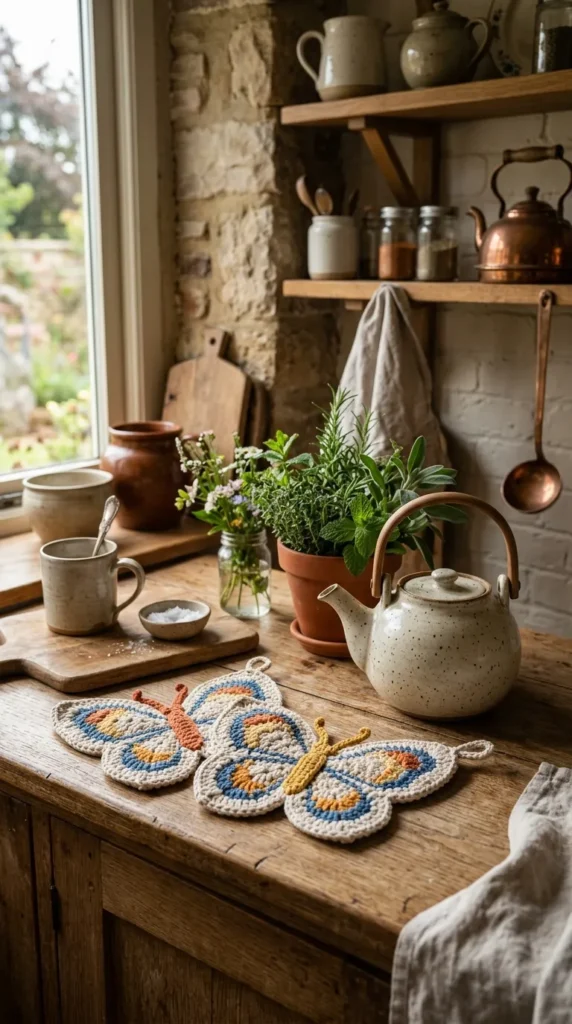
15. Butterfly Potholder & Kitchen Trivet
A charming and practical kitchen accessory, this double-layered thick cotton trivet protects surfaces while adding a touch of handmade charm to your home.
How to Make It
- Crochet a thick, solid butterfly silhouette using two strands of 100% cotton yarn held together for added heat resistance.
- Make a second matching solid butterfly panel in the same size.
- Place the two thick panels together and single crochet around the entire outer rim to bind them into one heat-resistant pad.
- Add a small 10-chain hanging loop at the tip of one wing so it can be stored on a kitchen wall hook.
Tips and Variations
- Material Warning: ALWAYS use 100% natural cotton or wool yarn. Synthetic fibers like acrylic or polyester will melt when touching hot pans.
- Thickness: Stitching tightly with a slightly smaller hook creates a dense fabric that offers better thermal protection.
- Variation: Surface crochet a contrasting color border around the inner wing details for added visual interest.
Materials Needed
- 100% worsted-weight dishcloth cotton yarn (2 colors)
- 4.0 mm crochet hook
- Tapestry needle
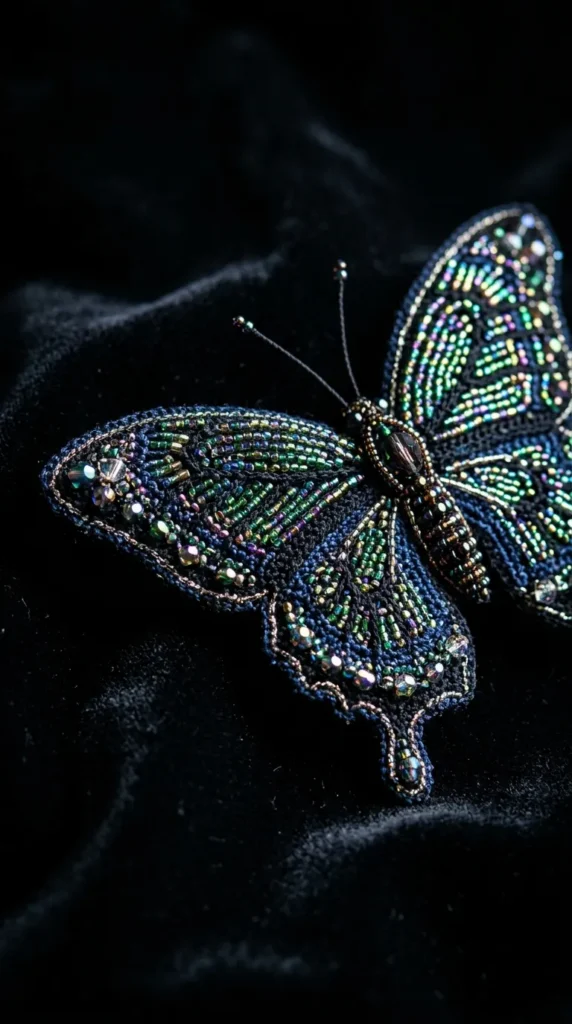
16. Iridescent Beaded Butterfly Brooch
This refined jewelry piece blends crochet with glass seed beads, creating a structured brooch that adds a delicate touch to lapels, hats, or scarves.
How to Make It
- String approximately 50 to 80 iridescent glass seed beads onto your thread before making your slip knot.
- Crochet a small, tight butterfly motif, sliding beads into position before working specific chain stitches so they sit along the outer wing edges.
- Coat the back of the finished crochet motif with clear jewelry resin or stiffener to make the structure firm and durable.
- Glue or stitch a metal bar pin back securely onto the central spine on the back of the butterfly.
Tips and Variations
- Bead Sizing: Ensure your crochet thread is thin enough to pass easily through the holes of your chosen seed beads.
- Color Palette: Match deep navy thread with peacock-blue iridescent beads for a rich, shimmering effect.
- Variation: Attach a hair clip instead of a brooch pin to create a charming formal hairpiece.
Materials Needed
- Size 10 or 20 cotton thread
- Small glass seed beads (Size 8/0 or 11/0)
- 1.25 mm to 1.5 mm steel crochet hook
- Bar pin back hardware and strong jewelry adhesive
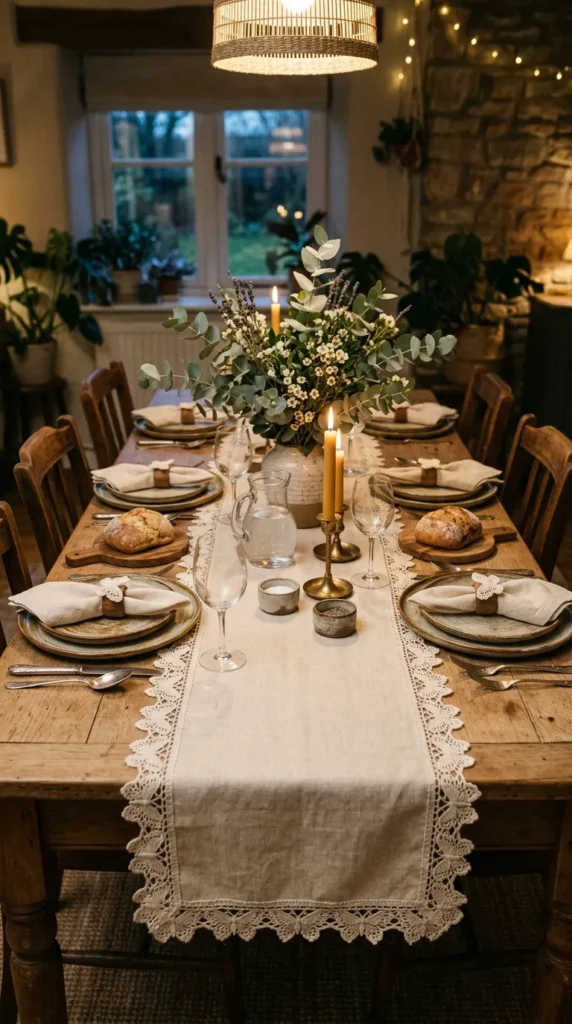
17. Botanical Butterfly Table Runner
An elegant dining table runner featuring a clean linen center bordered by a series of joined, intricate crochet butterfly motifs on both ends.
How to Make It
- Hem a strip of natural linen fabric to your desired table dimensions (e.g., 14 x 60 inches).
- Crochet 6–8 identical lace butterfly motifs using a matching ecru or linen-colored cotton thread.
- Join the butterfly motifs side-by-side using slip stitches to form two decorative end bands.
- Blanket stitch along the short hemmed edges of the fabric strip.
- Attach the crochet butterfly bands directly to the blanket-stitched edges for a seamless finish.
Tips and Variations
- Care Instructions: Pre-wash both your fabric and your crochet thread before assembling to prevent uneven shrinkage later.
- Fabric Pairings: Natural oatmeal linen paired with cream crochet thread gives a timeless, rustic look.
- Variation: Instead of a fabric center, chain a long open mesh strip entirely in crochet and append the butterflies along the entire border.
Materials Needed
- Natural linen or cotton fabric
- Size 10 mercerized cotton crochet thread
- 1.75 mm steel hook
- Sewing machine or hand sewing needle/thread
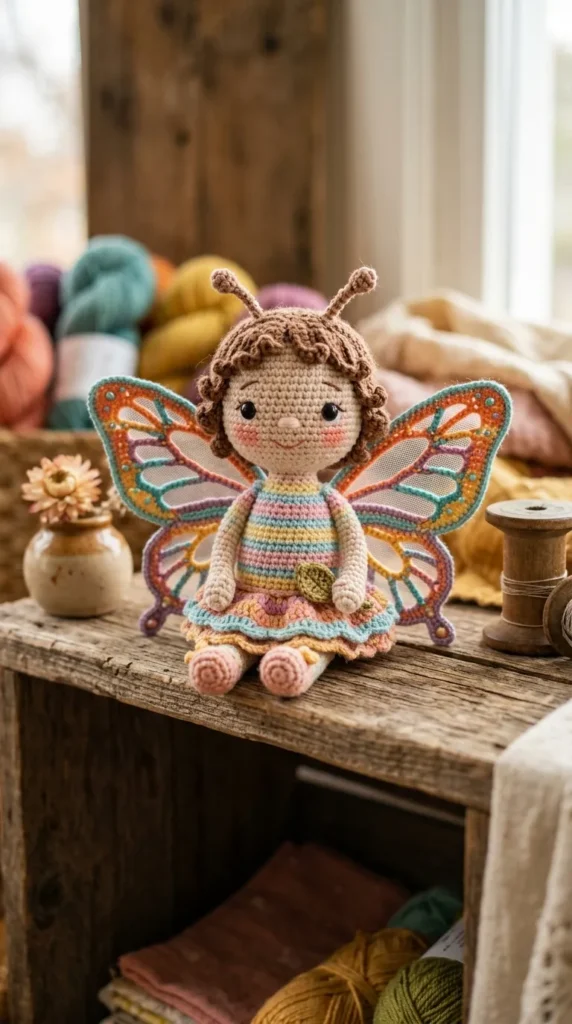
18. Amigurumi Butterfly Doll
A charming stuffed toy featuring a soft humanoid or animal-style body wearing a cozy butterfly costume, complete with removable wings.
How to Make It
- Work an amigurumi doll body in single crochet continuous spirals, starting from the feet up to the head using soft pastel shades.
- Embroider facial details such as closed sleeping eyes and rosy cheeks with embroidery thread.
- Crochet a separate wing assembly shaped like a butterfly harness that buttons or ties around the doll’s shoulders.
- Crochet a cute antenna headband that sits snugly on the doll’s head.
Tips and Variations
- Safety Details: If making this for a young child, embroider all eyes and details instead of using plastic safety eyes.
- Stuffing: Pack the body firmly with fiberfill, but keep the removable wings flat and unstuffed so they drape softly.
- Variation: Turn the doll into a butterfly fairy by adding a tiny crochet wand and a tulle skirt over the body.
Materials Needed
- DK or Worsted-weight soft acrylic/cotton yarn
- 2.75 mm or 3.0 mm crochet hook
- Polyester fiberfill stuffing
- Embroidery needle and thread
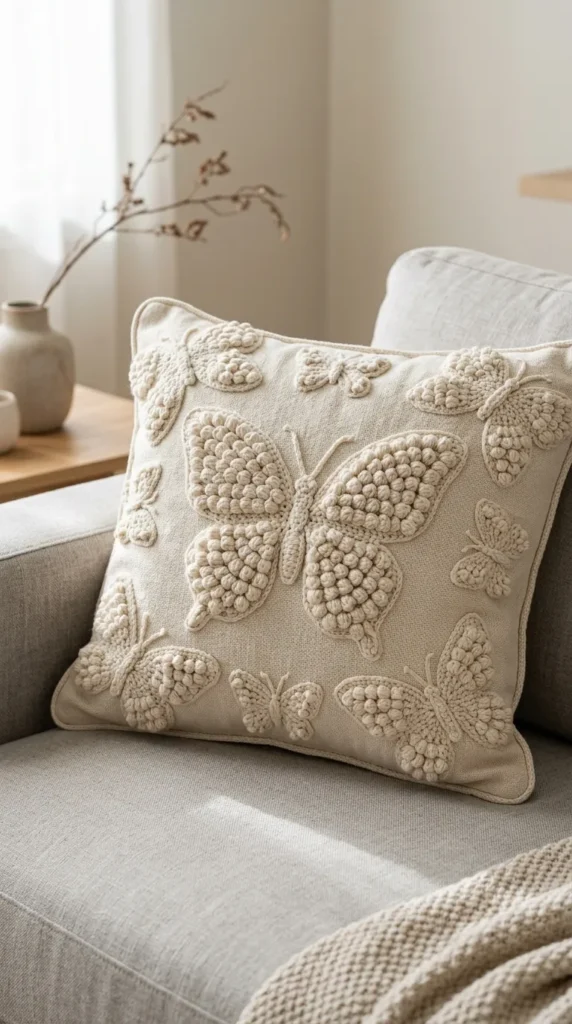
19. Textured Popcorn Stitch Butterfly Pillow
A chic 18×18 inch decorative throw pillow cover featuring a bold central butterfly motif rendered in high-relief popcorn and bobble stitches.
How to Make It
- Chain a foundational row wide enough for an 18-inch cushion insert using smooth, solid-colored yarn.
- Work in simple single crochet background rows while following a chart to place 5-double-crochet popcorn stitches that form the butterfly shape.
- The raised popcorn stitches create a 3D tactile butterfly silhouette against the flat single crochet background.
- Crochet a solid back panel of the same size and join three sides around a pillow insert, using buttons or a zipper on the fourth side for easy removal.
Tips and Variations
- Yarn Selection: Use a crisp, plain-texture yarn (like a tight plied cotton-blend) so the popcorn bobbles stand out cleanly.
- Contrast: Keep the piece monochrome (e.g., cream on cream) for modern minimalist spaces where light and shadow highlight the texture.
- Variation: Work the background in a dark charcoal gray and make the popcorn stitches in a bright contrast color using tapestry crochet.
Materials Needed
- Worsted-weight yarn (approx. 500g)
- 4.5 mm or 5.0 mm crochet hook
- 18×18 inch pillow insert
- Zipper or 3–4 buttons
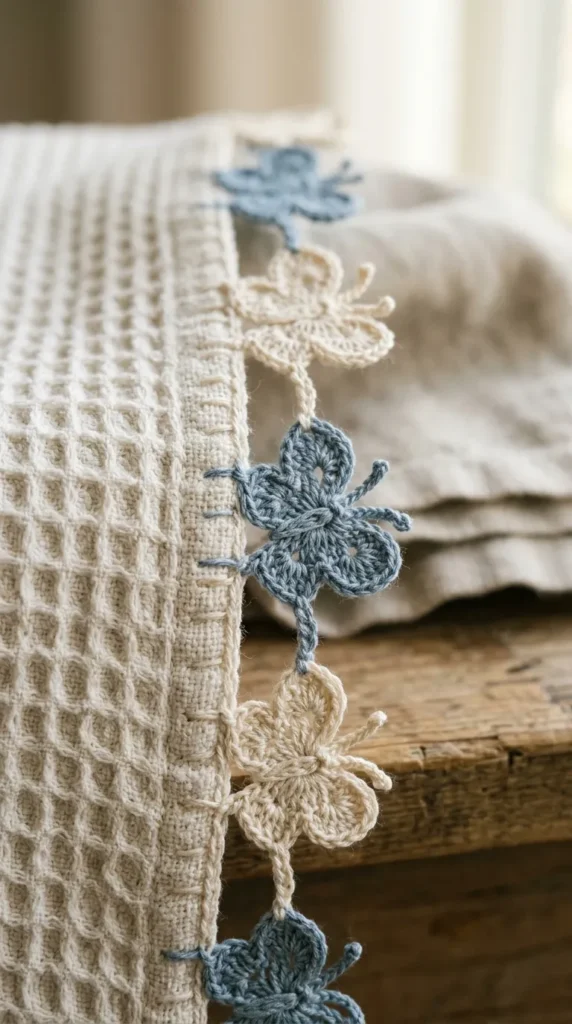
20. Butterfly Wing Edging / Trim
A decorative crochet border stitch pattern shaped like a row of tiny dancing butterflies, used to finish blankets, cardigan hems, towels, and pillowcases.
How to Make It
- Attach yarn to the edge of your fabric or base project and work a base foundation row of evenly spaced single crochets.
- On the decorative round, work a series of chain spaces, picots, and tall cluster stitches that loop back into previous stitches to form tiny butterfly shapes every inch.
- Ensure every butterfly wing pair ties back down to the base fabric with a firm slip stitch before moving on to the next repeat.
Tips and Variations
- Spacing: Practice the edging repeat on a small swatch first to master the exact stitch count and spacing before working on your final piece.
- Applications: Excellent for refreshing plain shop-bought tea towels, pillowcases, or denim jackets.
- Variation: Work the edging in a self-striping thread so each butterfly along the row ends up a slightly different color.
Materials Needed
- Size 10 thread or fingering-weight yarn
- Crochet hook appropriate for yarn weight (1.5 mm to 2.5 mm)
- Fabric base or pre-made crochet item to trim