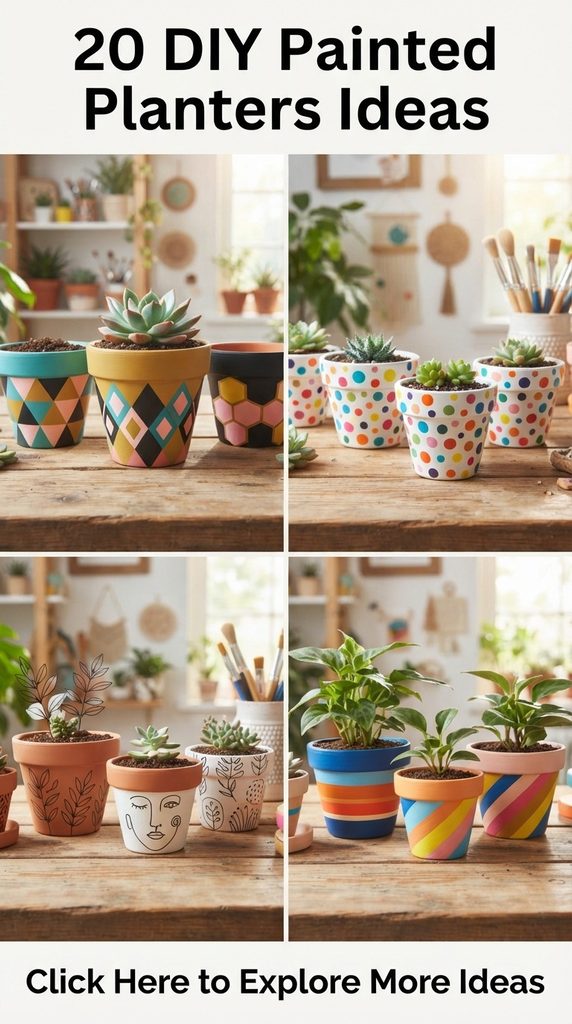
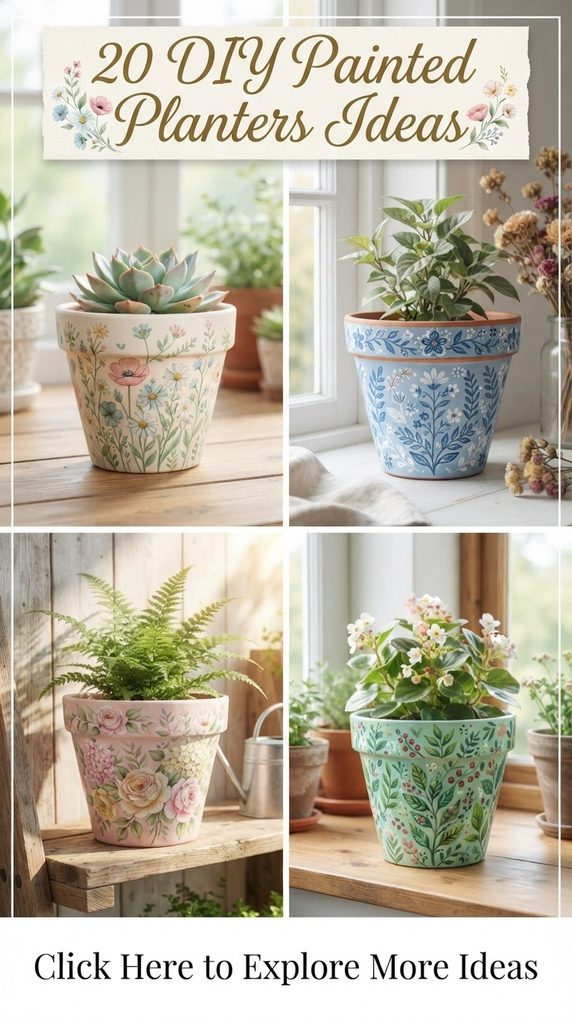
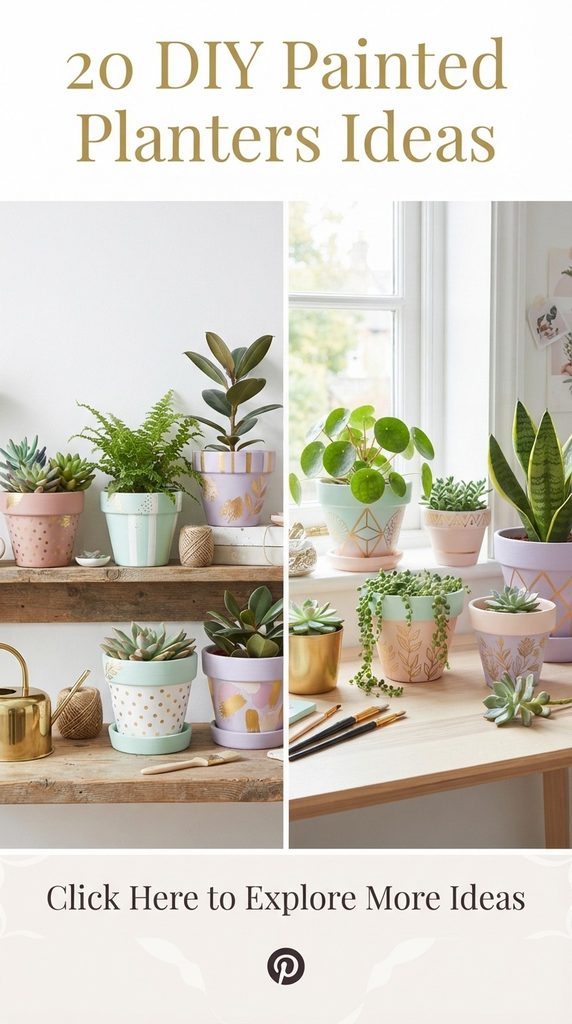
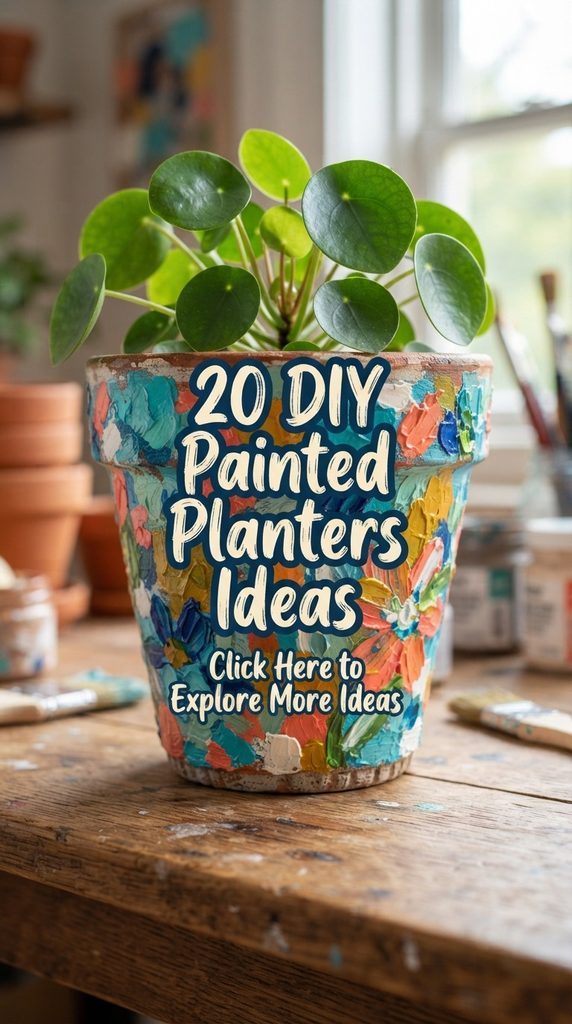
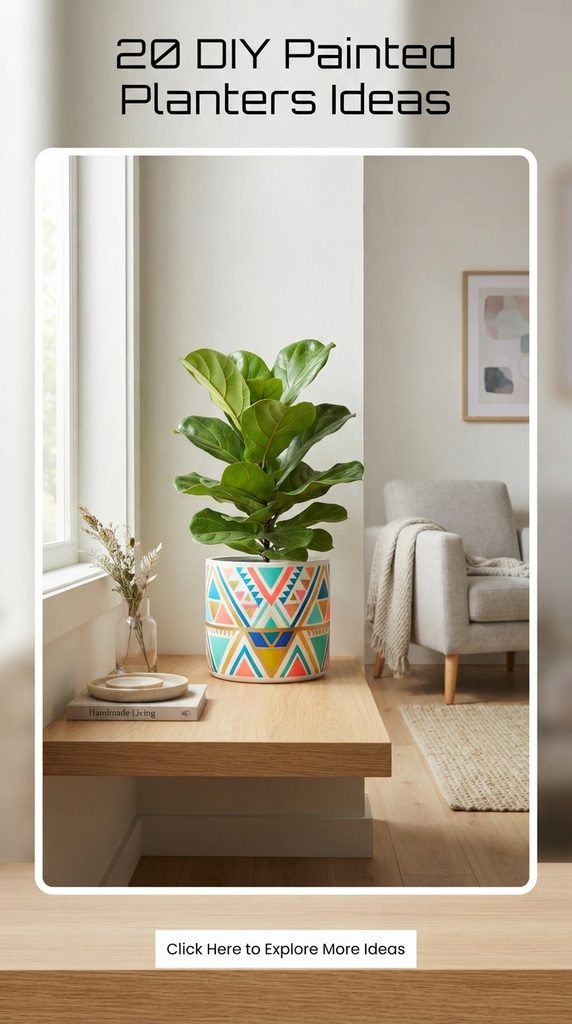
Transforming your living space with botanical life requires vessels that match your design aesthetic, and nothing beats the personalized charm of custom-painted planters. Whether your home leans toward minimalist Scandinavian lines, cozy boho textures, or bold maximalist color palettes, painting your own planters allows you to curate a cohesive, high-end look on a budget.
1. The Terracotta Ombré Horizon
This design blends rustic clay with a modern gradient effect, creating a sunset-like transition that anchors trailing green vines.
- Materials Needed: Clean terracotta pot, acrylic paints in cream, peach, and burnt orange, sponge brush, fine-grit sandpaper, matte clear sealer.
- How to Make It: Sand the outer surface of the terracotta pot to create a smooth base. Start by painting the top third of the pot in cream. Blend peach into the middle section while the paint is slightly wet to create a seamless gradient. Paint the bottom third in rich burnt orange. Once dry, seal with a matte clear spray to protect the clay while allowing it to breathe.
- Tips & Variations: Use a damp sponge to dab the overlapping color zones for a softer watercolor melt. Swap peach and orange for sage and forest green for an earthy woodland vibe.

2. Minimalist Terrazzo Speckled Pot
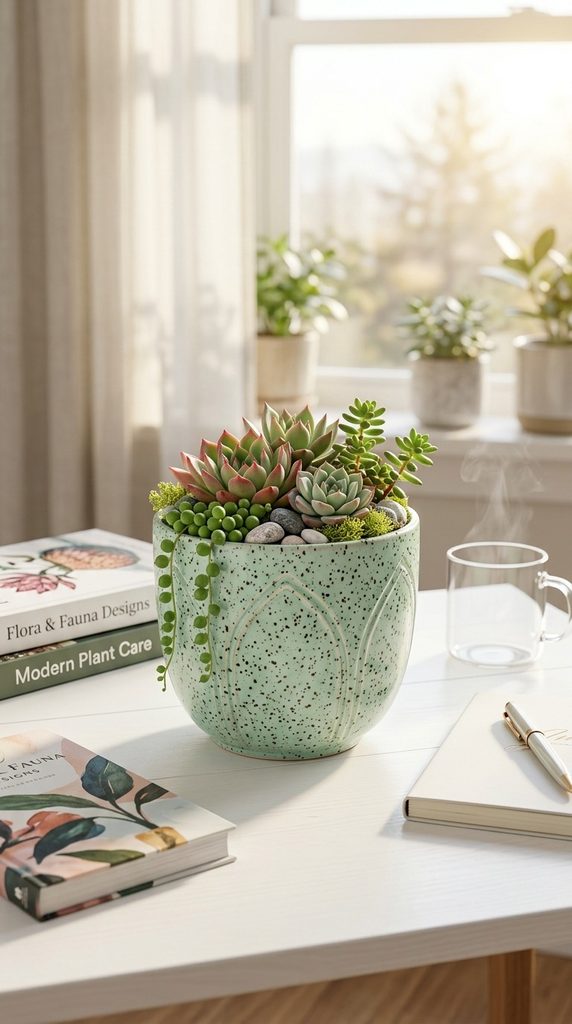
Inspired by Italian marble floors, this design brings subtle texture and contemporary flair to simple white ceramic or plastic containers.
- Materials Needed: Plain ceramic planter, white base coat spray paint, acrylic craft paints in charcoal, rust, and mustard, fine-tip artist brush, toothpick or splatter brush.
- How to Make It: Apply a clean white base coat to the planter and let it cure completely. Mix small amounts of charcoal, rust, and mustard paints. Dip the tip of a fine brush or a stiff-bristled toothbrush into the paint and gently flick the bristles with a toothpick toward the planter to create fine, organic speckles. Vary the speckle sizes for a natural terrazzo look.
- Tips & Variations: Practice your flicking technique on a piece of cardboard first to control the splatter density. For a pastel terrazzo, use lavender, mint, and soft butter yellow.

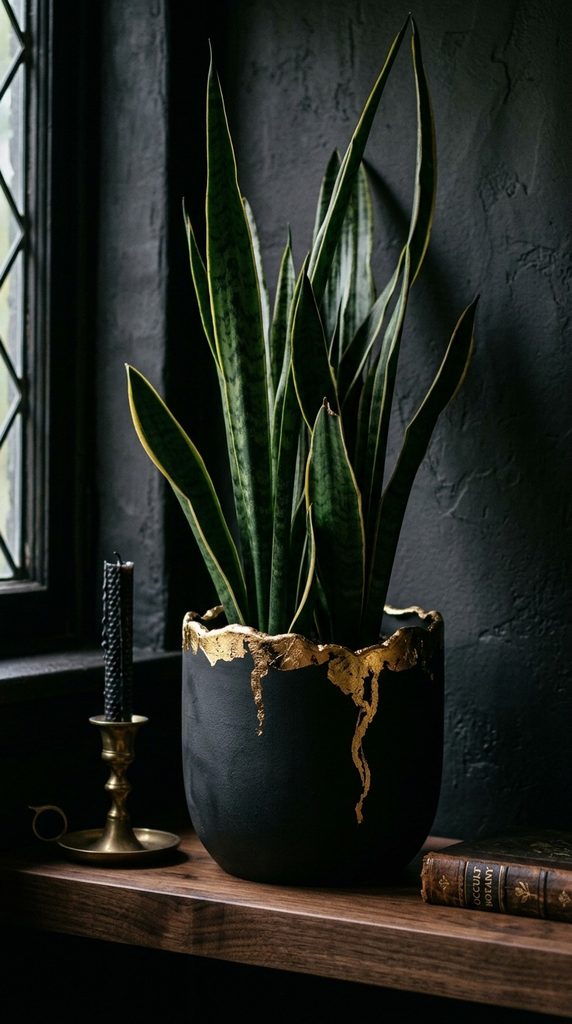
3. Moody Matte Black and Gold Leaf
Sophisticated and dramatic, this look pairs ultra-matte black with shimmering metallic accents for instant luxury.
- Materials Needed: Terracotta or plastic planter, matte black chalk paint, gold leaf sheets, metal leaf sizing (adhesive), soft application brush, small stiff brush.
- How to Make It: Paint the entire exterior and inner rim of the planter with matte black chalk paint, applying two coats for complete coverage. Once dry, apply random jagged brushstrokes of gold leaf sizing around the rim or down one side. Wait until the adhesive becomes tacky (clear and sticky), then carefully press gold leaf sheets onto the tacky areas. Brush away excess flakes with a soft brush.
- Tips & Variations: Instead of random leafing, tape off a clean geometric diagonal line for a striking color-blocked metallic contrast.
4. Boho Geometric Desert Sunset
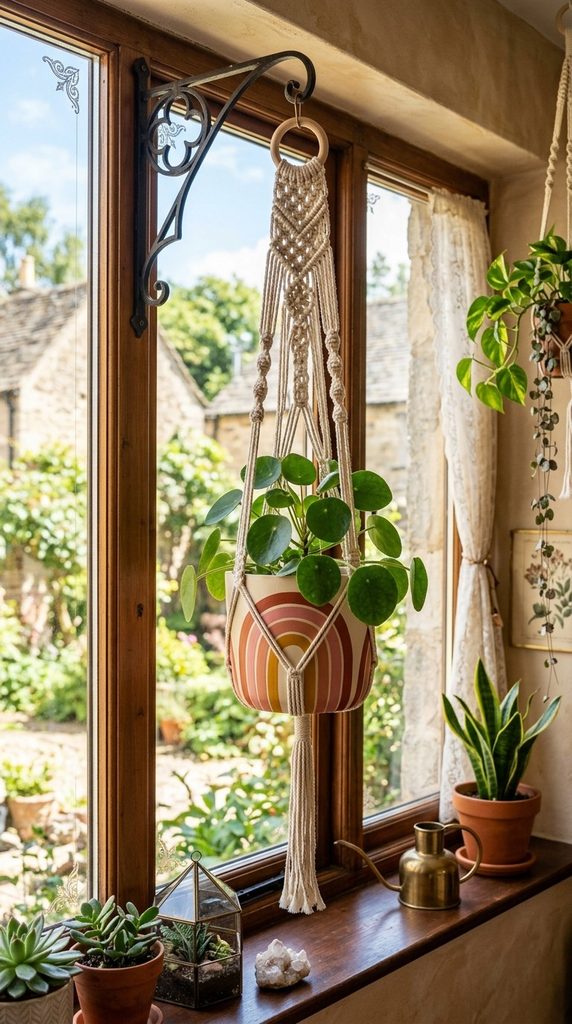
Channel warm arid landscapes with muted terracotta, clay pink, and cream arches reminiscent of mid-century desert modernism.
- Materials Needed: Planter of choice, base coat primer, acrylic paints in terracotta, blush pink, mustard, and warm white, artist brushes, pencil.
- How to Make It: Prime the planter and paint it a solid warm white base. Lightly sketch intersecting geometric arches and semicircles using a pencil. Fill in each shape meticulously with your chosen earthy tones, starting with the lighter colors and finishing with darker hues. Apply two coats for opaque coverage.
- Tips & Variations: Use painter’s tape to achieve razor-sharp straight lines for triangular or diamond patterns instead of curved arches.
5. Soft Pastel Color-Blocked Cylinder
Clean lines and gentle sorbet shades bring a playful yet sophisticated Scandinavian aesthetic to cylindrical pots.
- Materials Needed: Straight-sided cylindrical pot, painter’s tape, acrylic paints in mint green, buttery yellow, and lavender, foam wedge.
- How to Make It: Clean the planter thoroughly. Apply painter’s tape horizontally or vertically to divide the pot into distinct sections. Paint one section with your first pastel color using a foam wedge for a streak-free finish. Peel the tape off while the paint is slightly damp to prevent tearing, let dry, then tape off the next section and repeat.
- Tips & Variations: Seal the tape edges by running your fingernail firmly along the border to stop paint bleeding underneath.

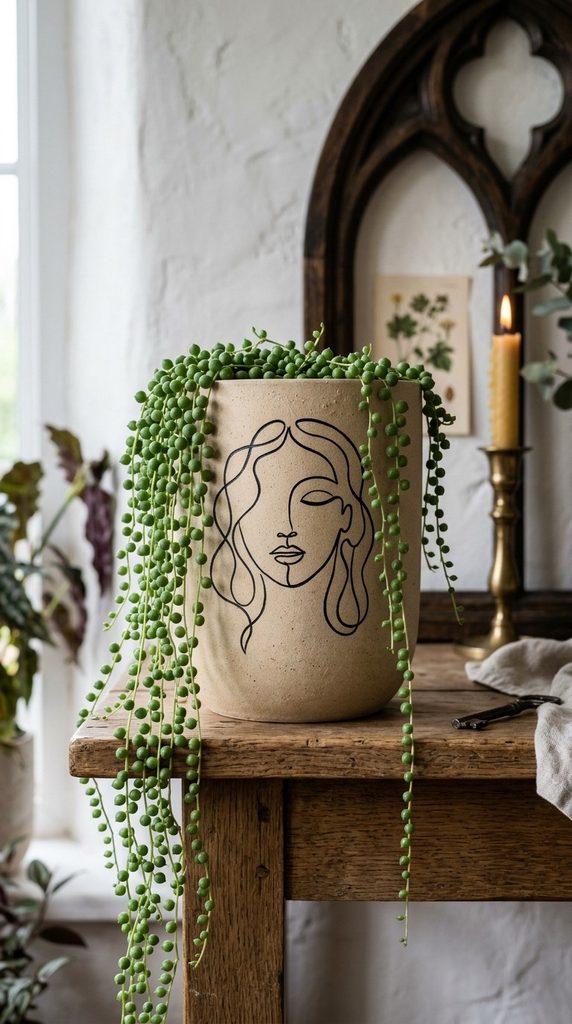
6. Abstract Face Line Art Planter
Minimalist continuous-line portraiture turns an ordinary pot into a modern art gallery piece.
- Materials Needed: Plain ceramic planter, solid neutral background paint (sand or oatmeal), black acrylic paint marker or ultra-fine paintbrush.
- How to Make It: Paint the planter in a solid neutral matte tone and let dry. Use a pencil to lightly sketch a continuous line face—focusing on closed eyes, a simple nose contour, and flowing hair that wraps around the curve of the pot. Trace over your pencil lines carefully using a black acrylic paint marker for ultimate precision and control.
- Tips & Variations: Add small blush circles under the eyes using a muted pink paint dab for an extra touch of character.



7. Rustic White-Washed Linen Texture
Imitating the organic look of natural woven linen, this textured finish adds incredible depth to basic pots.
- Materials Needed: Terracotta planter, white acrylic paint, water, coarse sea salt or baking soda, wide chip brush.
- How to Make It: Mix white acrylic paint with a tablespoon of baking soda or fine sand to create a thick, textured paste. Apply the mixture thickly using a chip brush in crosshatch motions. While still wet, drag a dry comb or stiff brush vertically and horizontally across the surface to mimic the woven threads of linen fabric.
- Tips & Variations: Rub a diluted wash of raw umber or grey paint into the textured crevices once dry to give it an antique, weathered patina.
8. Chic Neutral Wave Stripe
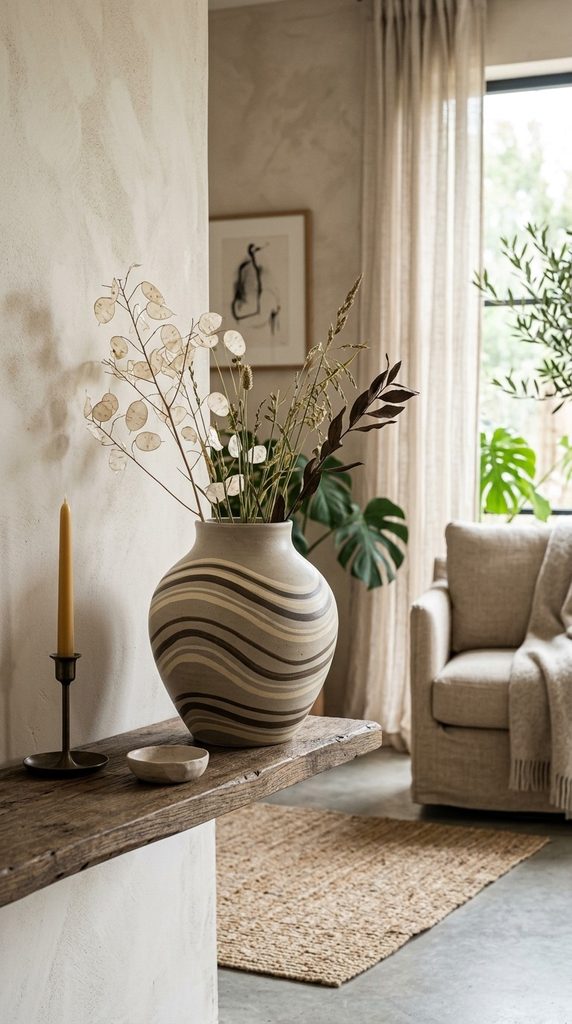
Organic, flowing waves in warm beige and cream create a calming, tactile aesthetic perfect for trailing pothos or succulents.
- Materials Needed: Planter, base coat in warm sand, acrylic paints in deep taupe and cream, fine-detail brush.
- How to Make It: Paint the planter with a solid warm sand base coat. Freehand wavy, organic horizontal stripes around the body of the pot using deep taupe and cream. Don’t worry about perfect symmetry; the beauty of this design lies in its organic, hand-drawn fluidity.
- Tips & Variations: Vary the thickness of the waves to create dynamic visual movement from top to bottom.
9. Neon Pop Geometric Facets
For contemporary or eclectic spaces, high-contrast monochrome paired with unexpected neon accents makes a bold statement.
- Materials Needed: Planter, painter’s tape, matte white and black paint, neon pink or electric yellow acrylic paint, small detail brushes.
- How to Make It: Paint the planter white. Use painter’s tape to section off bold geometric triangles and blocks. Paint alternate sections matte black. Once the monochrome base is dry, paint tiny accent lines or inner borders in electric neon pink to create a striking pop art effect.
- Tips & Variations: Limit the neon to just the inner rim of the pot so it catches the eye subtly when viewed from above.
10. Ethereal Watercolor Wash
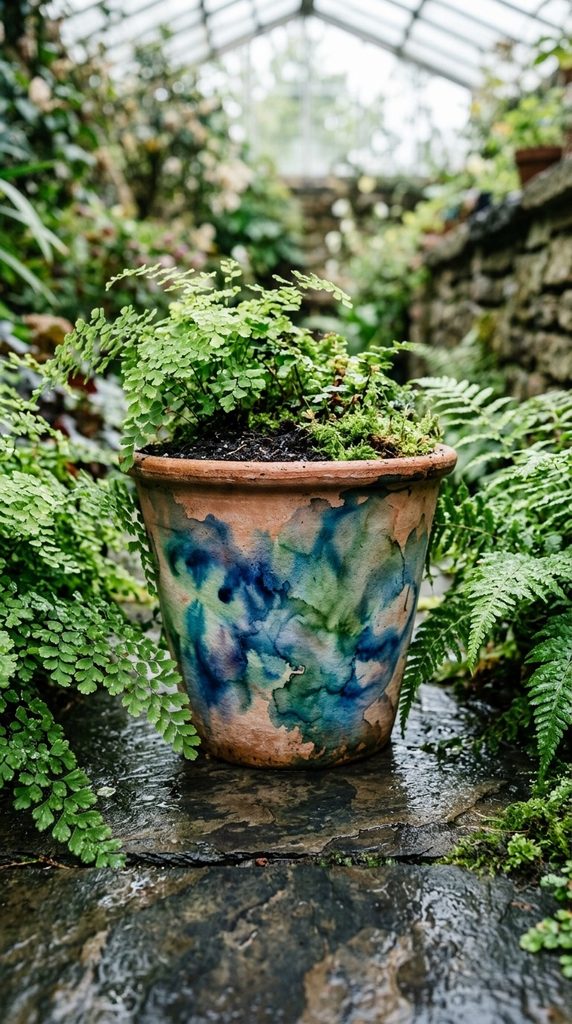
Soft, bleeding hues create a dreamy, cloud-like aesthetic that brings serene movement to any indoor jungle.
- Materials Needed: Unglazed terracotta pot, acrylic paints in watery blues and greens, spray bottle filled with water, large soft blending brush.
- How to Make It: Thoroughly wet the unglazed terracotta pot with water from a spray bottle. While the clay is damp, apply diluted droplets of blue and green acrylic paint directly onto the surface. Use a wet soft brush to guide and blend the colors, letting them bleed and mix naturally into organic pools.
- Tips & Variations: Lay the pot on its side and roll it slightly to encourage gravity-driven drips and organic runs.
11. Vintage Scalloped Edge Pastel
Delicate, whimsical, and utterly charming, scalloped patterns bring vintage cottagecore warmth to small herb pots.
- Materials Needed: Small terracotta pots, pastel pink or mint paint, white paint, fine round brush, pencil.
- How to Make It: Paint the body of the pot in a solid pastel shade. Use a pencil to sketch a row of connected arches (scallops) just beneath the rim. Fill in the arches with crisp white paint using a fine round brush. Add tiny white dots between the scallops for a refined finish.
- Tips & Variations: Create a double-scallop border by layering a smaller scallop pattern underneath the first in a contrasting pastel shade.
12. Botanical Leaf Silhouette Stencil
Bring outdoor foliage directly onto your indoor containers with crisp negative-space leaf prints.
- Materials Needed: Planter, real leaves (like fern or monstera), base paint, contrasting top coat spray paint or sponge paint.
- How to Make It: Paint the planter in your desired background color. Press a real leaf flat against the side of the pot and hold it securely in place. Dab or spray paint over the leaf and surrounding surface. Carefully lift the leaf straight away to reveal a crisp, clean silhouette of the natural foliage underneath.
- Tips & Variations: Use multiple overlapping leaves to create a dense tropical jungle canopy effect around the entire circumference.
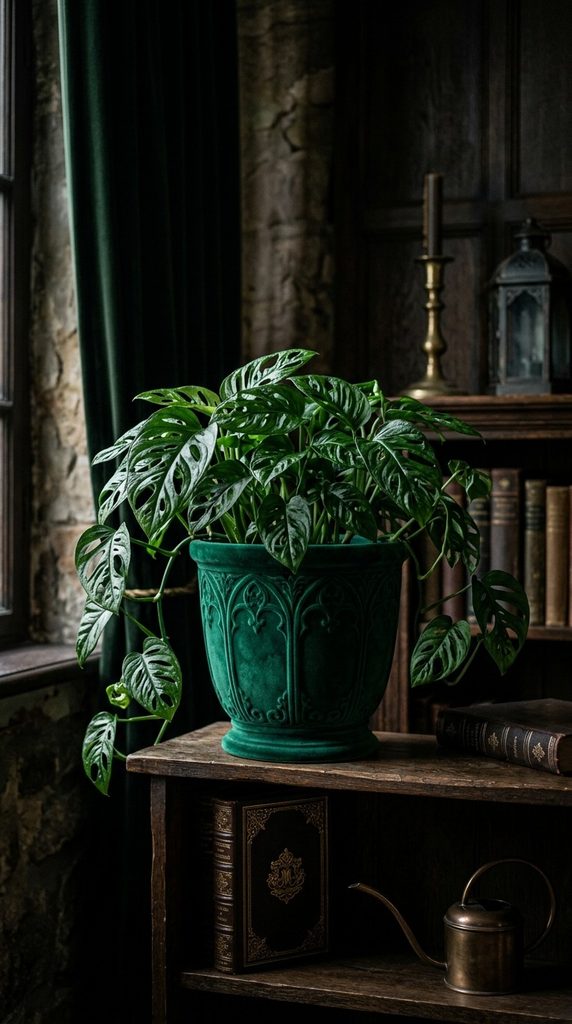
13. Rich Emerald and Metallic Brass Edge
Deep jewel tones paired with gleaming metallic trim offer an ultra-luxurious, regal look that elevates simple houseplants.
- Materials Needed: Planter, deep emerald green matte paint, metallic gold liquid leaf or gilding paint, fine artist brush.
- How to Make It: Apply two coats of rich emerald green paint to the planter, ensuring even, opaque coverage. Once completely dry, load a fine brush with metallic gold gilding paint and carefully trace the top rim and bottom base of the planter for a striking, refined frame.
- Tips & Variations: Swap emerald for midnight sapphire or rich plum for an equally dramatic jewel-toned palette.
14. Whimsical Polka Dot Play
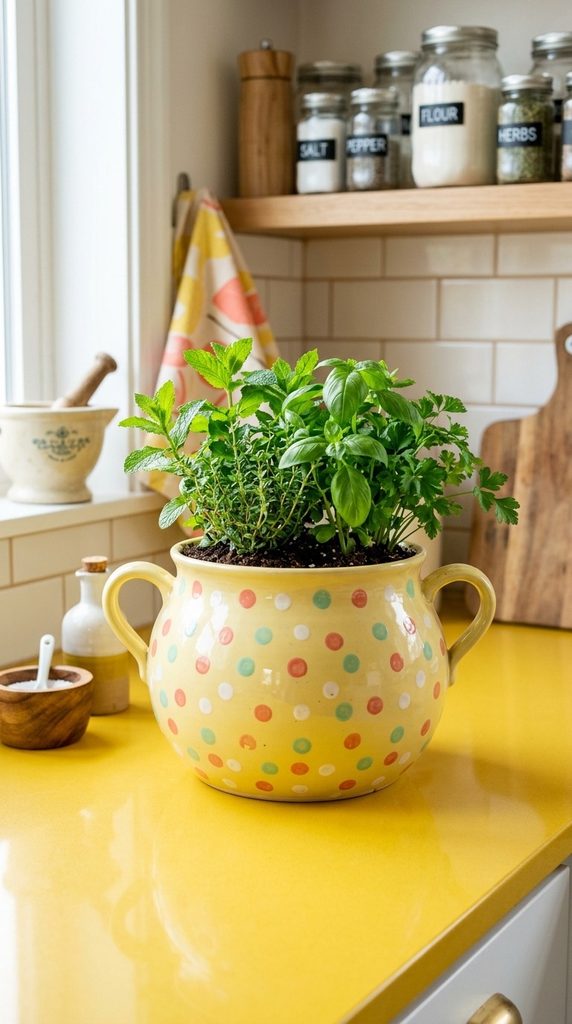
Fun, casual, and easy to execute, perfectly imperfect hand-painted dots bring cheerful energy to children’s rooms or sunny kitchens.
- Materials Needed: Planter, base paint in soft butter yellow, acrylic paints in coral, mint, and white, eraser end of a pencil.
- How to Make It: Paint the pot in soft butter yellow and let dry. Dip the clean eraser end of an ordinary pencil into coral paint and stamp uniform dots across the surface. Repeat with mint and white paints, staggering the colors for an even, playful distribution.
- Tips & Variations: Vary the dot sizes by using the back of various paintbrush handles for larger or smaller circles.




15. Moody Dark Academia Plaid
Sophisticated tartan and plaid patterns wrapped around heavy clay pots give off cozy, scholarly library vibes.
- Materials Needed: Planter, charcoal or dark forest green base paint, acrylic paint pens in burgundy, mustard, and thin metallic gold.
- How to Make It: Paint the pot with a dark moody base color. Use a ruler and paint pens to draw intersecting horizontal and vertical lines in burgundy and mustard, creating a classic plaid grid. Layer ultra-thin gold lines over the intersections for an authentic tailored finish.
- Tips & Variations: Keep the grid lines slightly irregular for a hand-woven textile appearance rather than rigid digital perfection.
16. Sunny Citrus Yellow Sunshine Rays
Bright, uplifting, and bursting with energy, radiant sunburst lines radiate positive energy into any dull corner.
- Materials Needed: Planter, white base coat, bright marigold yellow and soft peach acrylic paints, fine liner brush.
- How to Make It: Prime and paint the planter white. Paint a solid peach band around the center, then use a fine liner brush to paint delicate marigold yellow sunburst lines radiating outward from central points around the pot.
- Tips & Variations: Add tiny white starburst accents between the sunrays for a whimsical celestial touch.
17. Coastal Blue and White Brushstroke
Emulating classic Mediterranean tiles and porcelain pottery, freehand blue strokes on crisp white offer timeless elegance.
- Materials Needed: Planter, bright white acrylic paint, cobalt blue craft paint, flat shader brush.
- How to Make It: Paint the planter a clean, bright glossy white. Load a flat brush with cobalt blue paint, keeping one edge slightly lighter. Apply bold, sweeping brushstrokes in organic crosshatch or floral patterns, letting the natural bristles show brush texture for an authentic hand-painted ceramic feel.
- Tips & Variations: Seal with a high-gloss varnish to mimic the glazed look of traditional Mediterranean majolica pottery.
18. Industrial Concrete and Copper Dip
Combining raw industrial textures with warm metallic contrast creates a stunning urban loft aesthetic.
- Materials Needed: Smooth gray planter (or concrete-textured paint), copper metallic spray paint or copper leaf, painter’s tape.
- How to Make It: If using a standard pot, paint it with a concrete-effect texture paint in gray. Once dry, wrap painter’s tape diagonally around the bottom portion of the pot. Spray the exposed lower section with copper metallic spray paint in light, even coats. Peel the tape away immediately.
- Tips & Variations: Apply a patina solution to the copper section if you prefer an aged, oxidized turquoise verdigris contrast against the gray concrete.
19. Dreamy Pastel Cloudscape
Soft, fluffy white clouds floating across a dreamy lavender or sky blue sky create an enchanting, whimsical home for small succulents.
- Materials Needed: Planter, sky blue or lavender base paint, white acrylic paint, small round blending sponge.
- How to Make It: Paint the planter in your chosen sky background color. Dab soft white paint onto the surface using a small round sponge, blending the edges outward to create fluffy, atmospheric cloud formations wrapping around the pot.
- Tips & Variations: Add subtle gold leaf flecks behind the clouds to represent magical twinkling stars in a daytime dreamscape.
20. Earthy Clay Texture Grit
Celebrating the raw beauty of natural earth, this thick, tactile finish adds incredible organic depth and weight to lightweight pots.
- Materials Needed: Lightweight plastic or ceramic planter, acrylic paint mixed with fine sand and terra-cotta pigment, putty knife or old credit card.
- How to Make It: Mix acrylic paint with a heavy amount of fine craft sand and terracotta pigment until it forms a thick, mud-like consistency. Spread the mixture thickly over the planter using a putty knife or credit card, creating ridges, troughs, and natural imperfections that mimic raw, unbaked earth.
- Tips & Variations: Leave patches of the underlying rim smooth to create a deliberate contrast between raw textured clay and clean painted sections.