1. Floating Witch Hats with Glowing Magic
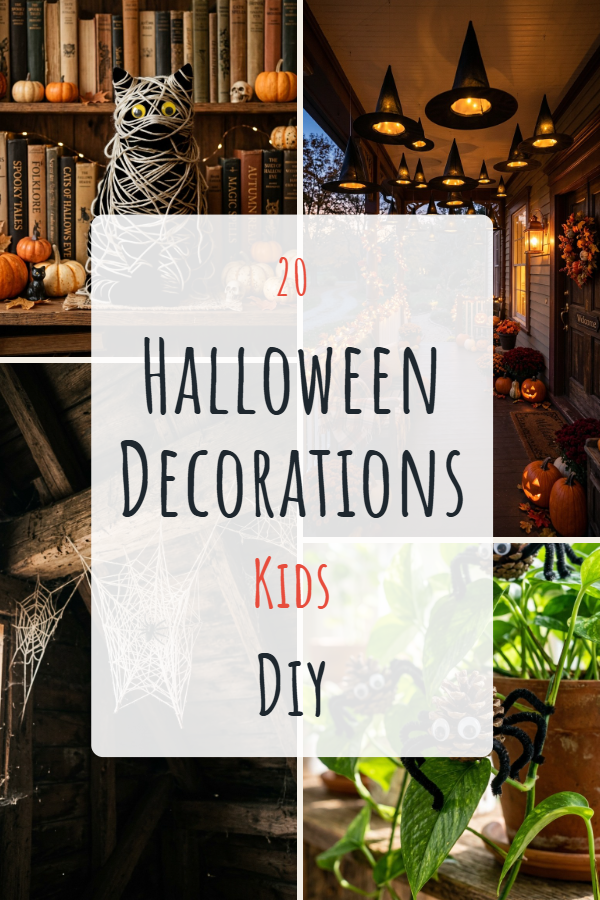
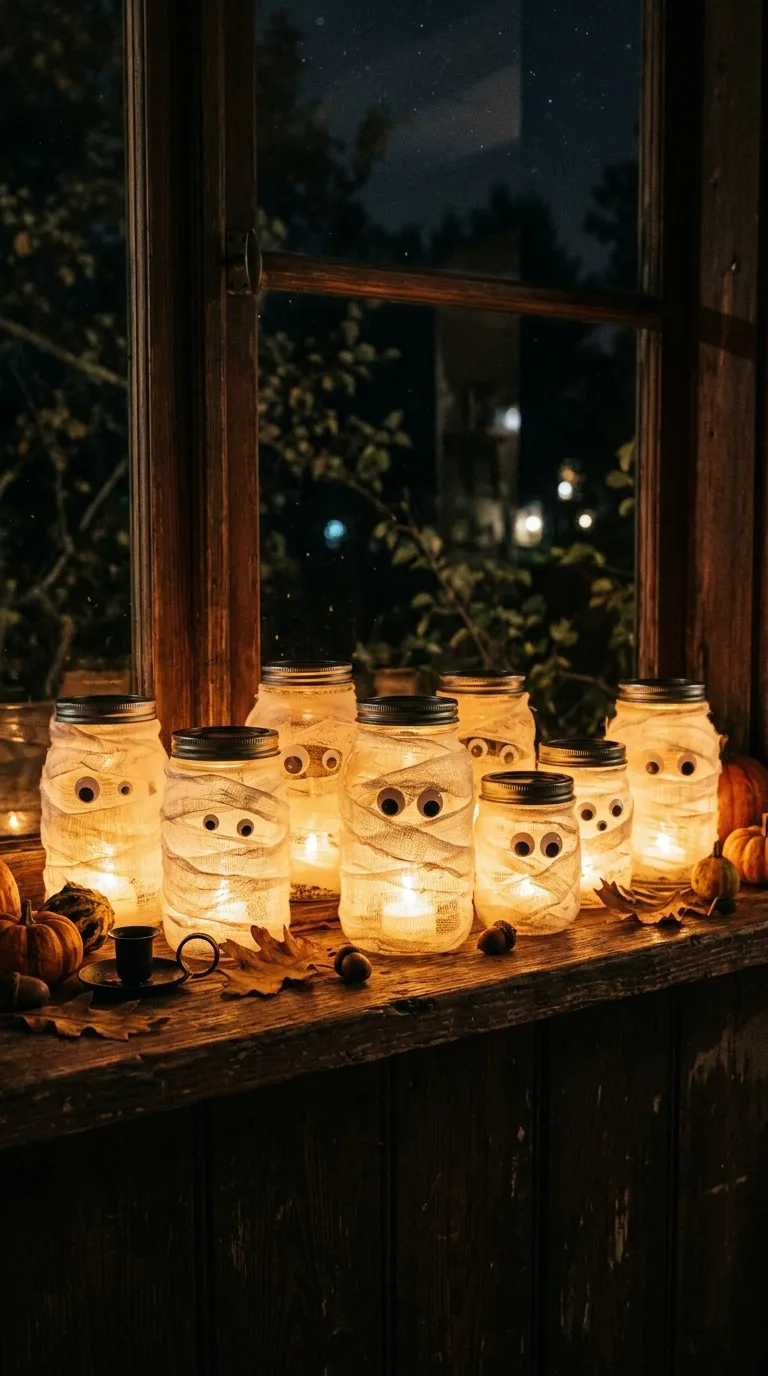
Transform your front porch or living room ceiling into a scene straight out of a wizarding academy. Floating witch hats are a whimsical, classic Halloween decoration that instantly adds a sense of enchantment to any space. The secret to making them truly magical is the addition of cheap, battery-operated LED tea lights or glow sticks tucked inside the crown of each hat. Kids will love helping thread the fishing line through the top of the hats and watching them mysteriously suspend in mid-air.
To create this look, gather cheap nylon witch hats, clear fishing line, a long needle, and warm white LED tea lights. Carefully thread the fishing line through the top point of each hat, tying a secure knot on the inside to hold the light source in place, and another knot on the outside to hang it from the ceiling. Use removable adhesive hooks to secure them to your ceiling. When the sun goes down and you click those little lights on, your home will look like it is casting its own levitation spells.
2. Mason Jar Mummy Lanterns
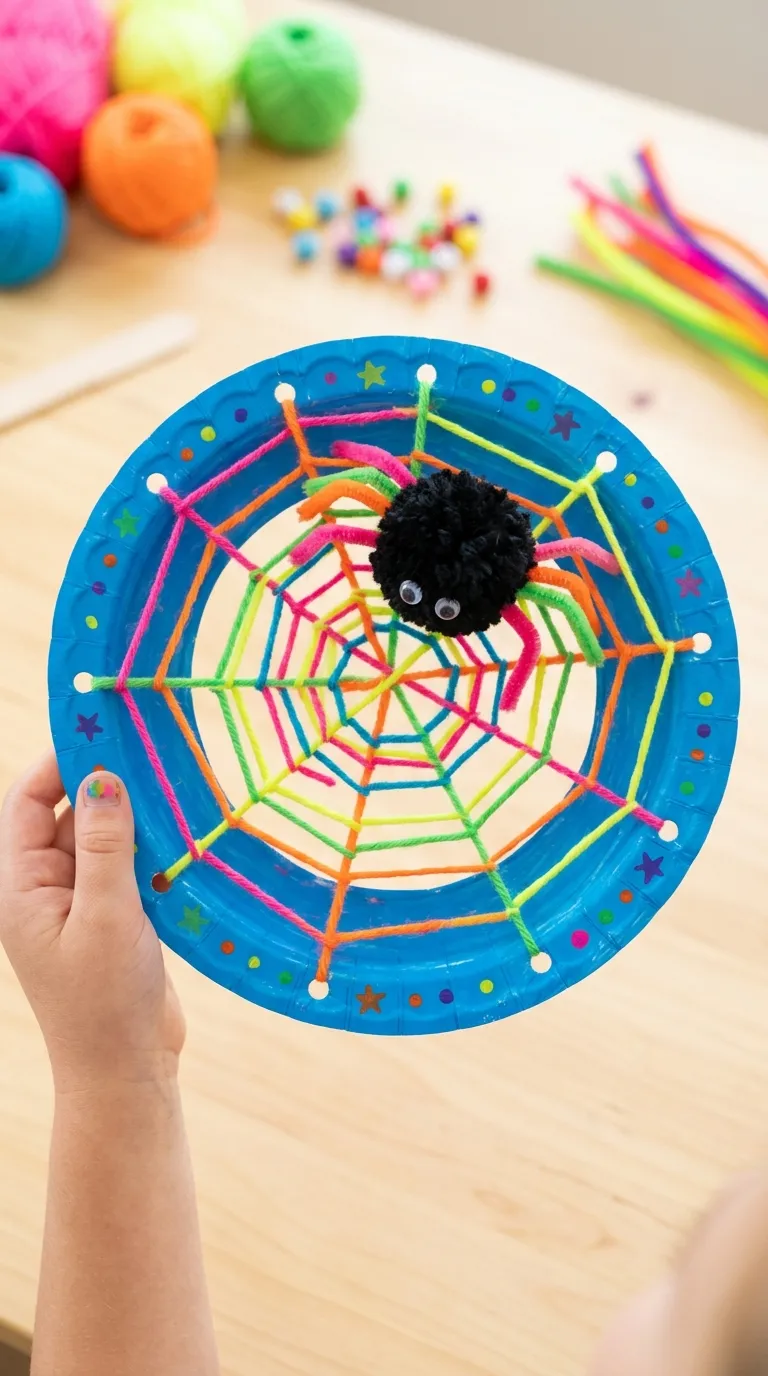
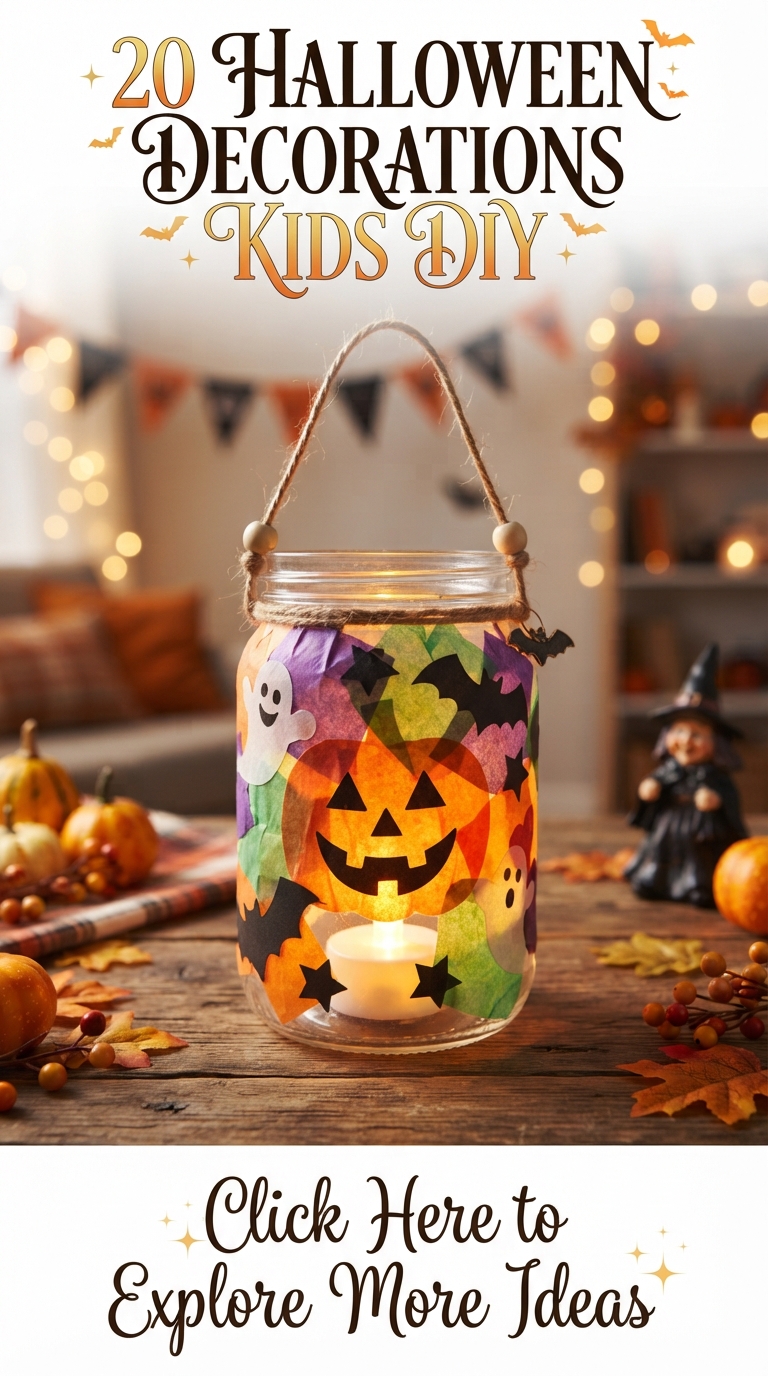
Mason jars are a staple of DIY crafting, and with a little gauze and some googly eyes, they transform into adorable, glowing mummy lanterns. This project is incredibly sensory-friendly and perfect for toddlers and preschoolers who love the tactile experience of wrapping and gluing. Because these utilize battery-operated tealights, they are completely safe to place on windowsills, staircases, or dining tables to cast a soft, spooky glow throughout your home.
Start by cleaning out empty glass jars of various sizes. Have your children brush Mod Podge or school glue all over the outside of the jar. Next, wrap medical gauze or strips of white cheesecloth around the jar, leaving a few gaps for the light to peek through. Glue on two mismatched googly eyes peeking out from between the bandages. Once dry, drop a flickering LED tea light inside, and watch your friendly little mummies come to life in the dark.
3. Paper Plate Spiderwebs with Yarn Spiders
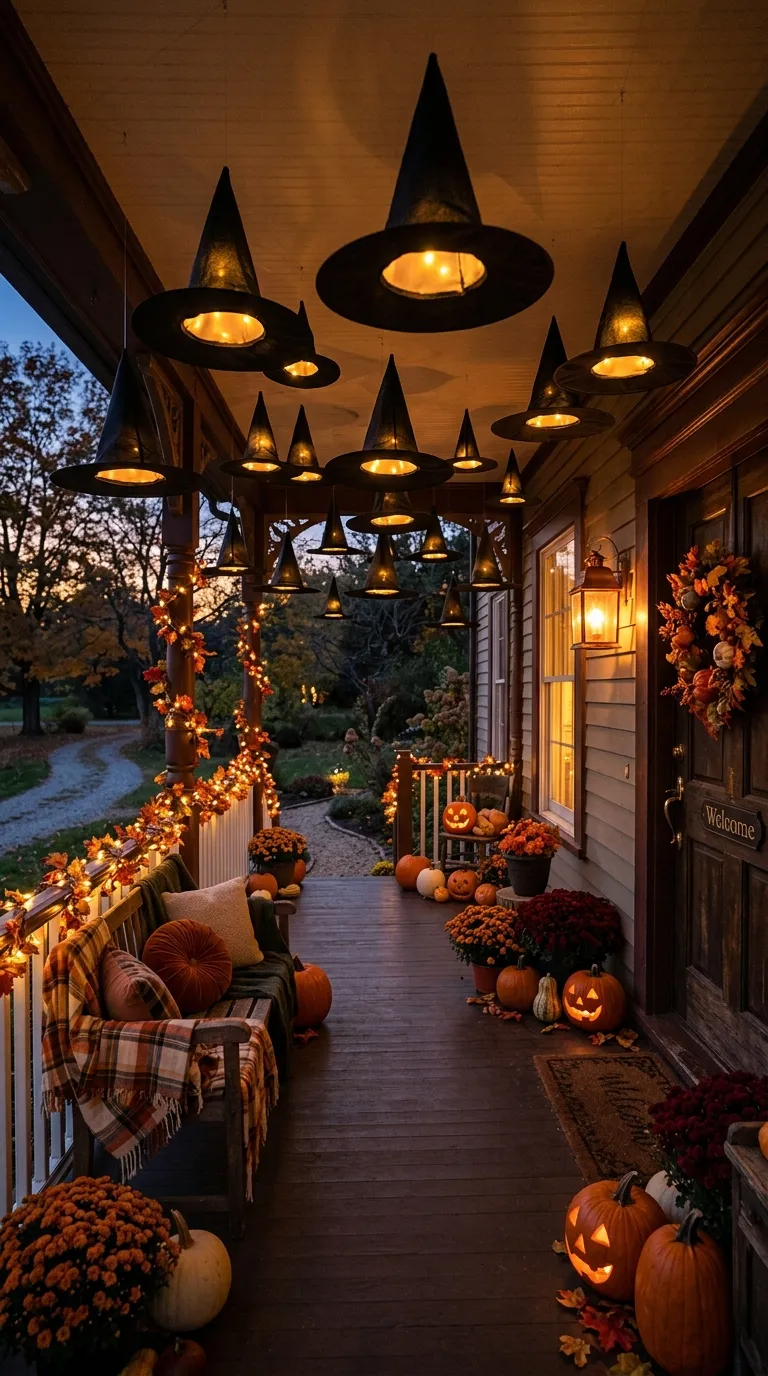
This craft is excellent for developing fine motor skills and hand-eye coordination in younger children. Paper plate spiderwebs combine simple weaving techniques with cute, customizable yarn spiders. It is a low-mess, high-engagement activity that uses everyday household items, making it perfect for a rainy October afternoon. You can hang these colorful webs in windows or create a giant wall display of spiders weaving their colorful homes.
Take a sturdy paper plate and cut out the inner circle, leaving just the outer rim. Use a hole punch to create holes about an inch apart all the way around the inner edge. Give your child a long piece of white, black, or neon yarn wrapped with tape at the end like a needle. Let them weave the yarn back and forth through the holes to create a complex web pattern. Finish by hot-gluing a couple of plastic spiders or a homemade black pom-pom spider onto the web.
4. Milk Jug Ghostly Luminaries
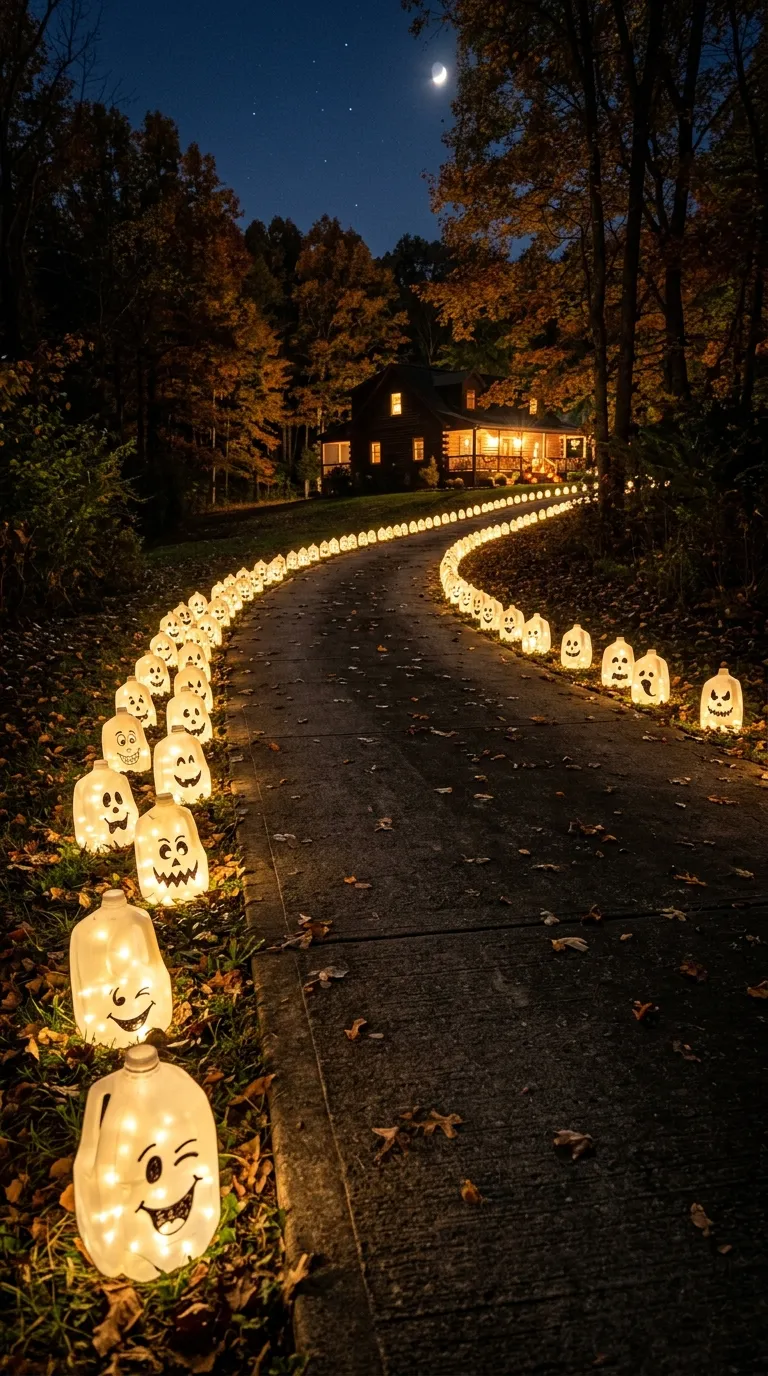
Do not throw away your plastic gallon milk jugs this October! With a black permanent marker and some string lights, those empty jugs can be recycled into a stunning, glowing pathway of friendly ghosts. This is an incredibly budget-friendly way to decorate a long driveway, a front porch steps, or even a dark hallway inside the house. Kids will have a blast designing different facial expressions for each ghost, from spooky to silly.
Wash and dry several plastic milk jugs, keeping the caps off. On the flat side opposite the handle, use a black permanent marker to draw bold ghost eyes and wide, open mouths. Parents can use a craft knife to carefully cut a small hole in the backside or bottom of each jug. Thread a strand of outdoor white Christmas lights through the back holes of the jugs, lining them up in a row. When plugged in, they emit a bright, welcoming ghostly glow.
5. Pinecone Spiders with Fuzzy Legs
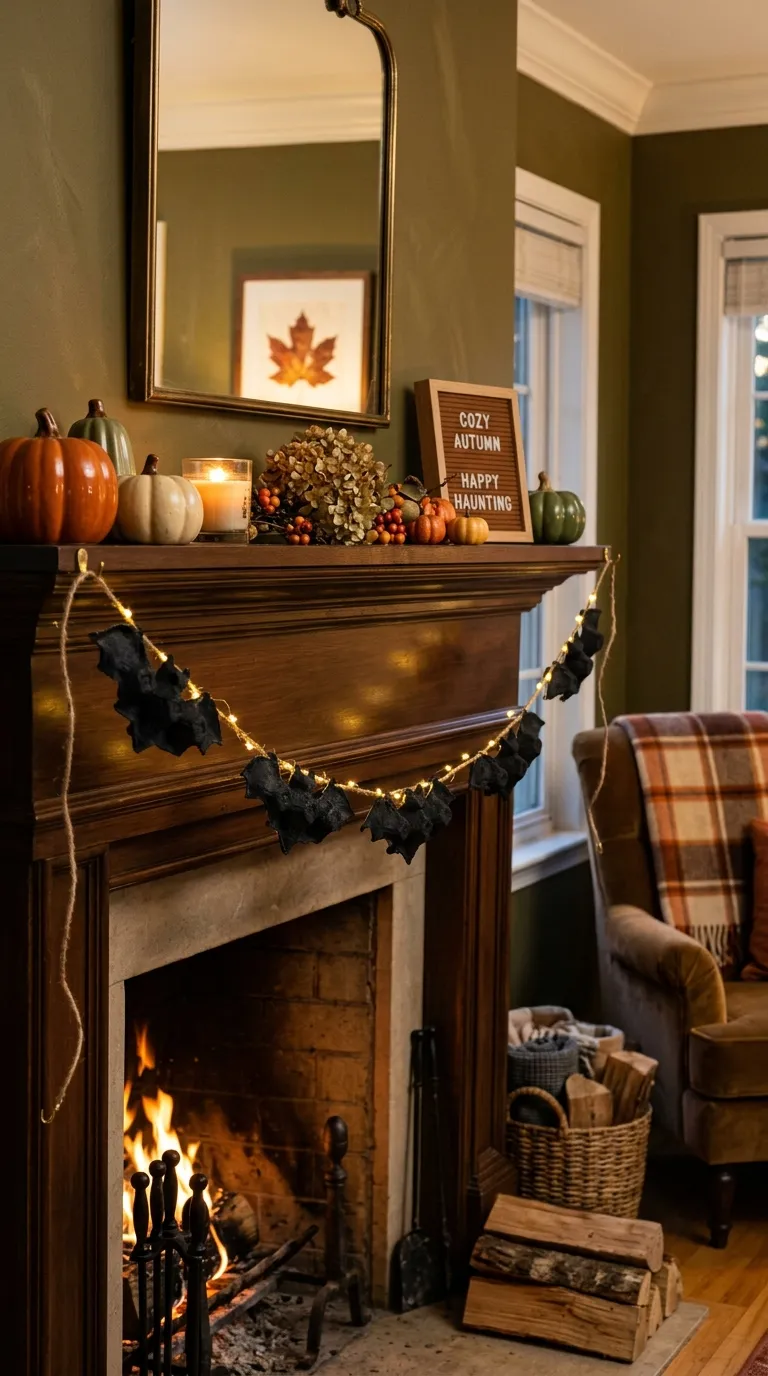
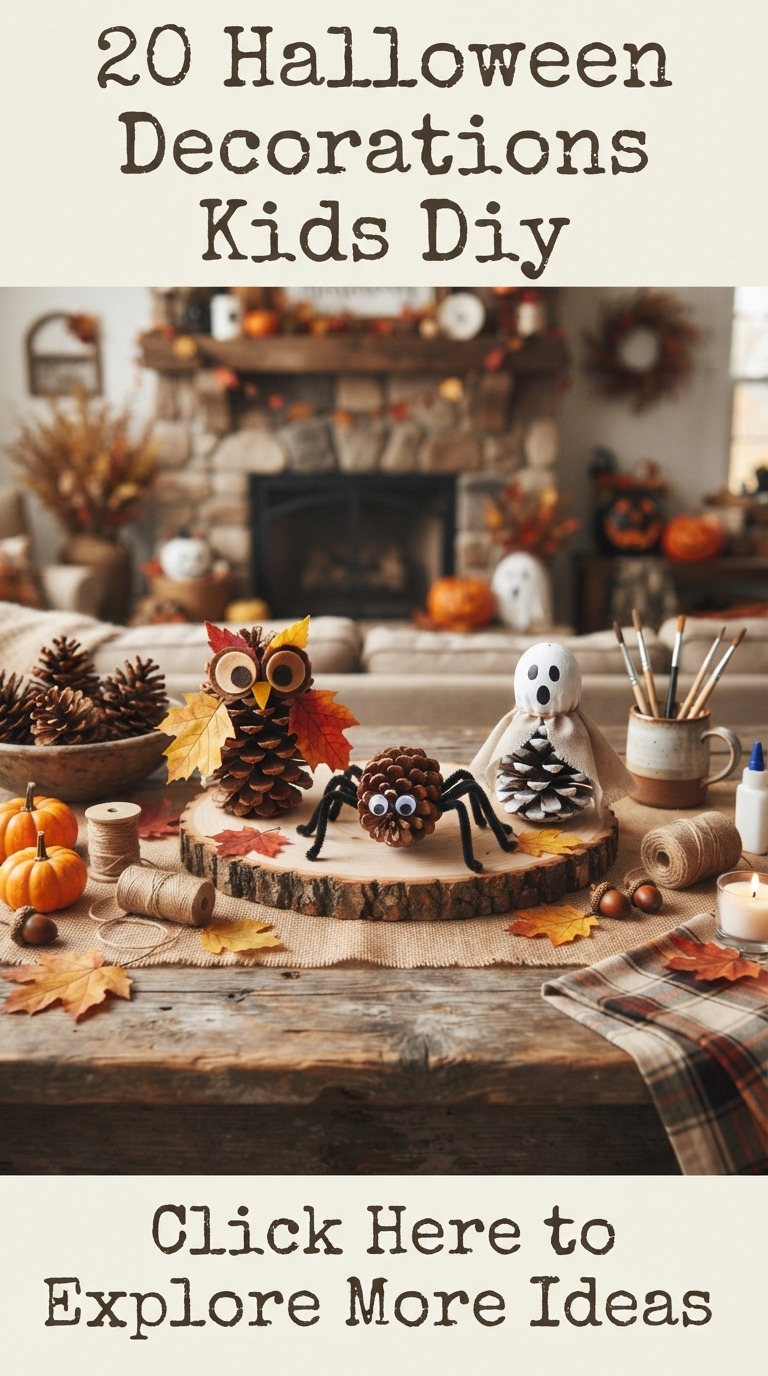
Bring the beauty of autumn nature indoors with this rustic, creative craft. Gathering pinecones from the backyard gets kids outside and active before they sit down to get crafty. Turning pinecones into creepy-crawly spiders is a wonderful sensory experience, combining the rough texture of the pinecone with the soft, bendable texture of chenille pipe cleaners. These look fantastic nestled into houseplants, sitting on bookshelves, or scattered across a Thanksgiving-transition tablescape.
Once you have collected and cleaned your pinecones, wrap four long black pipe cleaners around the center of each pinecone, twisting them once in the middle to secure them. Bend the ends of the pipe cleaners downward to create eight jointed, realistic spider legs. Use craft glue to attach large googly eyes to the flat base of the pinecone, which now serves as the spider’s face. You can even add a drop of red paint for a spooky black widow look.
6. Egg Carton Bat Garlands
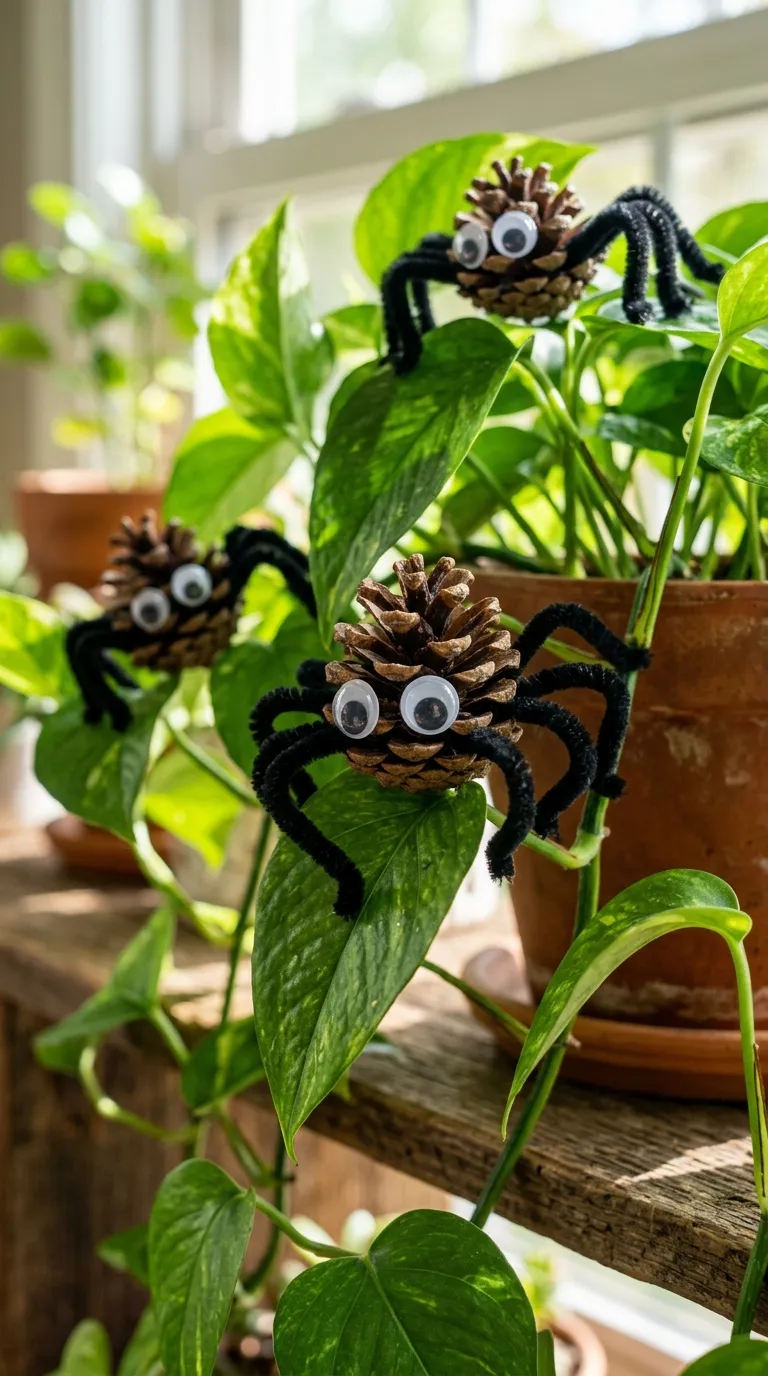
Upcycling egg cartons is a fantastic way to teach kids about sustainability while creating adorable Halloween decor. With just a few cuts, a standard cardboard egg carton transforms into a colony of hanging bats. This project is highly customizable; kids can paint their bats classic black, deep purple, or even bright neon green for a modern twist. String them together on a piece of twine to create a festive garland for the fireplace mantel or bedroom headboard.
Cut an egg carton into sections of three cups. Keep the middle cup intact as the bat’s body, and trim the bottom edges of the two outer cups into pointed wing shapes. Let your children paint the entire cardboard piece with acrylic paint. Once dry, glue two googly eyes onto the center cup and draw a little fanged smile with a white paint pen. Thread a piece of rustic twine through the tops of the bats to hang them up.
7. Watercolor Coffee Filter Monsters
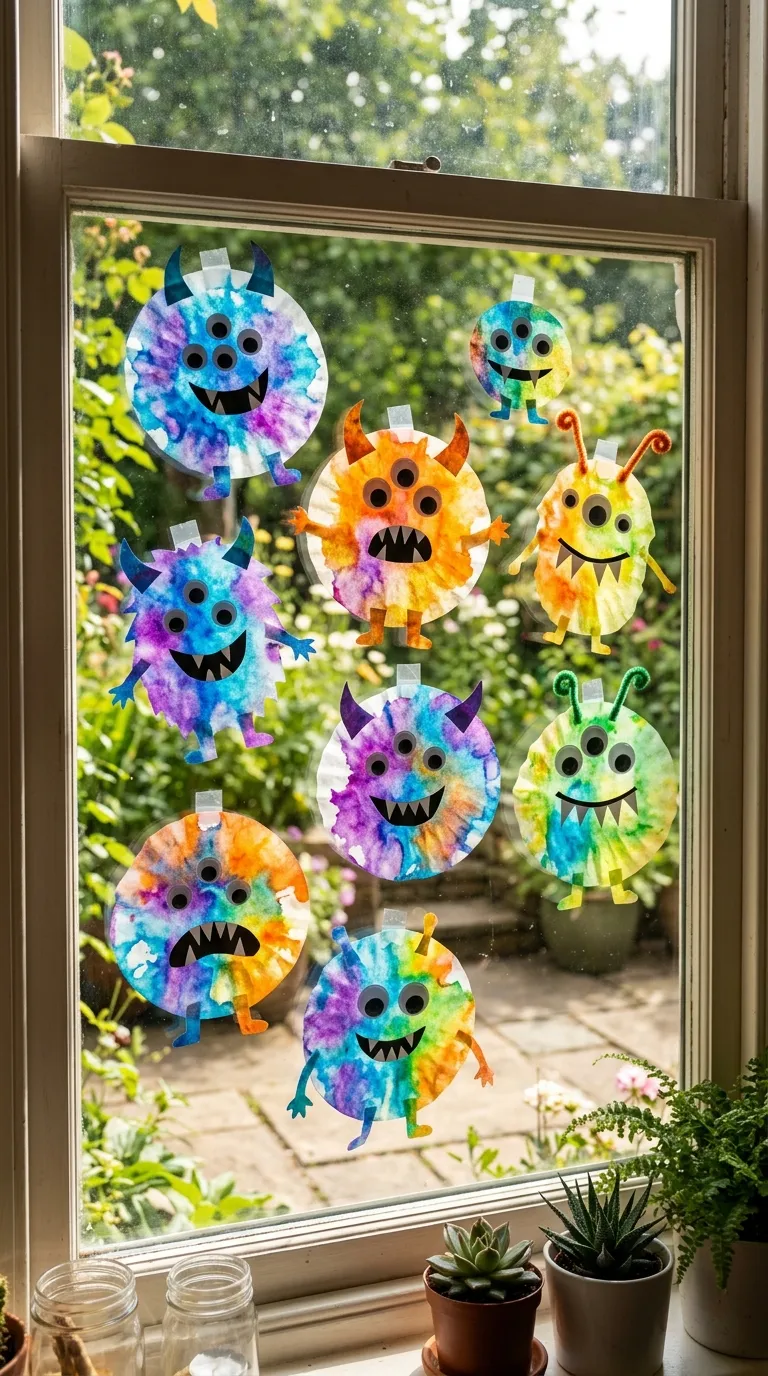
For a colorful, tie-dye inspired Halloween decoration, look no further than coffee filter monsters. This craft uses a simple science concept—chromatography—to create beautiful, bleeding color patterns that look like colorful monster fur. Kids love watching the colors spread and blend together when sprayed with water. Once dry, these translucent monsters look incredible taped to windows, allowing the autumn sunlight to shine through them like stained glass.
Flatten out round paper coffee filters and let your kids draw designs all over them using washable markers in spooky colors like purple, green, orange, and black. Use a spray bottle filled with water to lightly mist the filters. Watch as the colors bleed and blend into gorgeous patterns. Once completely dry, kids can glue on construction paper teeth, horns, claws, and dozens of silly googly eyes to create their own unique, friendly monsters.
8. Monster Leaf Puppets
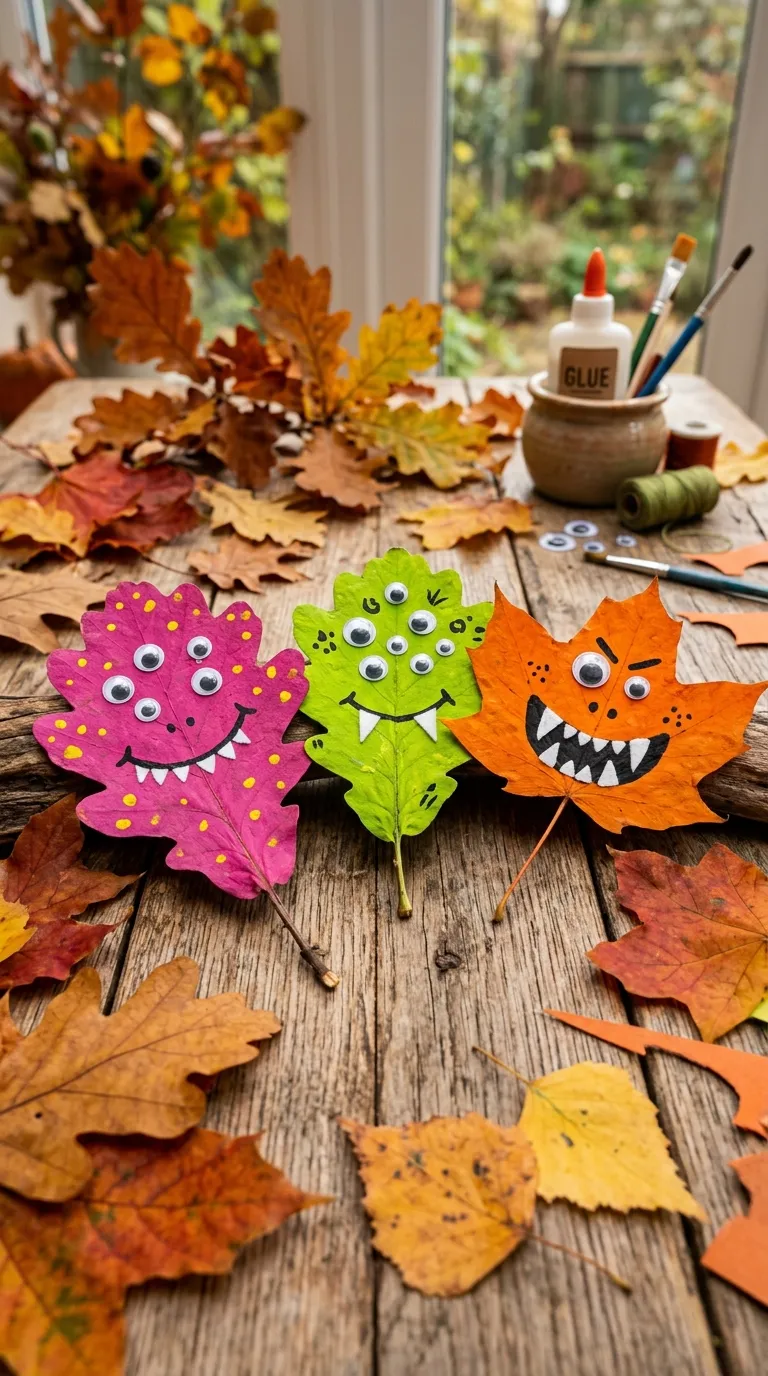
Autumn brings a bounty of beautiful, fallen leaves, making this the perfect seasonal craft. Collecting dry leaves of various shapes and sizes allows kids to explore nature’s diversity. By painting these leaves with bright colors and adding monster features, you turn natural elements into whimsical puppets and decorations. These can be glued to cardstock to make custom Halloween cards, or attached to wooden skewers to stick into potted plants around the house.
Gather large, sturdy fallen leaves and press them flat inside a heavy book for a day or two. Paint the leaves with acrylic paint in bright, solid colors. Once the base coat is dry, use fine-tip paint pens or markers to draw scary grins, sharp teeth, and weird patterns. Glue on googly eyes of different sizes to complete the monster look. Seal them with a thin coat of Mod Podge to preserve the leaves and keep them from crumbling.
9. Cardboard Tube Spooky Eyes
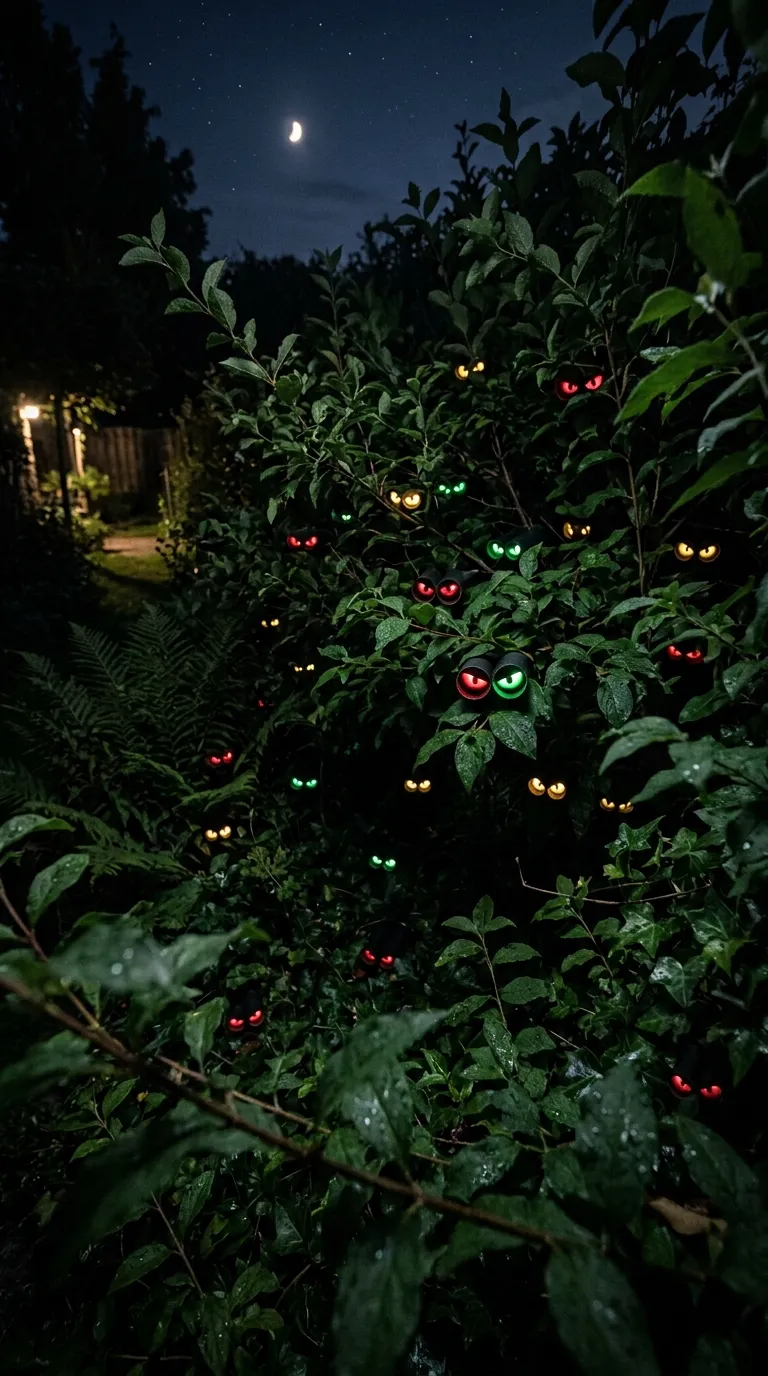
Create the illusion of mysterious creatures watching from the shadows with this incredibly simple, high-impact DIY. Using empty toilet paper or paper towel rolls, you can create glowing eyes that peer out from bushes, trees, or dark corners of your home. This is a brilliant nighttime decoration that will delight trick-or-treaters and neighbors alike. It is a great way to repurpose cardboard tubes while creating a genuinely spooky atmosphere.
Using a pencil, draw different shapes of scary eyes—slits, rounds, angry brows—onto empty cardboard tubes. Carefully cut out the eye shapes using a utility knife or sharp scissors (an adult should do this part). Activate a glowing glow stick and place it inside the tube. Tape the ends of the tube shut with black duct tape to prevent light from leaking out. Tuck the tubes deep into your outdoor bushes or dark indoor bookshelves.
10. Tissue Paper Pumpkin Sun Catchers
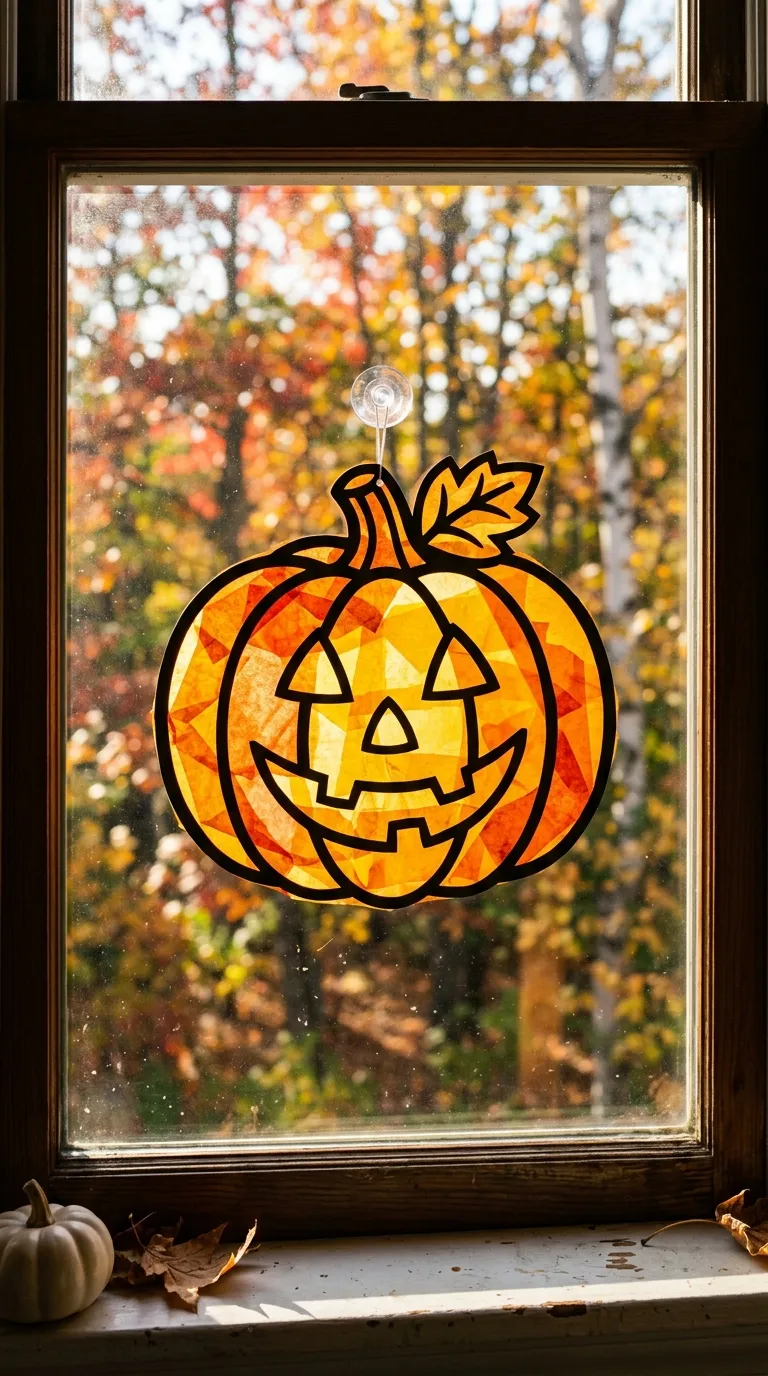
Brighten up your windows with vibrant pumpkin sun catchers that catch the warm autumn sunlight. This craft is clean, easy, and yields stunning results that look professional from both the inside and outside of your home. Kids will love the process of tearing up orange tissue paper and arranging it to create a glowing jack-o’-lantern. It is an excellent craft for toddlers who are still mastering their fine motor skills.
Cut out the silhouette of a pumpkin frame from black construction paper, leaving a wide border. Place the frame onto a sheet of clear contact paper. Have your kids tear up small pieces of orange, yellow, and red tissue paper and stick them inside the frame. Cut out eyes, a nose, and a mouth from black paper and stick them onto the tissue paper. Seal the back with another sheet of contact paper, trim the edges, and tape it to a sunny window.
11. Balloon Cobwebs
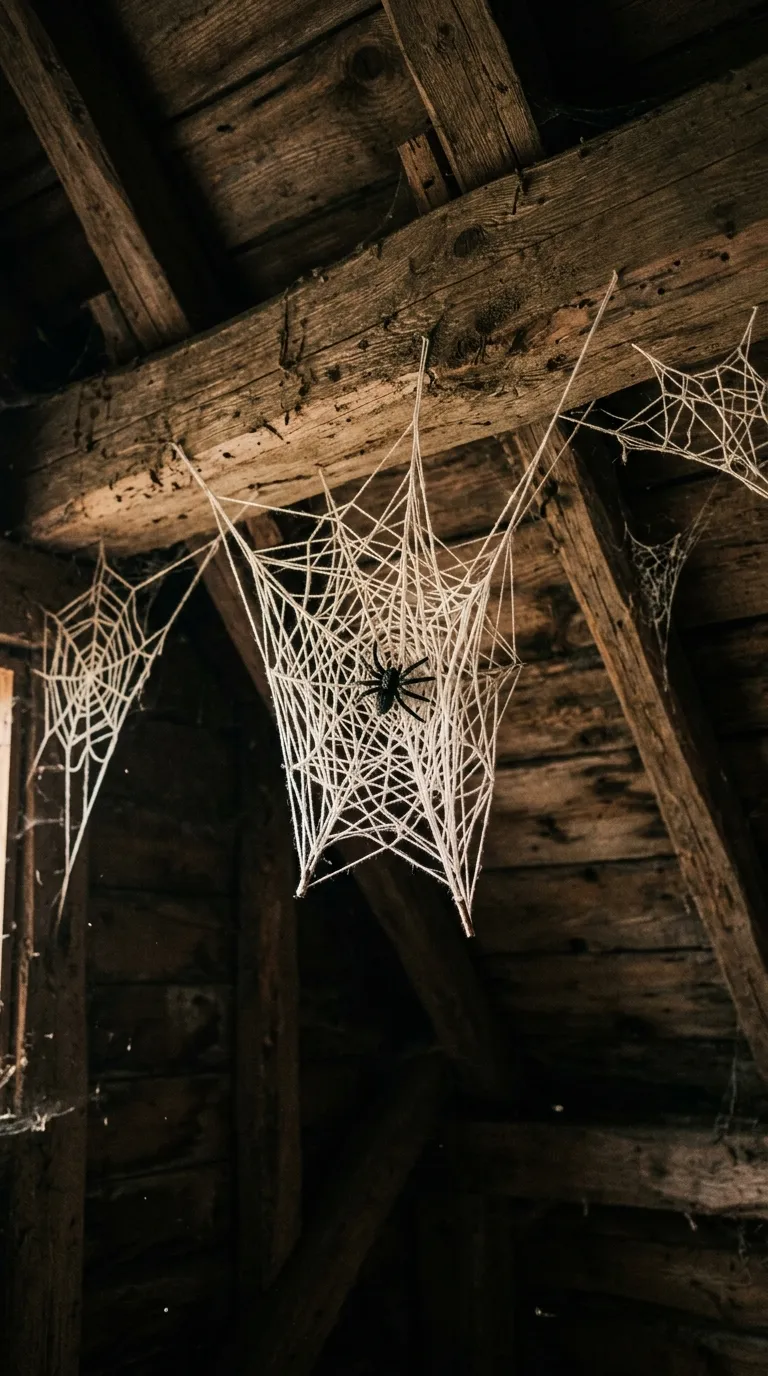
If you want to create realistic, three-dimensional spiderwebs that hold their shape, balloon cobwebs are the perfect project. Using yarn soaked in a glue mixture wrapped around an inflated balloon, you create a sturdy, hollow web sphere once the balloon is popped. This is a wonderfully messy, tactile craft that kids will absolutely adore. Hang these lightweight webs from chandeliers, ceilings, or porch rafters for a dramatic, spooky effect.
Blow up a balloon to the desired size. In a bowl, mix equal parts school glue and water. Cut long strands of white or grey yarn and submerge them in the glue mixture, wiping off excess liquid with your fingers. Wrap the wet yarn around the balloon in various directions, leaving plenty of open spaces. Let it dry completely overnight until the yarn is stiff. Pop the balloon with a pin, gently pull it out, and tuck a plastic spider inside.
12. Tin Can Frankenstein Windsocks
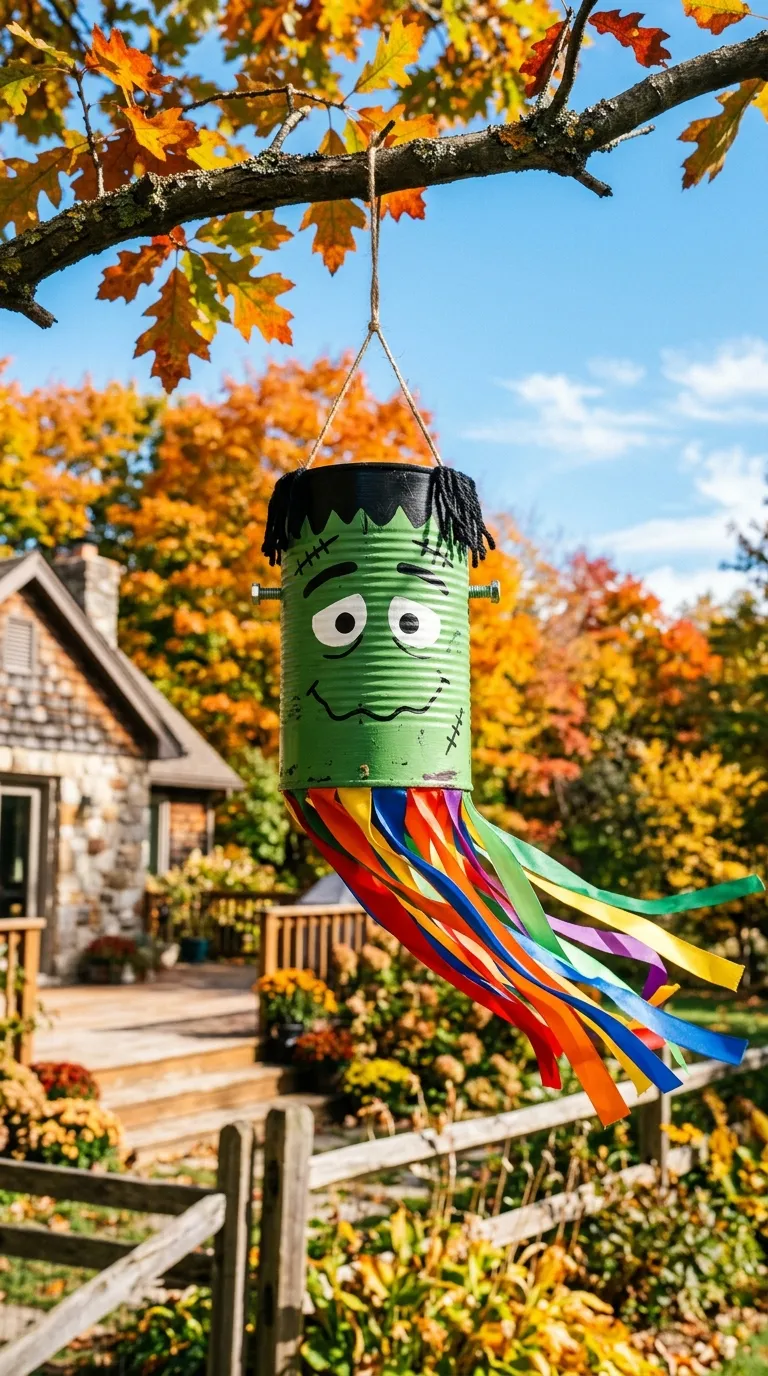
Give your outdoor trees or front porch some movement with these charming Frankenstein windsocks. Upcycling empty tin cans from soup or vegetables is a great way to teach resourcefulness. Painted bright green with streaming ribbons that dance in the autumn breeze, these windsocks add color and life to your outdoor Halloween display. They are durable enough to withstand the October weather and can be reused year after year.
Clean an empty tin can thoroughly and paint the exterior bright green. Once dry, paint the top rim black for Frankenstein’s hair, and draw on a stitched mouth, scar, and bolts with a black marker. Glue on googly eyes. Cut long strips of green, black, and purple crepe paper or satin ribbon. Glue these ribbons around the inside bottom rim of the can. Drill a hole in the top of the can to loop a hanging string through.
13. Paper Plate Witch Hats
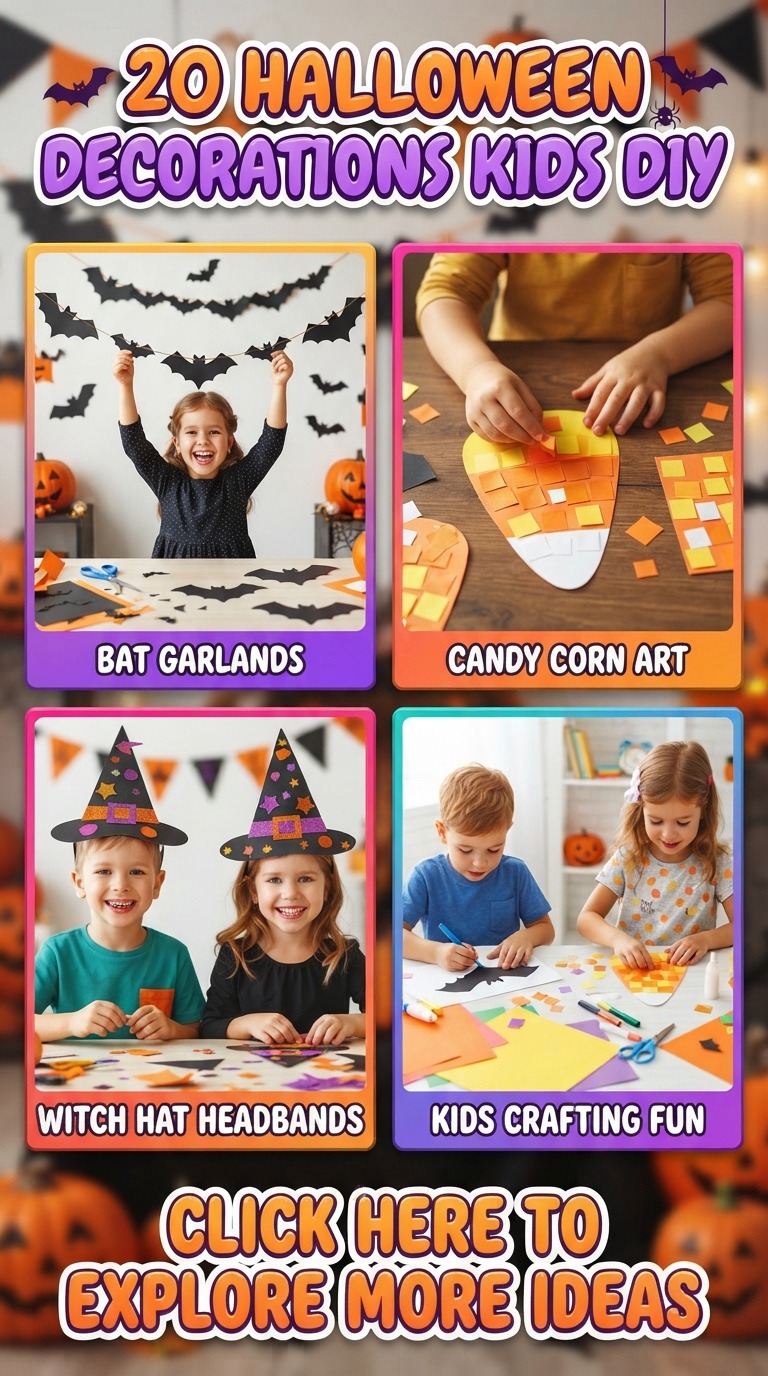
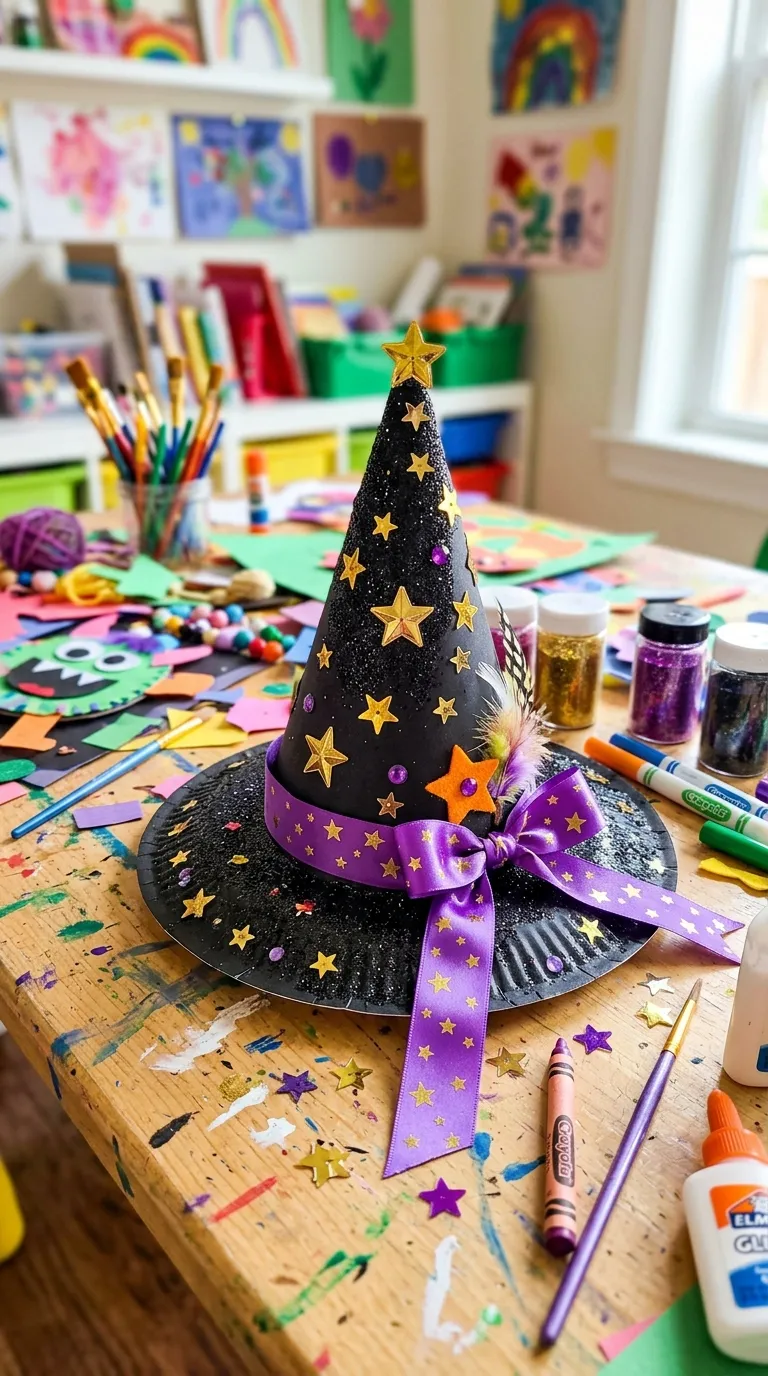
Let your kids step into the role of a spooky witch or wizard with these wearable paper plate witch hats. This craft combines a flat paper plate with a construction paper cone to create a three-dimensional hat that can be decorated with paint, glitter, sequins, and ribbons. It serves dual purposes as both a festive table decoration and a fun costume accessory for Halloween playtime and dress-up parties.
Cut a circle out of the center of a paper plate, leaving the outer rim intact to serve as the hat brim. Roll a large sheet of black construction paper into a cone shape that fits the inner diameter of the plate rim, and tape it secure. Attach the cone to the plate brim using hot glue or tape. Let your kids decorate the hat with purple ribbons, gold paper buckles, plastic spiders, and plenty of spooky glitter.
14. Rock Monsters
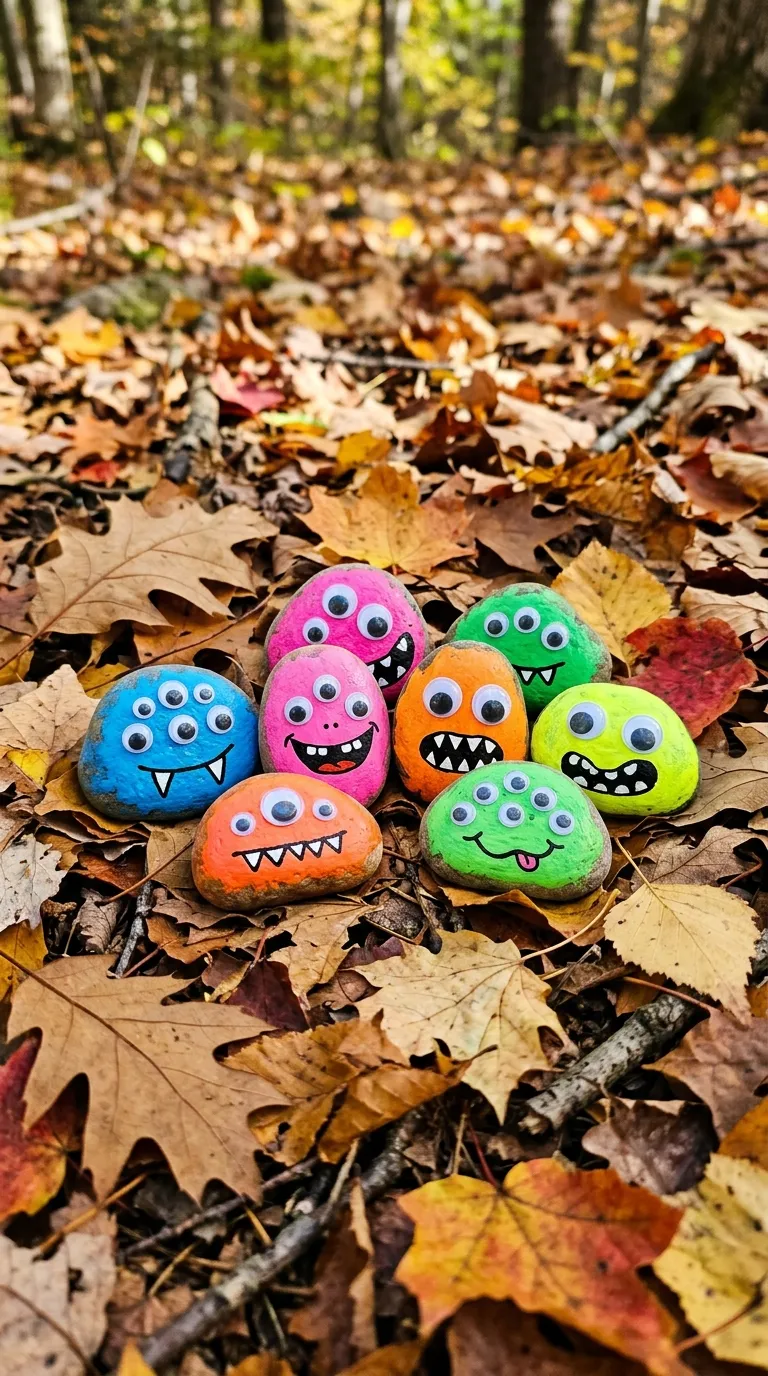
Rock painting has become a beloved hobby for kids everywhere, and transforming smooth river stones into Halloween monsters is a delightful seasonal twist. This is a highly creative, open-ended craft where there are no rules—the weirder the monster, the better! Kids can collect rocks from their yard or local park, paint them in vivid colors, and place them along garden pathways, on porch steps, or use them as festive paperweights.
Wash and dry smooth, flat river rocks. Paint them with acrylic paint in bright, solid colors like lime green, hot pink, and electric orange. Once dry, use paint pens to add details like sharp teeth, dripping slime, or funny expressions. Glue on multiple googly eyes of varying sizes to give them an alien or monstrous appearance. Seal them with an outdoor-grade clear spray varnish to protect them from rain.
15. Popsicle Stick Haunted Houses
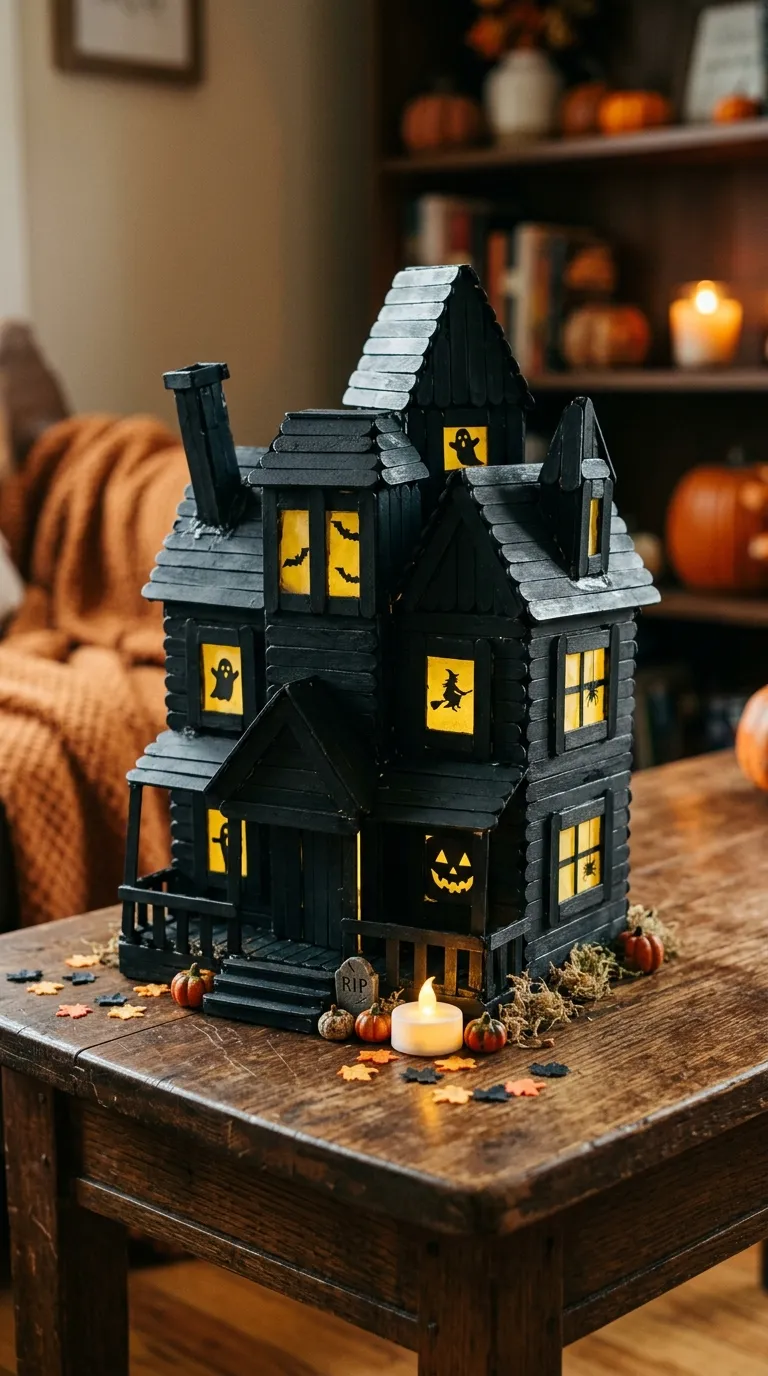
Building a haunted house out of popsicle sticks is a classic craft that allows kids to become miniature architects. They can design the layout, choose the colors, and decide which spooky creatures live inside the windows. This project encourages spatial awareness and planning. The finished haunted houses look wonderful displayed on a mantel, bookshelf, or as a centerpiece for your Halloween party food table.
Line up several popsicle sticks vertically and glue two sticks horizontally across the back to hold them together. Paint the front of the sticks black, dark purple, or grey. Cut out yellow paper squares for windows and draw silhouettes of ghosts or bats inside them. Glue the windows onto the house. Add a triangular roof made of black cardstock, and decorate the house with cotton ball cobwebs and tiny plastic spiders.
16. Ghostly Leaf Garlands
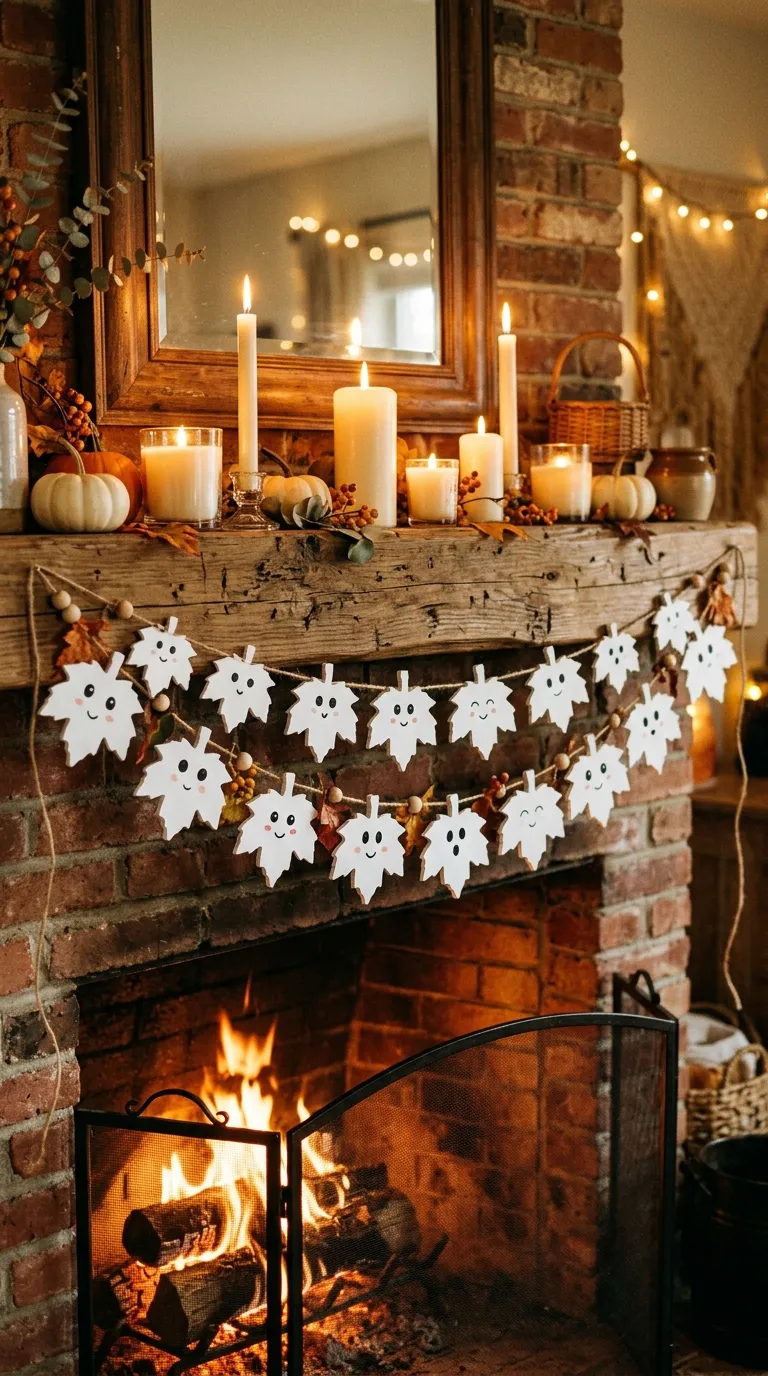
Another brilliant way to use fallen autumn leaves is by turning them into a fluttering garland of friendly ghosts. Maple leaves work exceptionally well for this project because their natural pointed edges look like the flowing sheets of a classic ghost. This craft is incredibly simple, requiring minimal materials, and results in a beautiful, natural decoration that brings the warmth of the autumn season indoors.
Collect large maple leaves and press them until flat. Paint the entire surface of each leaf with thick, white acrylic paint or white chalk paint. Once the paint has dried, use a black fine-tip permanent marker to draw expressive ghost faces on the center of each leaf. Clip the leaf stems to a long piece of rustic jute twine using mini wooden clothespins, and hang the garland across your fireplace, window, or doorway.
17. Clinging Window Monsters
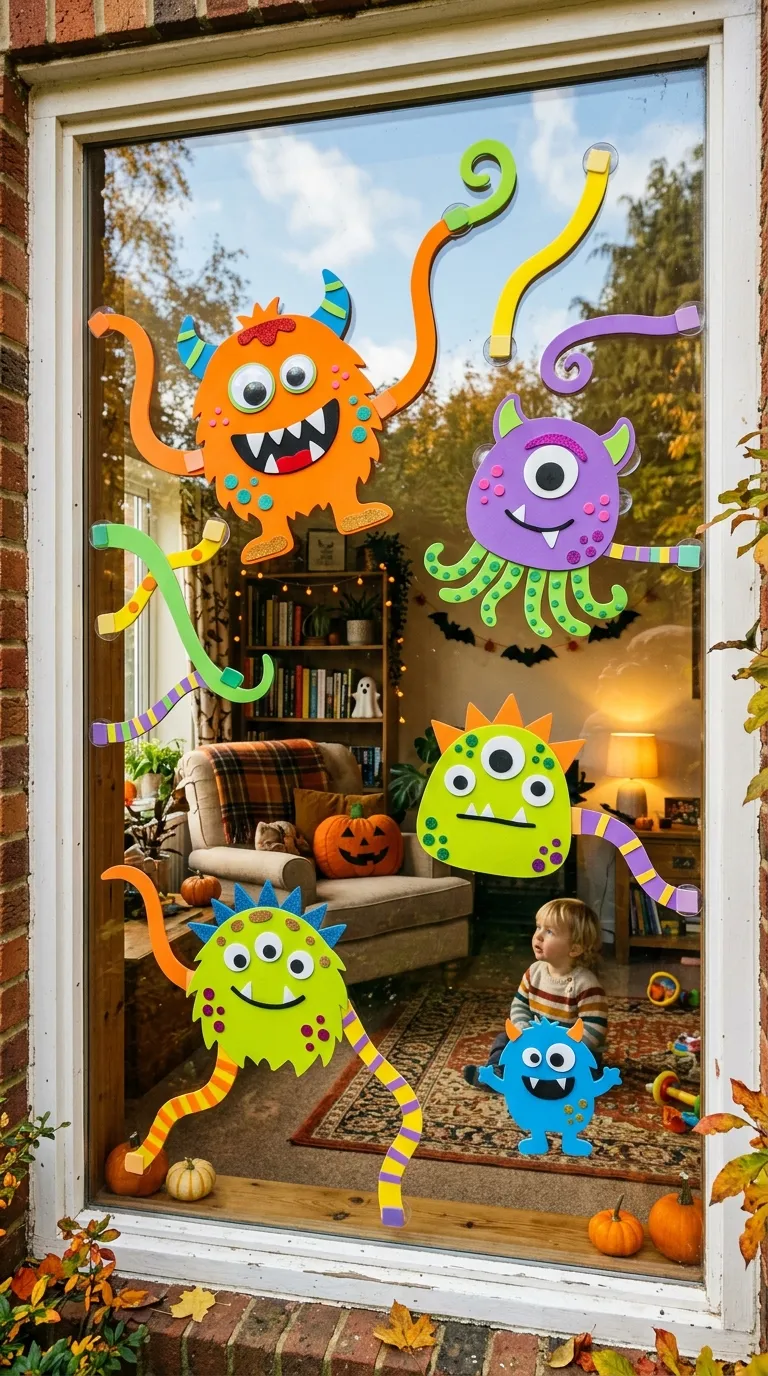
Turn your home’s windows into a colorful, monstrous display with clinging window monsters made from foam sheets. These lightweight, vibrant decorations stick easily to glass using just a little bit of water, making them completely removable and repositionable without leaving any sticky residue behind. Kids will love designing giant monster faces, hands, and tentacles that look like they are trying to climb inside the house.
Draw large monster facial features—giant eyes, jagged teeth, long tongues, horns, and claws—onto colorful craft foam sheets. Cut the shapes out carefully. To apply them to your windows, simply spray the glass lightly with water or dampen the back of the foam pieces with a wet sponge. Press them onto the glass, and they will cling securely. When Halloween is over, they peel right off and can be stored for next year.
18. Paper Loop Pumpkins
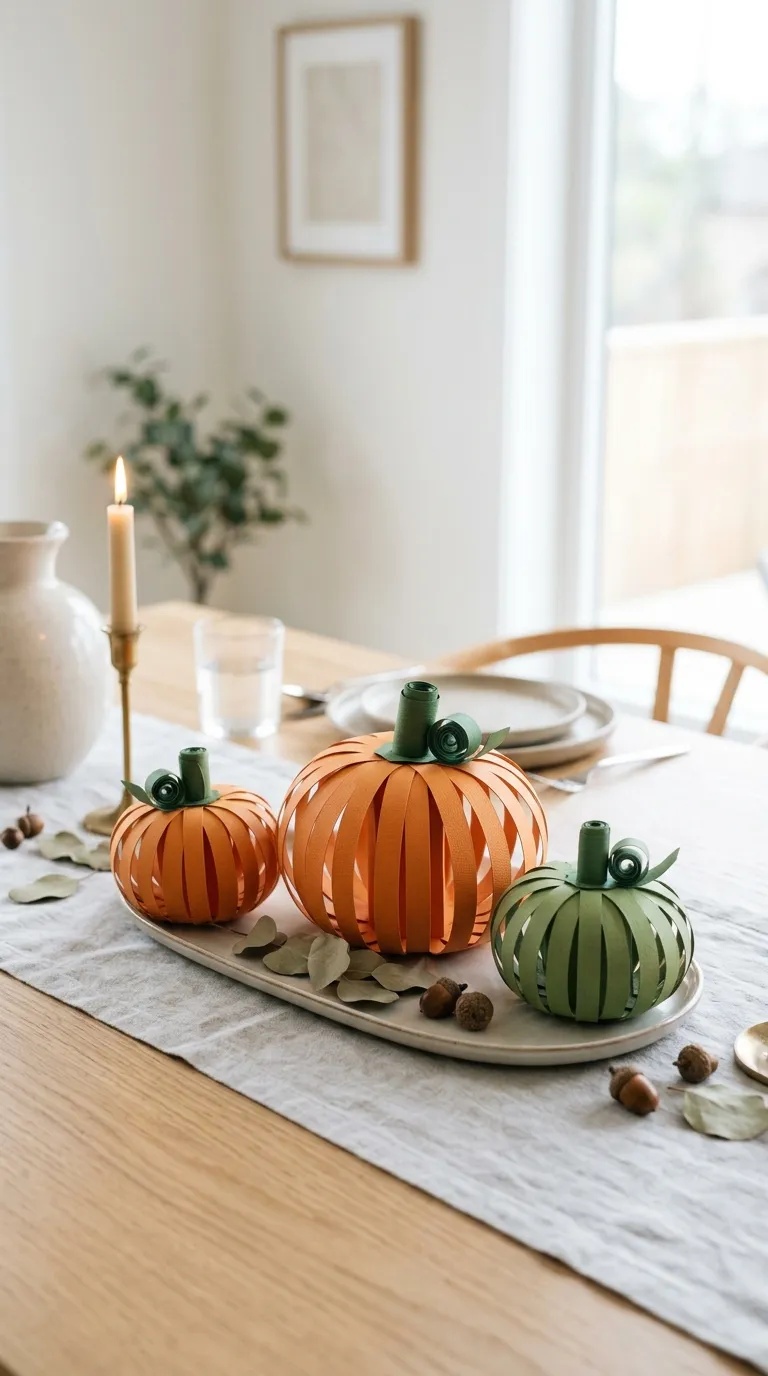
Paper loop pumpkins are a gorgeous, three-dimensional paper craft that looks highly sophisticated despite being incredibly simple to make. They are perfect for sitting on tabletops, hanging from the ceiling, or threading onto a ribbon to create a festive pumpkin garland. This craft is excellent for practicing cutting skills and learning how to manipulate paper to create beautiful, rounded shapes.
Cut orange construction paper or cardstock into strips that are one inch wide and about twelve inches long. Stack four to six strips on top of each other, crossing them in the center like a star, and secure the center point with a brad fastener or drop of glue. Bring the loose ends of the strips up to the top, overlapping them, and secure them together to form a spherical pumpkin shape. Add a green paper leaf and a brown paper stem.
19. Yarn Wrapped Mummy Cats
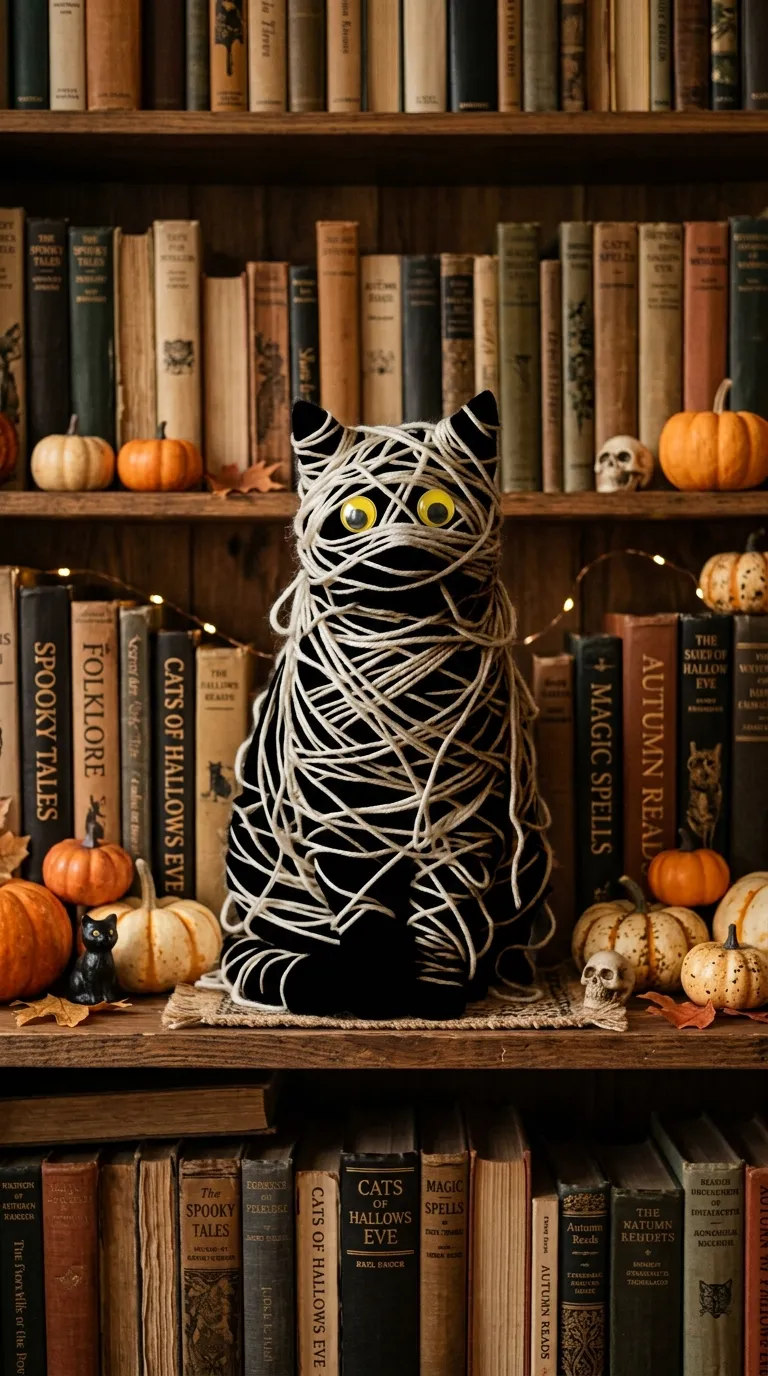
For a cute and cozy Halloween decoration, try making these yarn-wrapped mummy cats. This craft uses thick yarn wrapped around a cardboard silhouette, which is a fantastic activity for developing fine motor strength and patience in young children. The combination of the sleek cat silhouette and the soft, messy white yarn wrapping creates a lovely texture contrast that looks wonderful sitting on bookshelves or window ledges.
Cut out a simple cat silhouette from thick, sturdy recycled cardboard. Paint the cardboard black first, so any gaps in the wrapping look like shadows. Tie the end of a long skein of white yarn around the cat’s neck, and let your child wrap the yarn around the body in random directions, leaving the head mostly exposed. Tuck the end of the yarn in to secure it, and glue two bright yellow googly eyes onto the cat’s face.
20. Spooky Handprint Spiders
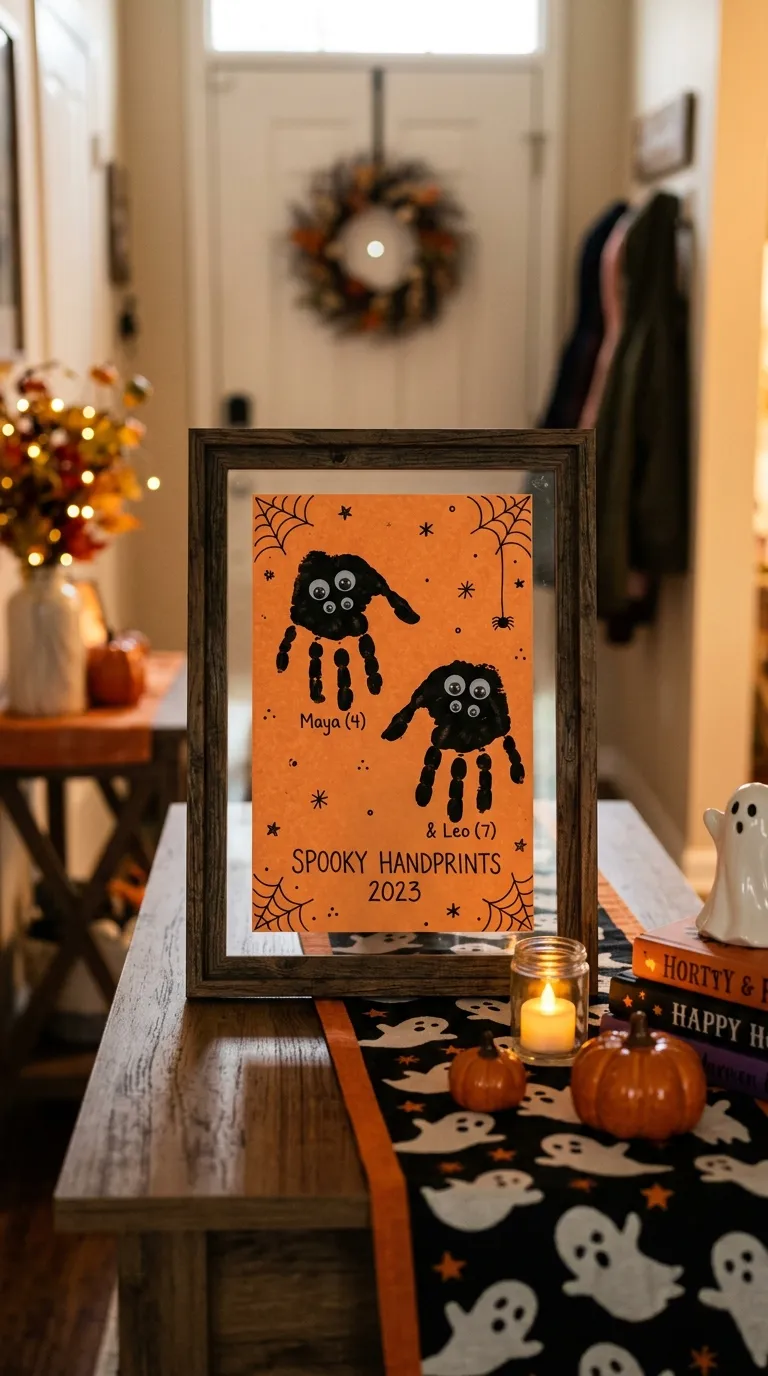
Preserve your children’s sweet handprints while creating a classic Halloween keepsake with handprint spiders. By placing two handprints side-by-side with the palms overlapping and fingers pointing outwards, you create a perfect eight-legged spider. This is a wonderful sensory painting experience for toddlers and babies, resulting in a sentimental decoration that parents will cherish looking back on year after year.
Paint your child’s palms and four fingers (excluding the thumb) with black washable paint. Press one hand down on a piece of white or orange cardstock. Paint the hand again and press it down directly adjacent to the first print, overlapping the palms so the fingers point outward on both sides to form the legs. Once dry, let them add googly eyes, a hand-drawn web, and write the year and their age at the bottom.