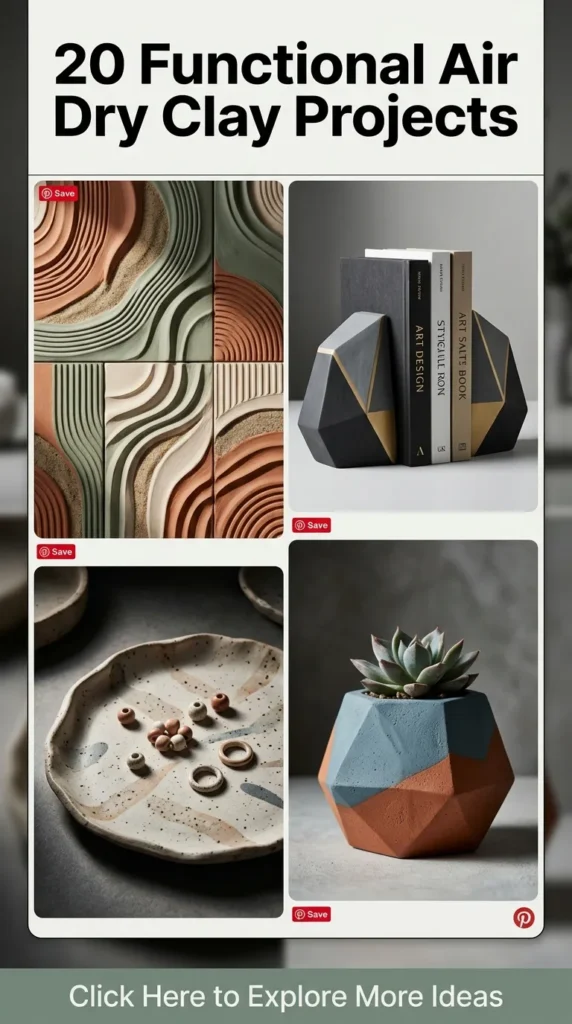
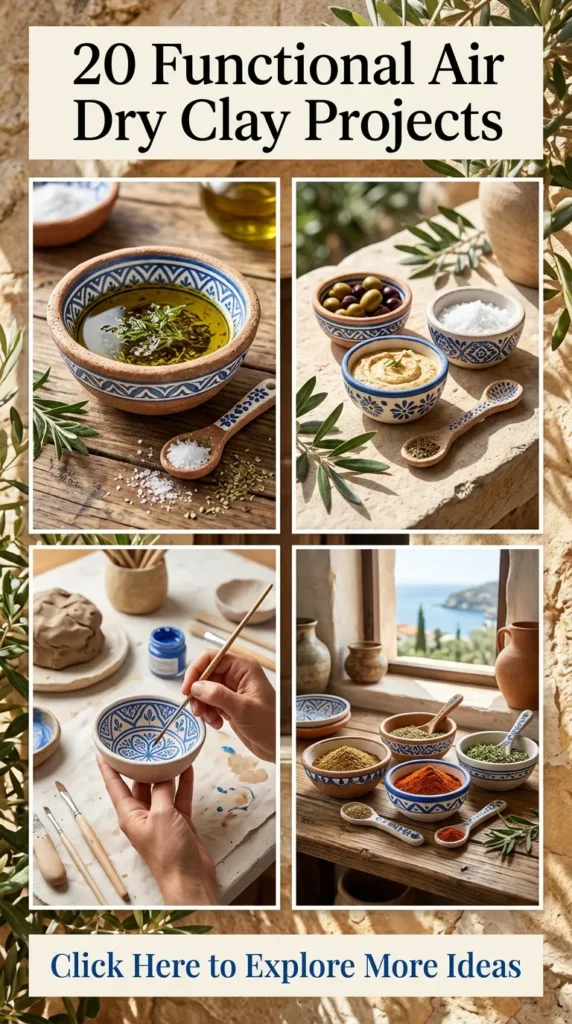
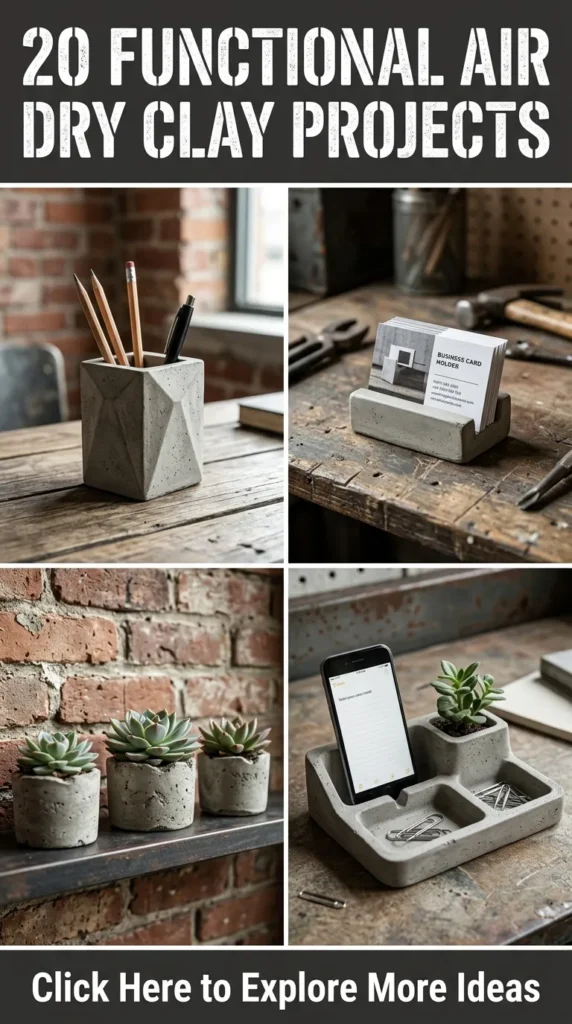
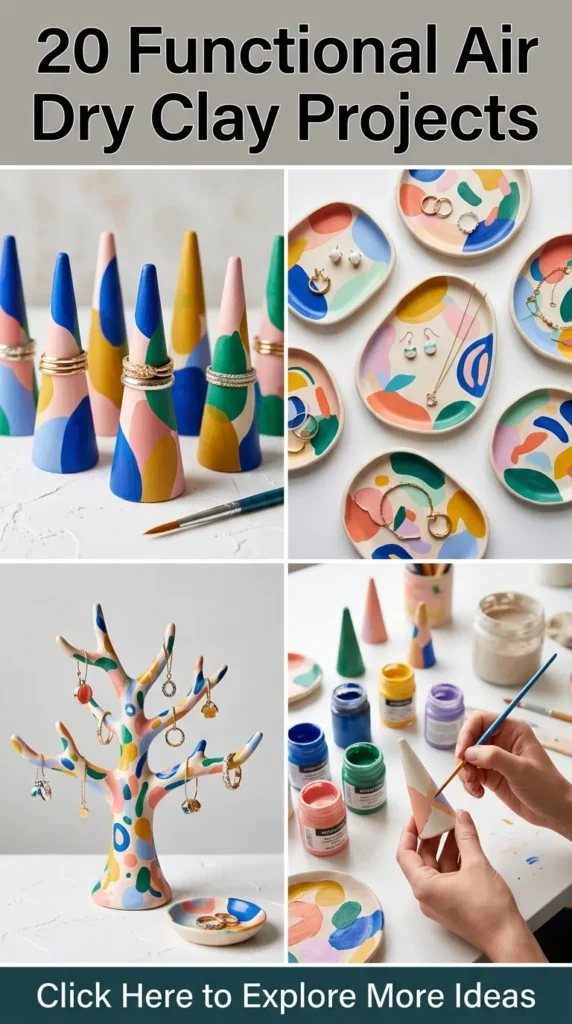
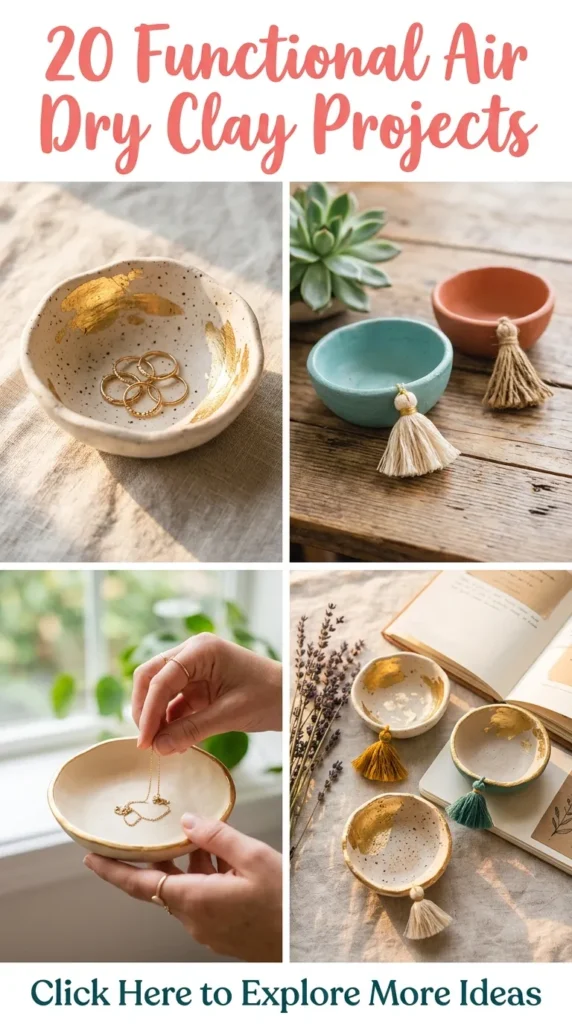
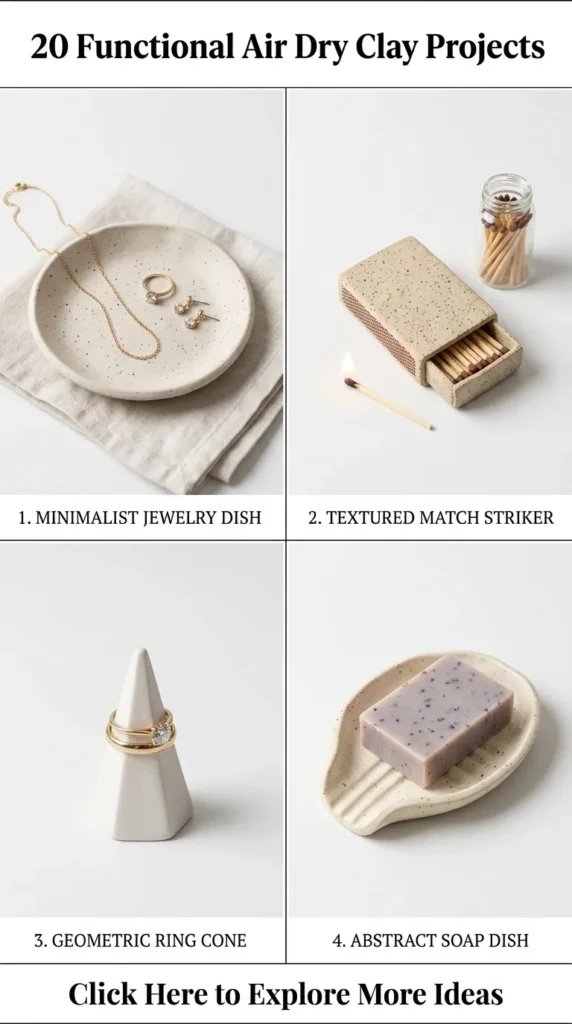
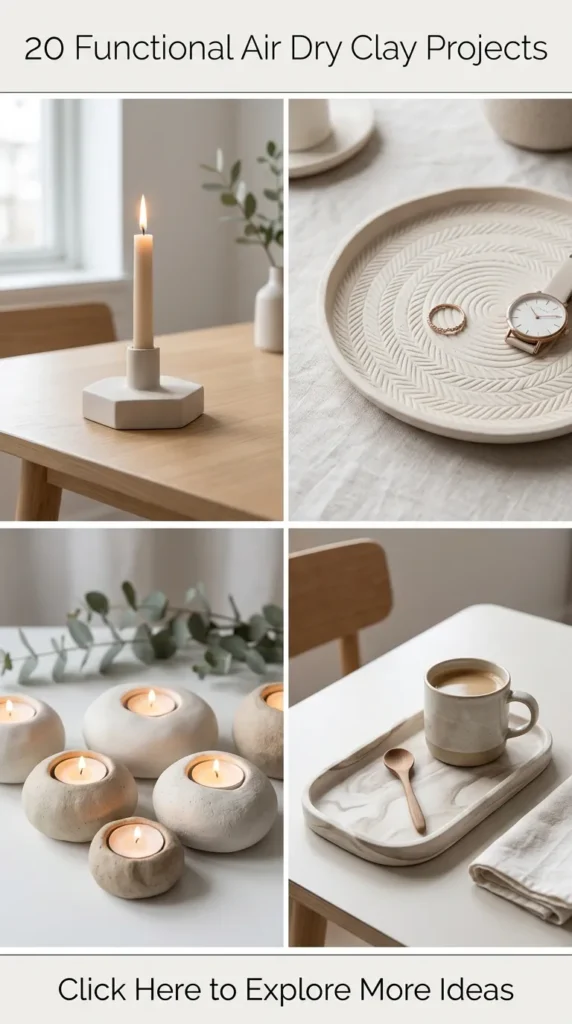
Air dry clay has evolved from a basic crafting medium into one of the most versatile, accessible materials for modern interior design and functional art. Unlike traditional ceramic clay, it requires no expensive kilns, complex firing schedules, or specialized pottery wheels. With a few basic tools, water, sandpaper, and a high-grade sealant, anyone can craft durable, high-end pieces that look straight out of an artisan studio or a curated boutique.
Working with air dry clay is tactile, forgiving, and deeply grounding. Because it hardens naturally at room temperature over 24 to 72 hours, it offers complete creative freedom to shape minimalist Scandinavian homeware, organic textured trays, sculptural vases, and functional desk organizers.
Below is an extensive, step-by-step master guide to 20 functional, aesthetic air dry clay projects designed to elevate your living space, complete with styling variations, troubleshooting tips, and sealing methods.
Essential Materials and Preparation
Before starting any project, assemble a reliable toolkit to ensure smooth, professional results:
- High-grade air dry clay: Choose white or terracotta earthenware-based air dry clay for the highest density and structural strength.
- Rolling pin and thickness guide sticks: Ensures an even slab thickness (aim for 5 mm to 8 mm) to prevent warping and cracking.
- Clay cutting tools: A craft knife, craft scalpel, and wire cutter.
- Smoothing tools: A flexible silicone rib, wooden modeling tools, and soft synthetic brushes.
- A small bowl of clean water: For smoothing seams (use sparingly to avoid water saturation).
- Sandpaper: Assorted grits ranging from 120-grit (coarse shaping) to 320-grit (ultra-smooth satin finish).
- Paints and finishes: High-pigment acrylics, gouache, mineral powder pigments, and liquid gold leaf.
- Sealants: Water-resistant polyurethane varnish, acrylic gloss/matte sealant, or UV resin for absolute water protection.
1. Organic Wabi-Sabi Trinket Dish
Concept and Design Aesthetic
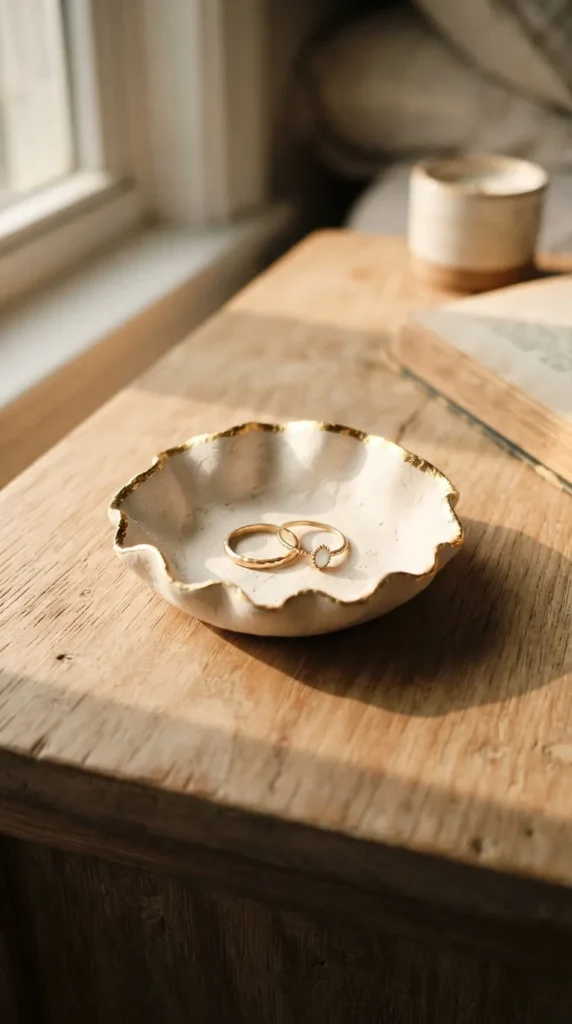
The Wabi-Sabi trinket dish celebrates natural imperfection, organic contours, and unrefined minimalism. Rather than pursuing sharp machine symmetry, this piece embraces gently ruffled rims, uneven edges, and subtle surface undulations that capture warm shadows. It functions as an everyday bedside catchall for rings, delicate necklaces, and keys.
How to Make It
- Cut a fist-sized portion of clay and roll it out onto parchment paper to an even thickness of approximately 6 mm.
- Cut an organic, non-uniform oval or pebble shape using a craft knife. Avoid using cookie cutters to keep the lines natural.
- Dip your fingertips lightly in water and gently pinch the outer perimeter upwards to form an elevated, shallow rim.
- Using your thumb, press subtle hollows into the center to create an organic, handmade topography.
- Smooth out micro-fissures with a damp sponge or silicone rib, taking care not to oversaturate the clay.
- Allow the dish to dry undisturbed on parchment paper for 48 hours, flipping it over halfway through to prevent edge curling.
- Sand the perimeter with 240-grit sandpaper, then finish with a coat of matte acrylic varnish mixed with an off-white or oat-speckled wash.
Tips and Variations
- Press fresh botanical sprigs, eucalyptus leaves, or linen fabric onto the damp clay to emboss subtle textures before shaping the rim.
- Paint the rim with a micro-thin band of liquid metallic gold leaf for a refined kintsugi-inspired contrast.
- To avoid warping during drying, place a lightweight circular weight in the center during the first 12 hours.
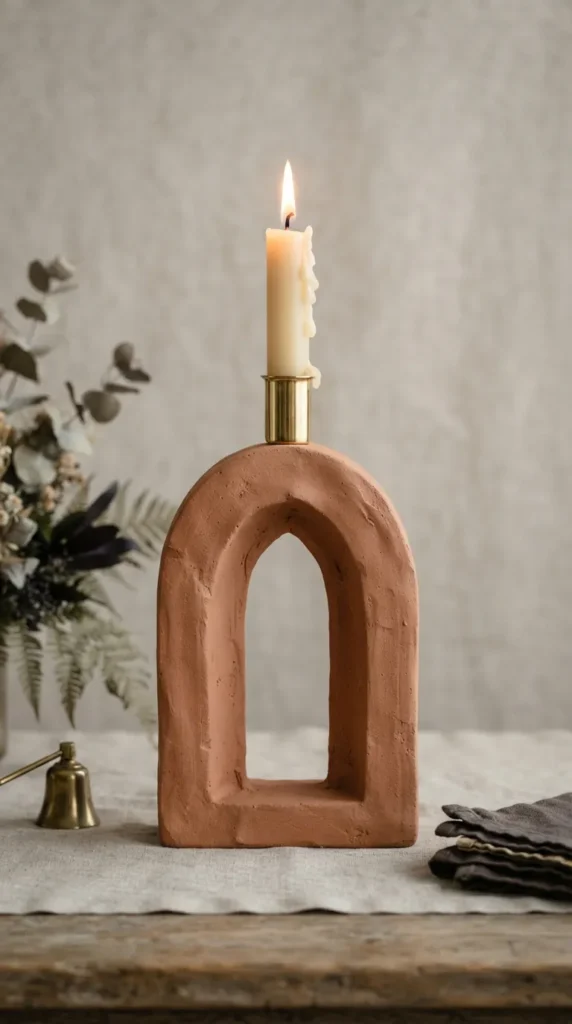
2. Sculptural Arch Taper Candle Holder
Concept and Design Aesthetic
Inspired by neoclassical arches and modern Bauhaus curves, this piece functions as a sturdy, geometric base for tall dinner candles. It turns a functional table lighting accessory into a standalone architectural statement.
How to Make It
- Roll out a uniform clay slab roughly 12 mm thick. The extra thickness provides necessary weight and stability for tall tapers.
- Cut an arch shape measuring approximately 12 cm tall by 8 cm wide using a craft blade against a cardboard template.
- On the top curved apex of the arch, take an actual taper candle wrapped in plastic film and press it firmly down 2 cm into the clay to create a custom socket.
- Twist the candle slightly while removing it so the opening stays clean without tearing the walls.
- Create a flat rectangular clay base (10 cm x 5 cm) and join the arch vertically onto it using the “score and slip” method: scratch crisscross lines on both joining surfaces, apply a dab of water, and press firmly together.
- Blend the seam thoroughly with a wooden modeling tool.
- Allow to dry slowly over 72 hours away from direct heat to prevent stress fractures at the joint.
- Sand smooth and seal with heat-resistant satin varnish.
Tips and Variations
- Never let a candle burn down directly onto raw air dry clay. Always insert a brass candle cup grommet into the damp clay socket to catch molten wax and shield the clay.
- Create a multi-arch variation with three graduated tiers housing multiple taper heights.
- Paint with a terracotta-colored wash or use fine textured stone-spray paint for an earthy sandstone finish.
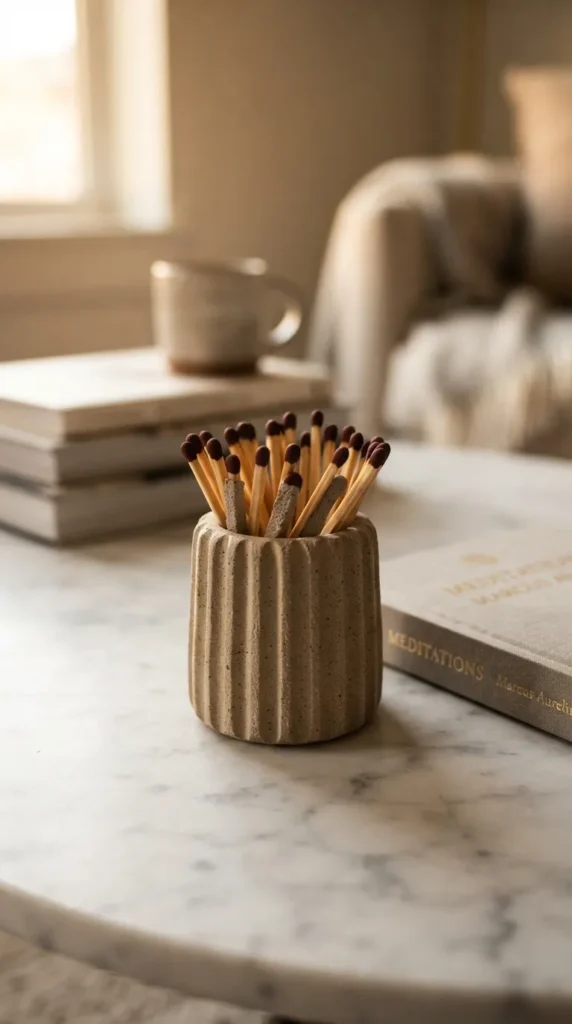
3. Ribbed Match Striker Pot
Concept and Design Aesthetic
A compact, tactile tabletop pot that stores strike-anywhere matchsticks while featuring an integrated abrasive surface for instant lighting. Its fluted column texture introduces depth and mid-century modern utility to a mantlepiece or coffee table.
How to Make It
- Roll out a long clay strip 8 mm thick, 6 cm high, and 18 cm long. Roll out a separate round base with a 5 cm diameter.
- Using a wooden grooving tool or the back of a butter knife, carve even vertical flutes along the entire external length of the strip.
- Wrap the fluted strip around the circular base to form an upright cylinder. Score and blend the vertical seam and bottom join from the inside.
- Using an embossing stamp or a coarse mesh screen, press a textured, cross-hatched pad directly into a dedicated flat recess on the side or bottom of the pot.
- Let dry completely over 48 hours.
- Sand the top lip smooth, coat the interior with waterproof sealant, and leave the external strike pad completely unvarnished.
Tips and Variations
- Note that standard safety matches require red phosphorus on the box; strike-anywhere matches work on rough surfaces. Alternatively, glue a replaceable round circle of adhesive strike paper onto the recessed base.
- Coat the ribbed exterior in a glossy olive green or cobalt blue enamel paint while leaving the textured strike patch raw.
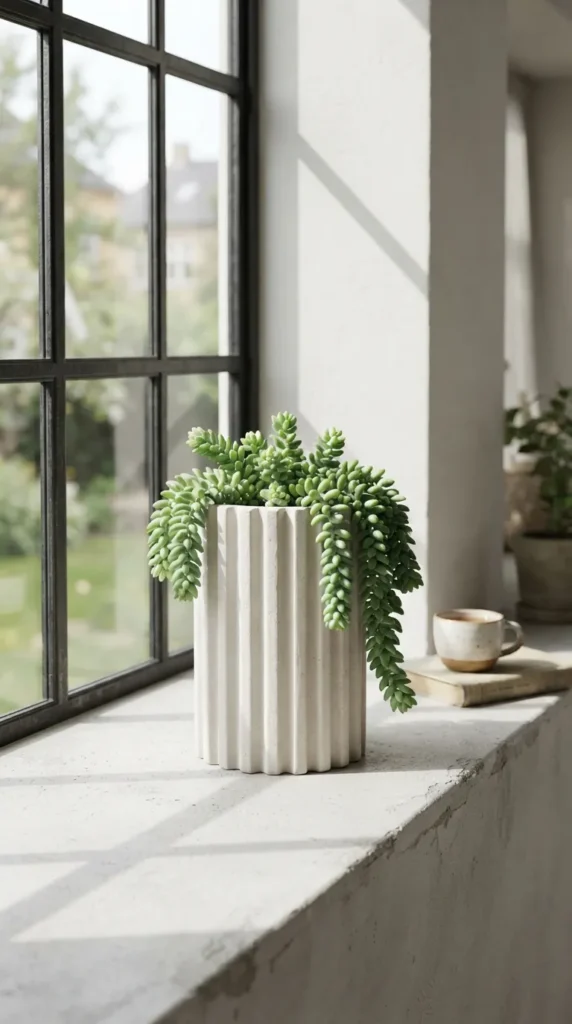
4. Fluted Pillar Planter
Concept and Design Aesthetic
Combining Roman classical columns with Scandinavian modernism, the fluted pillar planter elevates small indoor plants, succulents, or propagation tubes. It turns ordinary botanical displays into grounded architectural pieces.
How to Make It
- Use an empty, smooth glass jar or metal tin as an internal waterproof liner. Air dry clay cannot hold standing water directly, so building around a removable vessel ensures long-term functionality.
- Roll out an even clay slab (6 mm thick) large enough to wrap entirely around the outer circumference of your liner vessel.
- Use a textured rolling pin or press wooden dowels side-by-side into the flat clay to create uniform, raised semicircular ribs.
- Wrap the textured slab around the vessel. Trim excess clay at the joint with a 45-degree bevel cut, score the edges, and blend the seam seamlessly.
- Roll a circular base, attach it firmly to the bottom edge, and blend carefully.
- Dry the piece slowly over 3 to 4 days.
- Sand any sharp ridge edges, apply an off-white gesso primer, and finish with a limestone-effect matte sealant.
Tips and Variations
- Leave a 2 mm gap around the top rim so the glass insert can be easily removed for cleaning and plant watering.
- Use a warm beige clay body speckled with coffee grounds or sand to mimic porous travertine stone.
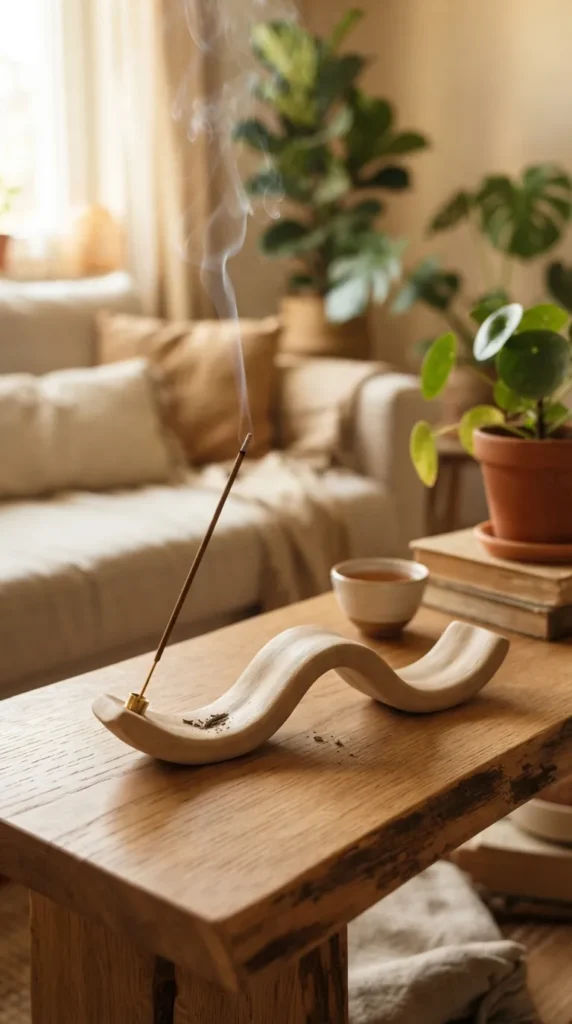
5. Waveform Incense Holder & Ash Catcher
Concept and Design Aesthetic
This design features a fluid, ribbon-like form that mimics the gentle motion of ocean waves. Its curved troughs serve a dual purpose: holding the incense stick at a secure angle while catching falling ash along an elongated, sweeping basin.
How to Make It
- Roll a clay coil into a thick slab roughly 22 cm long, 4 cm wide, and 8 mm thick.
- Taper both ends gently into soft, rounded tips to establish a sleek aerodynamic profile.
- Drape the strip over two spaced wooden dowels or rolling pins on your workspace to cure it into a gentle S-curve wave formation.
- While the clay is still malleable, use a toothpick or thick needle to poke a 2 mm wide hole at a 45-degree angle into the highest crest of the wave.
- Create a gentle concave indentation running along the length of the lower trough using your thumb to catch falling ash.
- Allow the piece to dry suspended over the dowels for 48 hours until completely rigid.
- Sand the entire surface to a satin finish, then seal with a flame-retardant, high-gloss acrylic glaze for easy ash wipe-down.
Tips and Variations
- For Japanese-style incense cones, flatten one trough completely into a broad circular pedestal.
- Paint in a high-contrast checkerboard pattern or soft ombre watercolor glaze transitioning from warm sand to deep terracotta.
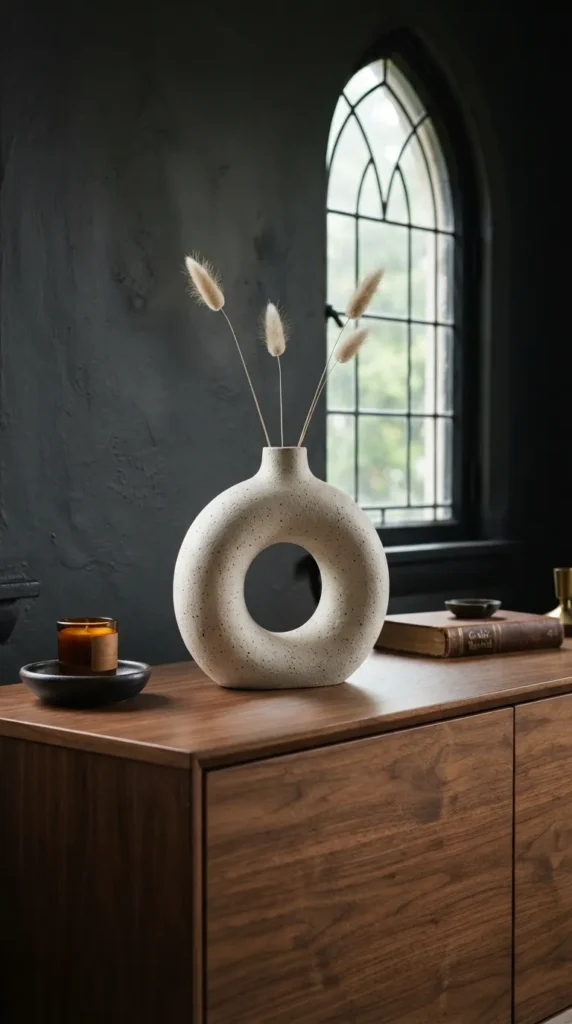
6. Minimalist Donut Vase
Concept and Design Aesthetic
Inspired by modernist Nordic sculpture, the hollow donut vase is an iconic statement piece. Its circular silhouette features a central hollow void with an internal vessel tucked into one side, perfect for dried florals, bunny tails, or preserved eucalyptus.
How to Make It
- Roll out two identical large clay coils (around 3 cm thick and 35 cm long).
- Join the coils into two circular rings. Place one on top of the other, score the seams, and smooth the clay up and down using a wooden rib tool to form a single, hollow hollow-core toroidal shape, or work around a circular armature like a foam ring wrapped in cling film.
- Alternatively, form two flat donut-shaped slabs and build vertical walls between them to create a hollow interior chamber.
- Cut an opening (approx. 2.5 cm wide) at the top apex of the donut ring.
- Insert a slim plastic floral test tube into the top opening to allow the display of fresh cut flowers with water.
- Blend the clay securely around the rim of the test tube.
- Allow to dry slowly under a loose plastic sheet for 4 to 5 days to eliminate cracking around the joints.
- Sand down with fine 320-grit sandpaper and seal with a matte masonry finish.
Tips and Variations
- Keep the vase raw and unpainted; finish solely with a clear breathable matte sealant to highlight the natural chalk-white texture of the clay.
- Add an off-center asymmetrical arch handle to the outer rim for an artisanal Greek jug look.


7. Modular Hexagonal Coasters
Concept and Design Aesthetic
A set of interlocking hexagonal drink coasters that work individually for glasses or interlock together to form an expansive geometric trivet for hot teapots and serving dishes.
How to Make It
- Roll a large, uniform slab of clay to a precise 6 mm thickness using guide sticks.
- Using a metal hexagonal cookie cutter or an acrylic template, cut out six identical hexagons (approx. 10 cm across from flat edge to flat edge).
- Smooth the cut perimeters using a barely damp synthetic sponge to round out any harsh, micro-burred edges.
- Press geometric linear patterns, terrazzo chips, or subtle botanical veins into the upper face of each coaster.
- Place the coasters between two sheets of porous MDF board or heavy books lined with parchment paper for the first 24 hours of drying to keep them completely flat.
- After full drying (48 hours), sand the bases and edges flat.
- Apply three coats of waterproof polyurethane sealer or food-safe resin to protect against liquid condensation and hot mugs.
- Glue thin 1 mm self-adhesive cork backing to the base of each coaster to protect furniture.
Tips and Variations
- Mix small broken bits of pre-dyed dry clay (black, ochre, sage) into fresh white clay and roll it out flat to create a genuine faux-terrazzo stone pattern.
- Paint with glossy white enamel, then add thin, irregular lines of charcoal gray and metallic gold to mimic Calacatta marble.
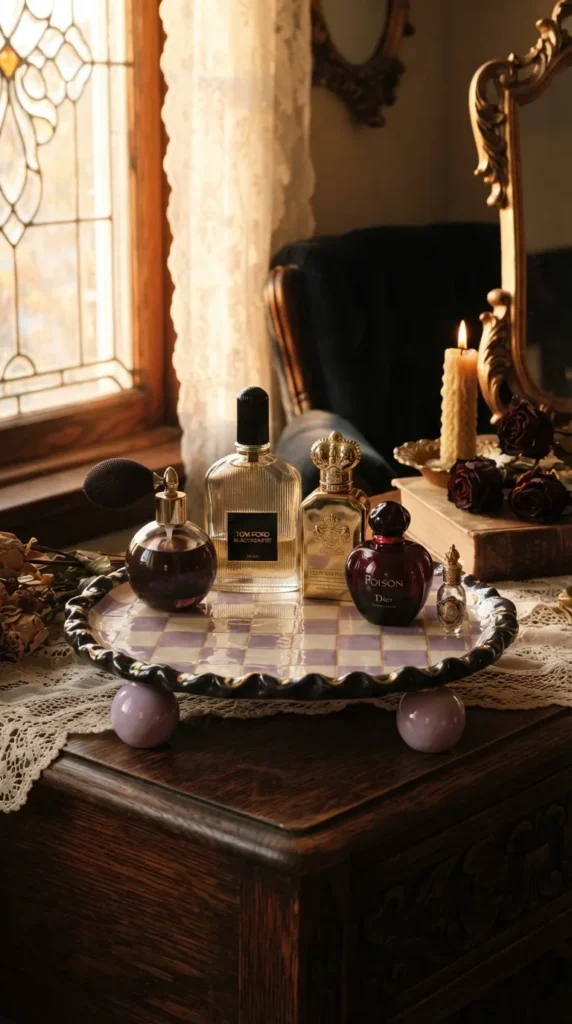
8. Checkerboard Footed Vanity Tray
Concept and Design Aesthetic
Footed trays bring height and visual layering to dressers, vanity tables, and coffee tables. Featuring a retro 1970s checkerboard pattern and sphere feet, this functional pedestal organizes perfumes, skincare bottles, and jewelry.
How to Make It
- Roll a sturdy rectangular slab 8 mm thick, measuring 25 cm by 15 cm.
- Roll four identical spheres of clay (approx. 2.5 cm diameter) to serve as rounded bun feet.
- Slightly flatten the top and bottom poles of each sphere.
- Score and slip the four spherical feet onto the four bottom corners of the rectangular slab.
- Turn the tray upright onto its feet. Build a small 1 cm tall rim around the top perimeter using four cut clay strips, blending the internal seams smoothly.
- Allow the tray to dry slowly over 3 to 4 days, ensuring the center does not sag by placing a small temporary support underneath.
- Mark a grid of squares on the top surface with a ruler and light pencil.
- Paint alternating squares using sage green, lilac, or espresso brown acrylic, leaving the alternating squares natural clay white.
- Finish with a high-gloss epoxy resin or clear gloss varnish for an ultra-durable porcelain glaze look.
Tips and Variations
- Replace the round sphere feet with long cylindrical dowel legs running along the entire short sides of the tray for a modern mid-century profile.
- Create a monochromatic matte finish using contrasting textures: leave raw matte clay squares alongside gloss-varnished squares.
9. Sculptural Bookends
Concept and Design Aesthetic
Heavy, functional bookends that combine practical balance with abstract art. These L-shaped or interlocking semi-spherical forms keep heavy book collections organized while serving as tactile sculptures.
How to Make It
- Construct two heavy L-shaped forms using thick clay slabs (at least 15 mm thick). Each side should measure roughly 15 cm high and 10 cm wide.
- Roll separate sculptural elements—such as layered organic arches, solid spheres, or stepped ziggurats—and join them to the outer corner of each L-bracket using cross-hatch scoring and clay slip.
- To add necessary ballast and weight, embed clean lead fishing sinkers, metal washers, or dense pebbles into the thick clay base during assembly, sealing the clay completely around them.
- Let the pieces dry slowly over 5 to 7 days under a loose plastic wrap to prevent the thick clay from cracking.
- Thoroughly sand all flat surfaces flat against a tabletop lined with sandpaper to ensure flush contact with book covers.
- Apply felt pads to the base and inner vertical wall to prevent bookshelf scuffs.
- Finish with a stone-textured spray or a matte plaster wash.
Tips and Variations
- Design an interlocking yin-yang or puzzle split arch where both bookends fit together into a single unified sculpture when books are removed.
- Embed small brass accents into the clay facade for a luxury hotel look.
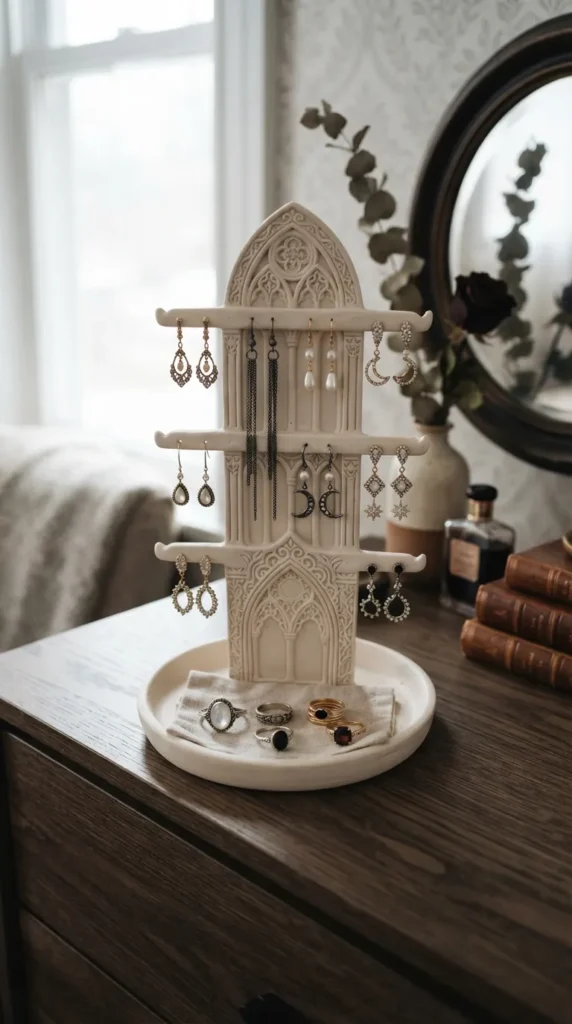
10. Tiered Earring & Ring Display Tower
Concept and Design Aesthetic
A multi-level desktop jewelry display featuring stepped hanging arms for dangling earrings, custom-pierced holes for studs, and a shallow catchall base for rings and brooches.
How to Make It
- Roll a flat circular base (12 cm wide, 10 mm thick) and raise a small 5 mm lip around the edge.
- Roll a solid central clay pillar (2.5 cm thick and 18 cm tall). Score and attach the pillar securely into the center of the base.
- Form two horizontal cross-arms of varying lengths (12 cm and 8 cm) and attach them perpendicular to the central vertical pillar at tiered heights.
- Use a sewing needle or 1.5 mm drill bit to pierce paired, evenly spaced holes through the horizontal arms while the clay is soft for hanging earring hooks.
- Reinforce the T-joints with small clay fillets, blending the seams completely smooth.
- Let dry slowly for 4 days, supporting the horizontal arms with cardboard props until fully hardened.
- Sand carefully between the small holes, clear out dust with a dry brush, and apply two coats of satin enamel paint.
Tips and Variations
- Shape the top of the central pillar into a sculpted hand, a cone ring holder, or a crescent moon.
- Paint each horizontal tier in subtle gradient shades of the same color family (e.g., warm cream, clay rose, and deep terracotta).
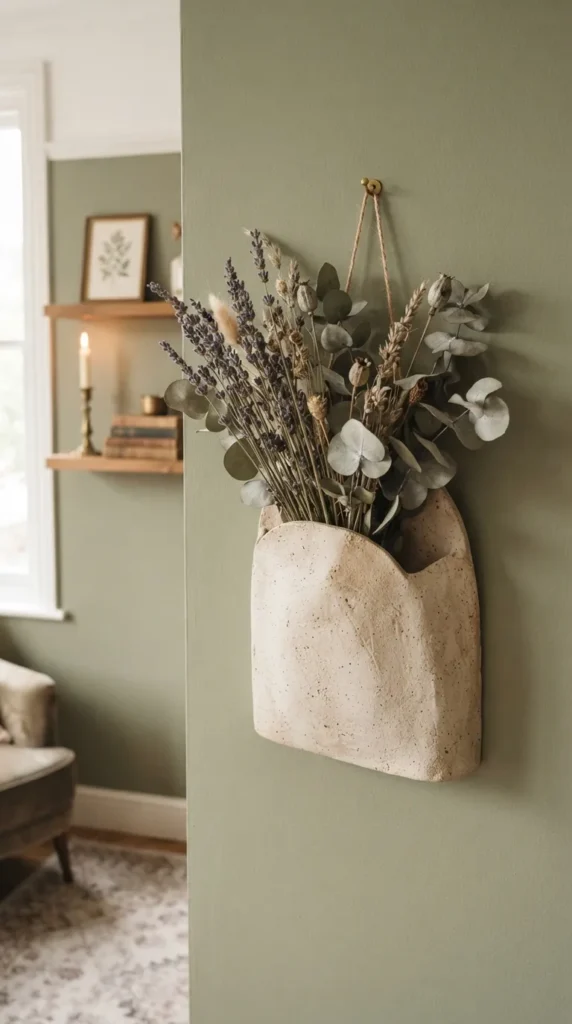
11. Botanical Wall Pocket Vase
Concept and Design Aesthetic
A flat-backed hanging wall pocket that mounts flush against interior walls to hold dried floral arrangements, air plants, or dried lavender. It brings vertical greenery and soft, natural shapes to gallery walls.
How to Make It
- Roll out a flat clay slab 6 mm thick. Cut out an arch, shield, or teardrop shape for the flat backing plate (approx. 18 cm x 10 cm).
- Cut a small 8 mm hole near the top of the backing plate for screw or nail mounting.
- Cut a second, smaller semi-circular clay piece to form the front pocket.
- Flare the front pocket outward slightly to create internal volume, then score, slip, and attach its bottom and side edges to the lower half of the back plate.
- Blend the outer seams smoothly using a damp wooden tool, ensuring no gaps remain along the perimeter.
- Insert a loosely crumpled piece of paper towel inside the pocket during the first 24 hours of drying to keep the pocket from collapsing inward.
- Remove the paper towel and let dry completely for another 48 hours.
- Sand all contours smooth, paint with textured mineral paints, and coat with a durable matte sealer.
Tips and Variations
- Imprint wild meadow grasses, ferns, or lace into the front pocket face before joining.
- Paint the hanging pocket with an earthy two-tone color block design using warm mustard and chalky off-white.
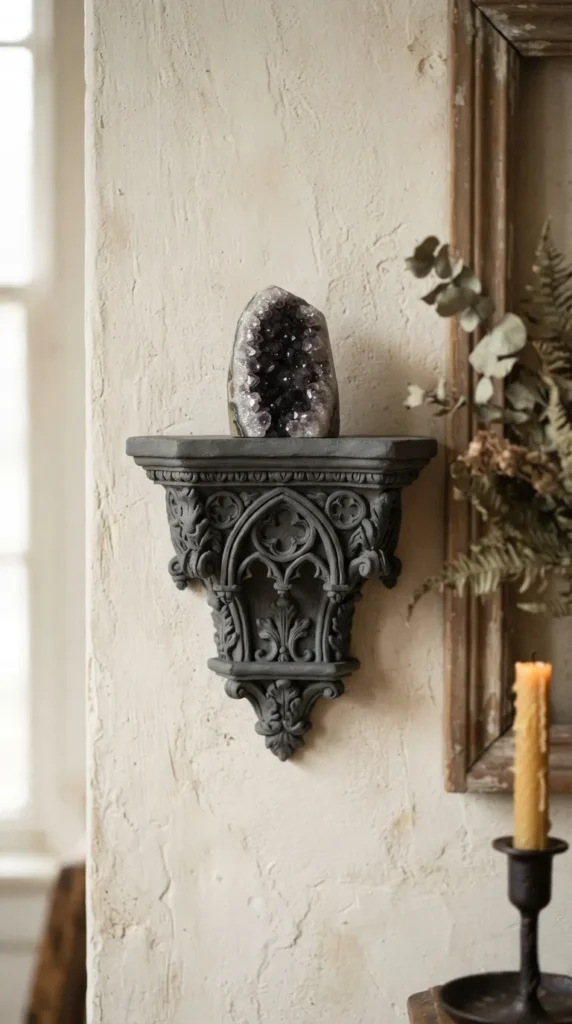
12. Floating Wall Sconce Shelf
Concept and Design Aesthetic
A semi-circular floating mini-bracket designed to hold lightweight decorative items, crystals, mini potted cacti, or small statues. It functions as clean, architectural wall art with built-in utility.
How to Make It
- Roll a thick slab (10 mm) and cut a semi-circular top shelf platform with a straight back edge (12 cm wide, 6 cm deep).
- Cut a vertical triangular or arched corbel support piece to sit underneath the shelf.
- Cut a flat rectangular backplate with two small pre-drilled holes for hanging.
- Score, slip, and join the top shelf, the central lower corbel, and the backplate together at 90-degree angles.
- Reinforce all internal joints with thin rolled clay snakes, smoothing them out for structural stability.
- Dry slowly on a flat surface for 4 to 5 days, keeping the backplate completely flat using light weights.
- Sand the back flush so it sits cleanly against the wall.
- Seal thoroughly with a stone-finish sealant or hard-drying polyurethane.
Tips and Variations
- Carve classical fluting or Art Deco stepped grooves into the supporting lower corbel.
- Paint in deep slate gray or raw charcoal black for a striking industrial accent on light-colored walls.
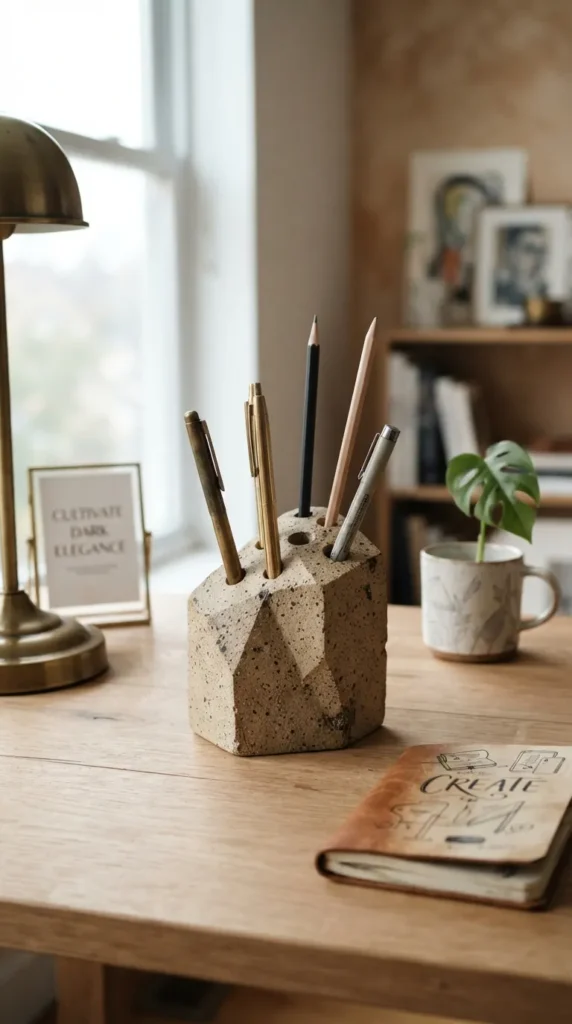
13. Abstract Desktop Pen & Tool Tidy
Concept and Design Aesthetic
Moving away from plain cups, this desktop organizer uses a low-profile, multi-tiered block design with custom-bored slots to hold pens, styluses, scissors, and paintbrushes in a sculpted arrangement.
How to Make It
- Roll a solid block or stacked organic tiered slab of clay roughly 4 cm to 5 cm thick, 15 cm long, and 8 cm wide.
- Carve the external silhouette into smooth, pebble-like contours or an asymmetrical modernist form.
- While the clay is soft, use various pens, marker caps, and wooden dowels wrapped in cling wrap to bore clean vertical and angled holes of different diameters (8 mm to 15 mm) deep into the block.
- Twist the tools gently as you pull them out to leave clean, unwarped cavities.
- Carve a shallow, scooped indentation along the front for loose paperclips and erasers.
- Allow the solid mass to dry slowly for 5 to 7 days, rotating it daily so the base dries at the same rate as the top.
- Sand down all hole rims and the outer perimeter, then apply a satin enamel or matte stone finish.
Tips and Variations
- Paint the piece with thin abstract Matisse-inspired line drawings or botanical silhouettes.
- Mix coarse sand or ground coffee into the raw clay to give it a speckled, stone-like texture that hides desk smudges.
14. Scalloped Edge Fruit Pedestal Bowl
Concept and Design Aesthetic
A graceful centerpiece bowl with a ruffled, scalloped rim raised on a short, flared pedestal foot. It serves as a beautiful display piece for dry fruits, wrapped treats, or decorative wooden accents.
How to Make It
- Roll a large clay slab (7 mm thick) and drape it gently over an existing shallow kitchen bowl lined with plastic wrap to form the main basin.
- Cut the rim into uniform, repeating waves or scallops using a circular cutter or a craft blade guided by a coin template.
- Smooth the scalloped edges with a damp sponge.
- Roll a separate thick clay cylinder, flare out the bottom rim, and level both ends to create the pedestal foot.
- While both pieces are leather-hard, score and slip the pedestal foot onto the bottom center of the draped bowl.
- Leave the assembly on the mold for 24 hours, then carefully lift it off to let the underside dry completely for another 48 hours.
- Sand smooth and seal with three coats of food-contact-safe clear acrylic gloss varnish.
Tips and Variations
- Remember that air dry clay is not dishwasher safe; use it only for dry, unpeeled whole fruits (like citrus and apples) and wipe clean with a damp cloth.
- Paint with vibrant Mediterranean folk-art motifs in cobalt blue and lemon yellow over a glossy white base.



15. Geometric Cable & Wire Organizers
Concept and Design Aesthetic
Small, heavy geometric cable weights that sit on the edge of nightstands or desks to keep loose phone, laptop, and USB charging cables from slipping behind furniture.
How to Make It
- Shape solid clay blocks into modern geometric forms such as pyramids, cubes, or half-spheres (approx. 4 cm wide).
- Use a craft knife or a thick metal skewer to carve a clean 4 mm wide channel through the top or across the diagonal face of each shape.
- Ensure the channel is wide enough to let the wire glide freely while keeping the thicker charging head securely catchable at the top.
- Embed small steel nuts or lead weights into the underside of the base to add extra weight.
- Let dry thoroughly for 48 hours.
- Sand the base flat, apply non-slip rubberized adhesive pads to the bottom, and seal the clay with a hard, chip-resistant matte paint.
Tips and Variations
- Paint with a faux-marble effect using feathering techniques with charcoal and gray acrylic washes.
- Make a dual-channel version to manage multiple charger cables side by side in one tidy unit.
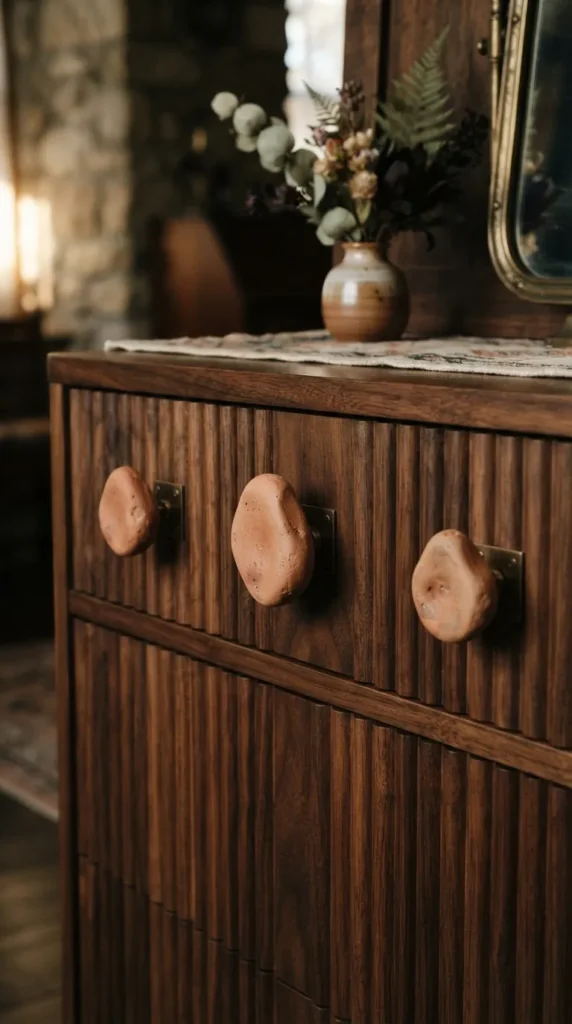
16. Sculptural Drawer Pulls & Knobs
Concept and Design Aesthetic
Custom, hand-sculpted hardware knobs that instantly elevate plain IKEA furniture, dressers, or nightstands with unique organic and geometric shapes.
How to Make It
- Purchase standard replacement furniture bolts and matching threaded nuts from a hardware store.
- Sculpt clay into your chosen shape—such as smooth river stones, organic crescents, or minimalist cubes (approx. 3.5 cm to 4.5 cm wide).
- Push the metal bolt head deep into the flat back of the clay shape, embedding the hex head firmly so it cannot twist once dry.
- Blend fresh clay over the back of the bolt head, leaving the threaded stem protruding out straight and clean.
- Keep the threaded shaft clean using masking tape while sculpting.
- Let dry for 72 hours until rock hard.
- Sand to an ultra-smooth finish, apply two coats of primer, and finish with a durable, scratch-resistant poly topcoat or liquid gold leaf.
- Install onto drawers by sliding the bolt through the pre-drilled drawer hole and tightening the nut inside.
Tips and Variations
- Add an embossed initial or geometric line monogram into the face of each knob before drying.
- Finish with an ultra-matte black chalk paint for an industrial farmhouse look.
17. Minimalist Tapered Cone Ring Holders
Concept and Design Aesthetic
Sleek, geometric clay cones designed to store and display multiple rings vertically. They take up minimal space on sinks, vanities, or nightstands while keeping precious rings safe and accessible.
How to Make It
- Roll a small ball of clay between your palms, then roll it on a flat surface at an angle to create a smooth, tapered cone shape (approx. 7 cm to 9 cm tall with a 3 cm base).
- Tap the wide base gently against your flat work surface so it stands upright with a stable, level bottom.
- Check the taper against standard ring sizes to make sure rings slide down comfortably and sit securely at different heights.
- Smooth out surface fingerprints with a damp fingertip.
- Let dry standing upright for 36 hours.
- Sand from base to tip with fine 320-grit sandpaper.
- Dip the top third of the cone into metallic gold leaf, pastel acrylic paint, or colored epoxy resin for a modern dip-dyed accent.
- Seal completely with a moisture-resistant gloss varnish.
Tips and Variations
- Create a cluster of three attached cones of varying heights (small, medium, large) mounted onto a single flat clay base plate.
- Mix black and white clay together with a quick 3-twist fold to create a bold, high-contrast swirled marble look.
18. Self-Watering Orchid/Succulent Pot Jacket
Concept and Design Aesthetic
A two-piece decorative sleeve designed to conceal standard plastic nursery pots while managing small amounts of excess drainage water safely.
How to Make It
- Measure your standard 8 cm or 10 cm plastic nursery pot.
- Roll out an 8 mm thick clay slab and build a straight-sided cylinder that sits roughly 1.5 cm wider and taller than the plastic pot.
- Build a separate, thick matching saucer base with a raised 2 cm rim for the cylinder to rest inside.
- Create decorative cutouts or embossed line art on the outer walls of the cylinder jacket.
- Allow both parts to dry slowly over 4 days to prevent warping.
- Sand smooth and apply three heavy coats of marine-grade waterproof sealant or two-part epoxy resin to the entire interior of the base saucer to make it completely waterproof.
- Paint the exterior with warm earthy tones.
Tips and Variations
- Add two small loop handles to the sides of the outer jacket for a classic Mediterranean pottery look.
- Paint in a textured color-block palette with warm ochre, chalky terracotta, and soft olive green.
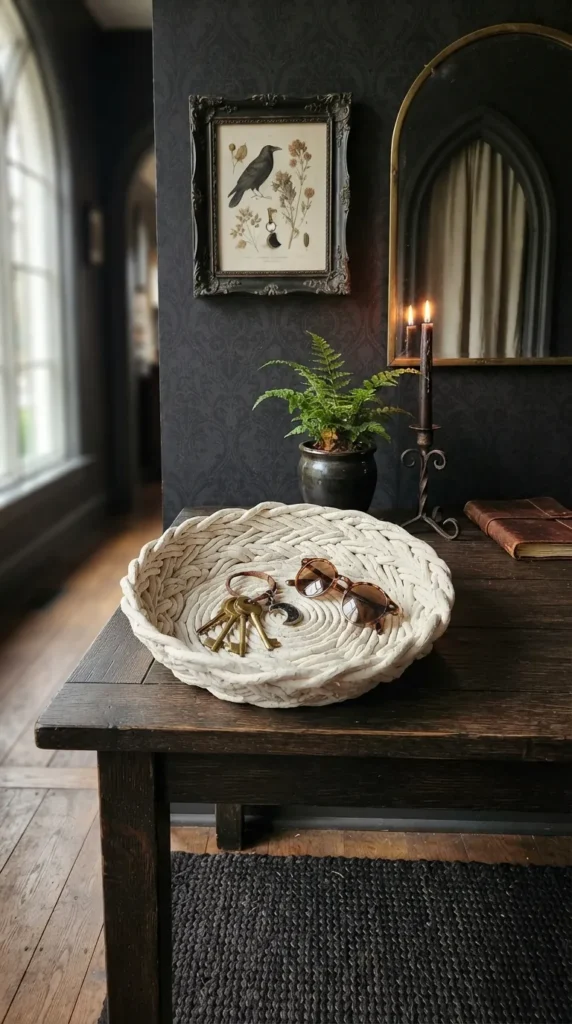
19. Woven Basketweave Catchall Bowl
Concept and Design Aesthetic
Taking inspiration from traditional wicker weaving, this project weaves long extruded clay coils over an open mold to produce an airy, lattice-style catchall for mail, keys, and accessories.
How to Make It
- Extrude or roll out ten to twelve even clay coils (approx. 5 mm thick and 25 cm long).
- Cover an inverted oven-safe glass bowl with cling film to serve as a shaping form.
- Lay half the coils vertically over the inverted bowl, spaced roughly 1 cm apart.
- Weave the remaining coils horizontally over and under the vertical coils, dabbing tiny drops of water at each intersection to bond them securely.
- Trim excess coil ends neatly around the rim with a craft knife and wrap one final continuous coil around the entire perimeter to seal the edge.
- Allow the clay to dry on the bowl mold for 24 hours until leather-hard, then carefully lift it off and let the inside dry for another 48 hours.
- Sand any rough coil edges with flexible sanding sponges.
- Seal with a satin-finish clear glaze to strengthen all the woven joints.
Tips and Variations
- Use a thick, loose braid for the top rim instead of a single coil for added visual texture.
- Paint in a natural rattan tone or a crisp matte white for an open coastal aesthetic.
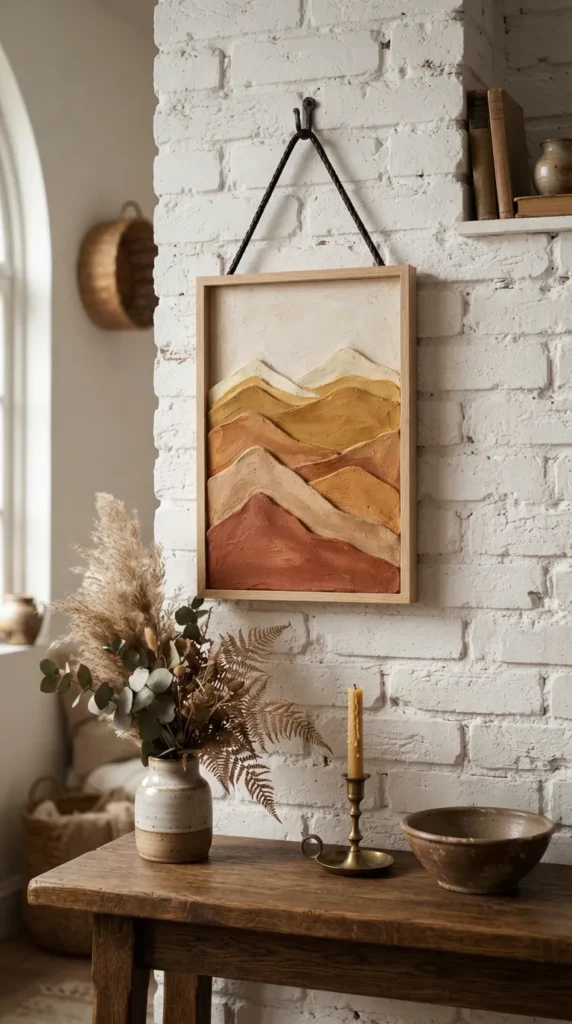
20. Layered Landscape Wall Hanging Plaque
Concept and Design Aesthetic
A modern, minimalist bas-relief wall sculpture showcasing clean layered horizon lines, abstract mountains, and a rising sun. Mounted with natural cord, it brings artisanal depth to wall galleries.
How to Make It
- Roll out a base clay slab (6 mm thick) cut into a clean arch or circular plaque (approx. 20 cm diameter).
- Pierce two 5 mm holes near the top rim for threading a hanging cord later.
- Roll out separate thinner clay slabs (3 mm thick) and cut out overlapping curved landscape layers (rolling dunes, mountain ridges, and a half-circle sun).
- Score, slip, and layer these silhouette pieces directly onto the base plate to create a tactile 3D relief.
- Blend the outer edges flush with the base plate using a wooden blending tool.
- Place between parchment paper and dry under light, distributed weight for 4 days to keep the multi-layered slab flat.
- Paint each layered horizon in complementary tonal shades—such as warm sand, muted terracotta, dusty rose, and sunbeam ochre.
- Seal with a non-yellowing matte acrylic spray, then thread a thick natural twisted cotton or leather cord through the top holes for hanging.
Tips and Variations
- Leave parts of the raw clay exposed between painted sections to highlight the natural, organic material contrast.
- Carve fine parallel lines into the rising sun piece to create a radiant sunburst texture.
Complete Clay Care, Drying, and Waterproofing Guide
To ensure your handmade air dry clay projects look beautiful and last for years, keep these essential technical guidelines in mind:
Preventing Cracks and Warping
- Dry slowly: Always let pieces dry naturally at room temperature away from direct sunlight, air vents, and heating radiators. Rushing the process with heat guns or ovens will cause uneven shrinkage and stress fractures.
- Flip flat items: For trays, coasters, and flat plaques, flip them over every 12 hours during the drying stage to allow moisture to evaporate evenly from both sides.
- Fixing micro-cracks: If small cracks appear while drying, mix a small amount of raw clay with water into a thick paste (clay slip), work it into the crack with a palette knife, smooth flat, and let dry.
Sanding and Refinement
- Never sand damp clay; ensure the piece is fully dry and bone-dry before sanding.
- Start with 120-grit sandpaper to remove major surface bumps, transition to 240-grit for overall smoothing, and finish with 320-grit or higher for an ultra-smooth, silky feel.
- Always wear a dust mask while dry sanding, or lightly wet-sand using a barely damp high-grit sanding sponge to keep dust down.
Waterproofing and Sealing Strategies
- Water-resistant vs. Waterproof: Air dry clay is naturally water-soluble and will soften if exposed to standing water. Acrylic varnishes provide good water resistance for everyday dusting and wiping with a damp cloth.
- Absolute Waterproofing: For items that hold water or moist plant soil, always use a separate glass, plastic, or metal insert inside the clay piece, or coat the interior with two-part liquid epoxy resin or UV resin.
- Topcoat Sheens: Matte sealers preserve the natural, modern look of raw ceramic, while high-gloss varnishes create the reflective finish of kiln-fired glazed pottery.